THE VAN PROJECT - Bed & Layout
This is the fifth post in a series that serves as the primary documentation of how I purchased and converted a 2008 Dodge Sprinter Van to a full-time living space.
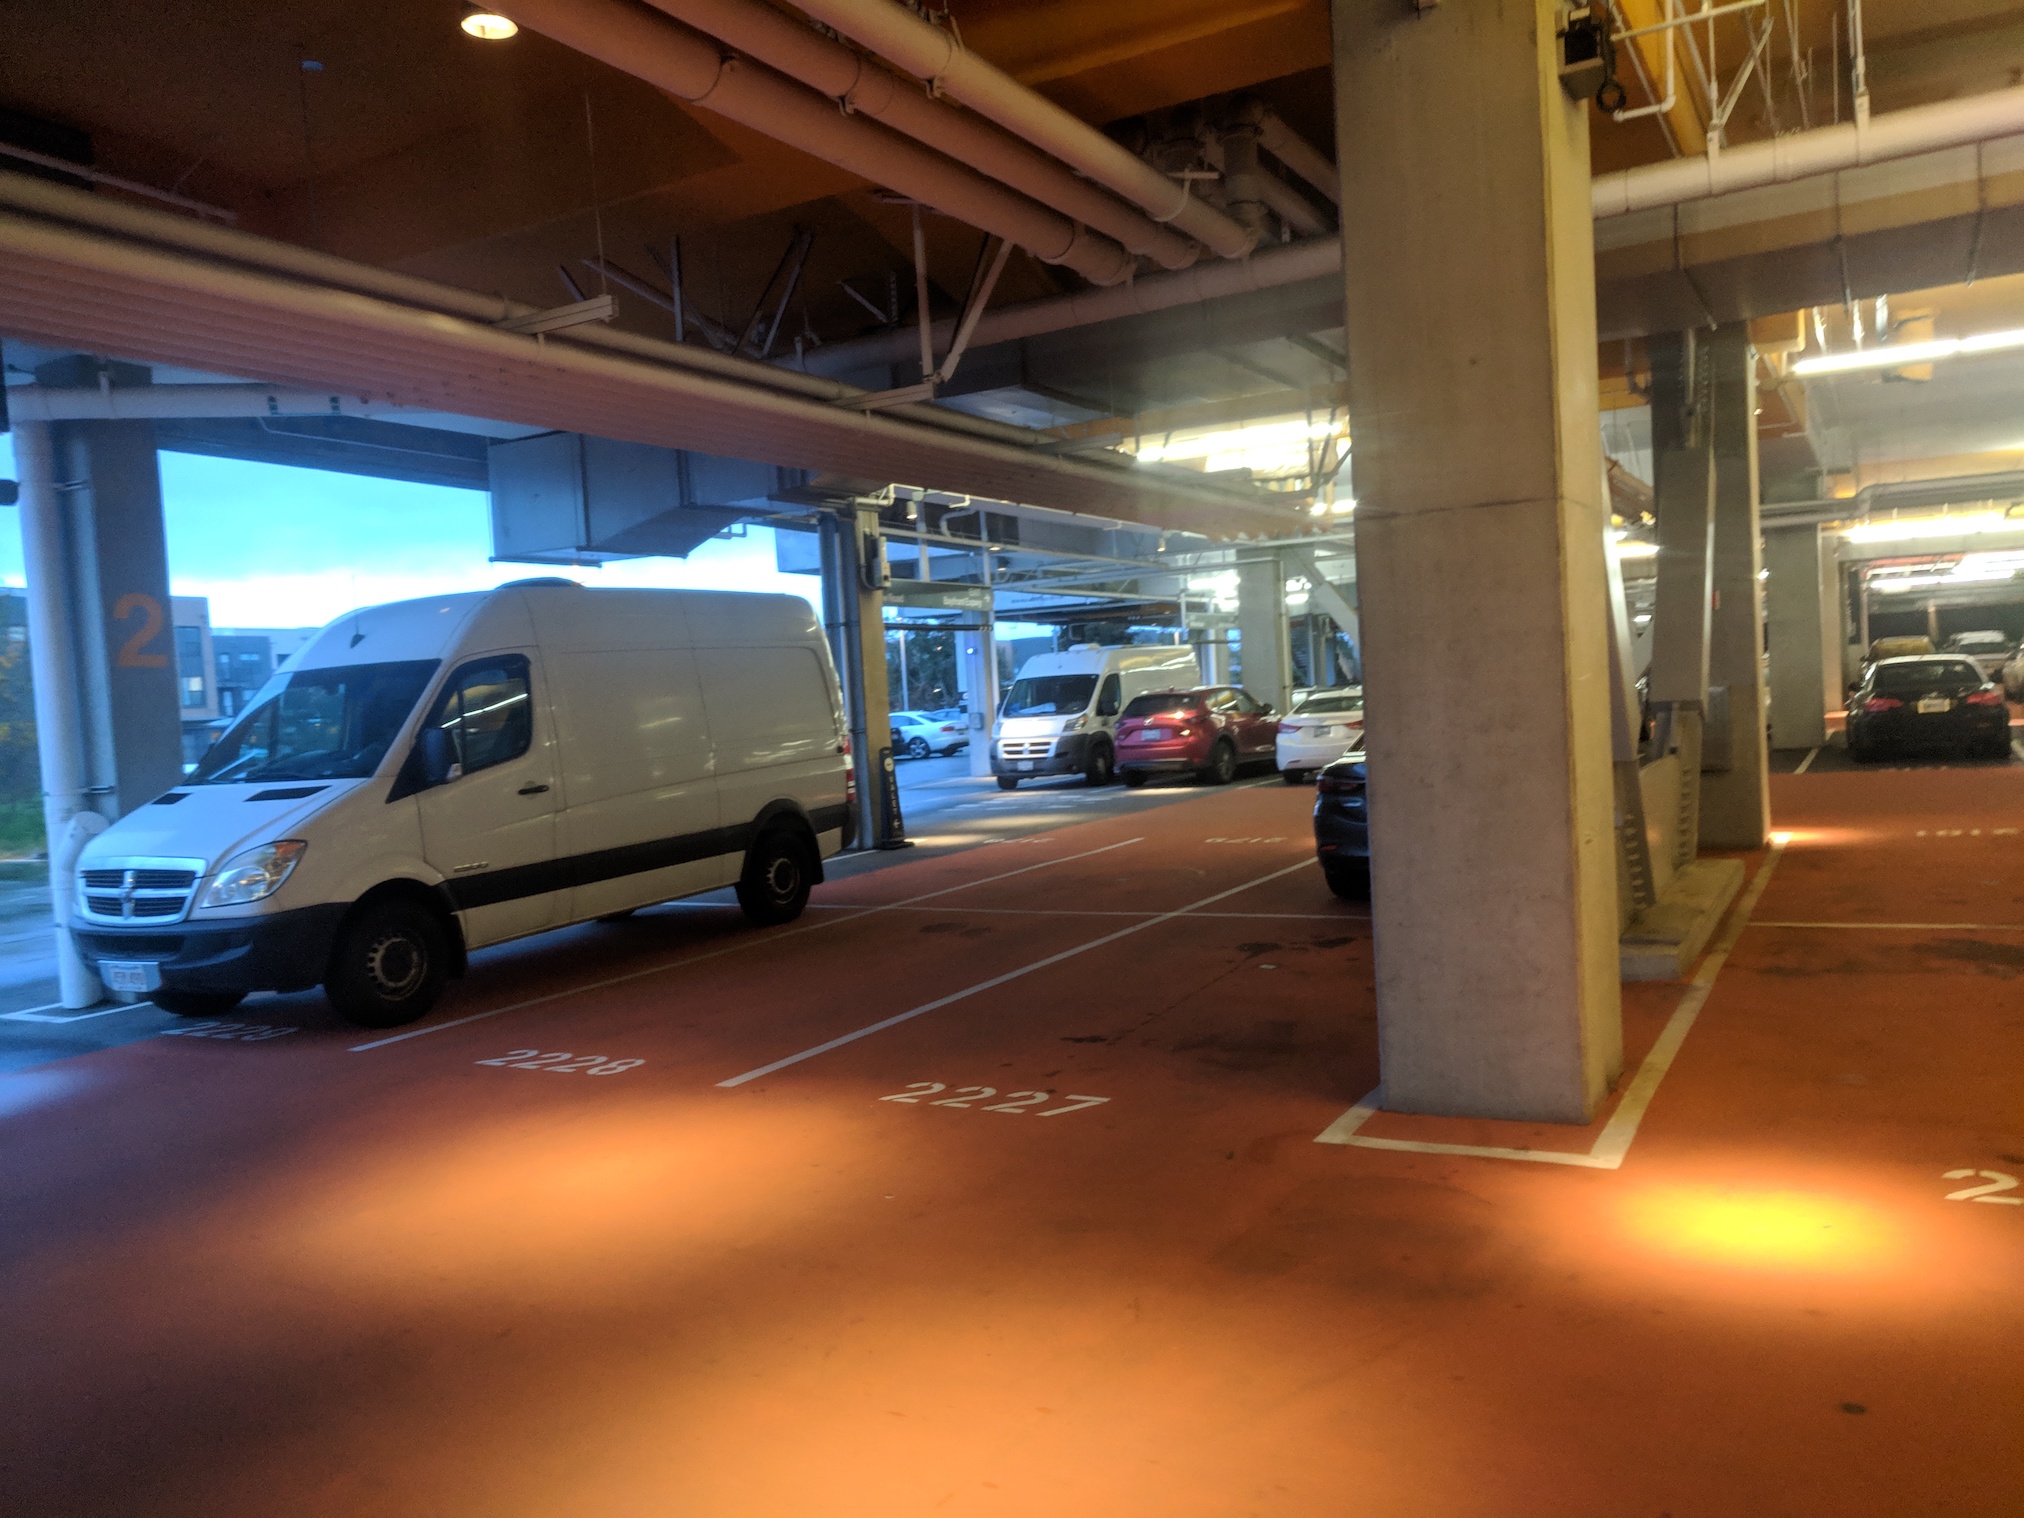 Menlo Park, CA. Spotting a fellow vanlifer in the parking lot at work…
Bed & Layout
The style of bed chosen has a big impact on the final layout of the van - and the bed style is informed by many factors. Some are physical - do you plan to sleep two? Are you under 5’10”? Do you want bike storage in your van?
I opted for a 50” wide bed oriented lengthwise in the van. The 50” width meant that there would be 18” of room on the driver’s side where I would be able to store my bike and clothing in a bedside cabinet. 50” is only four inches narrower than a full size bed, so I figured that it should be plenty comfortable with one and tolerable with two.
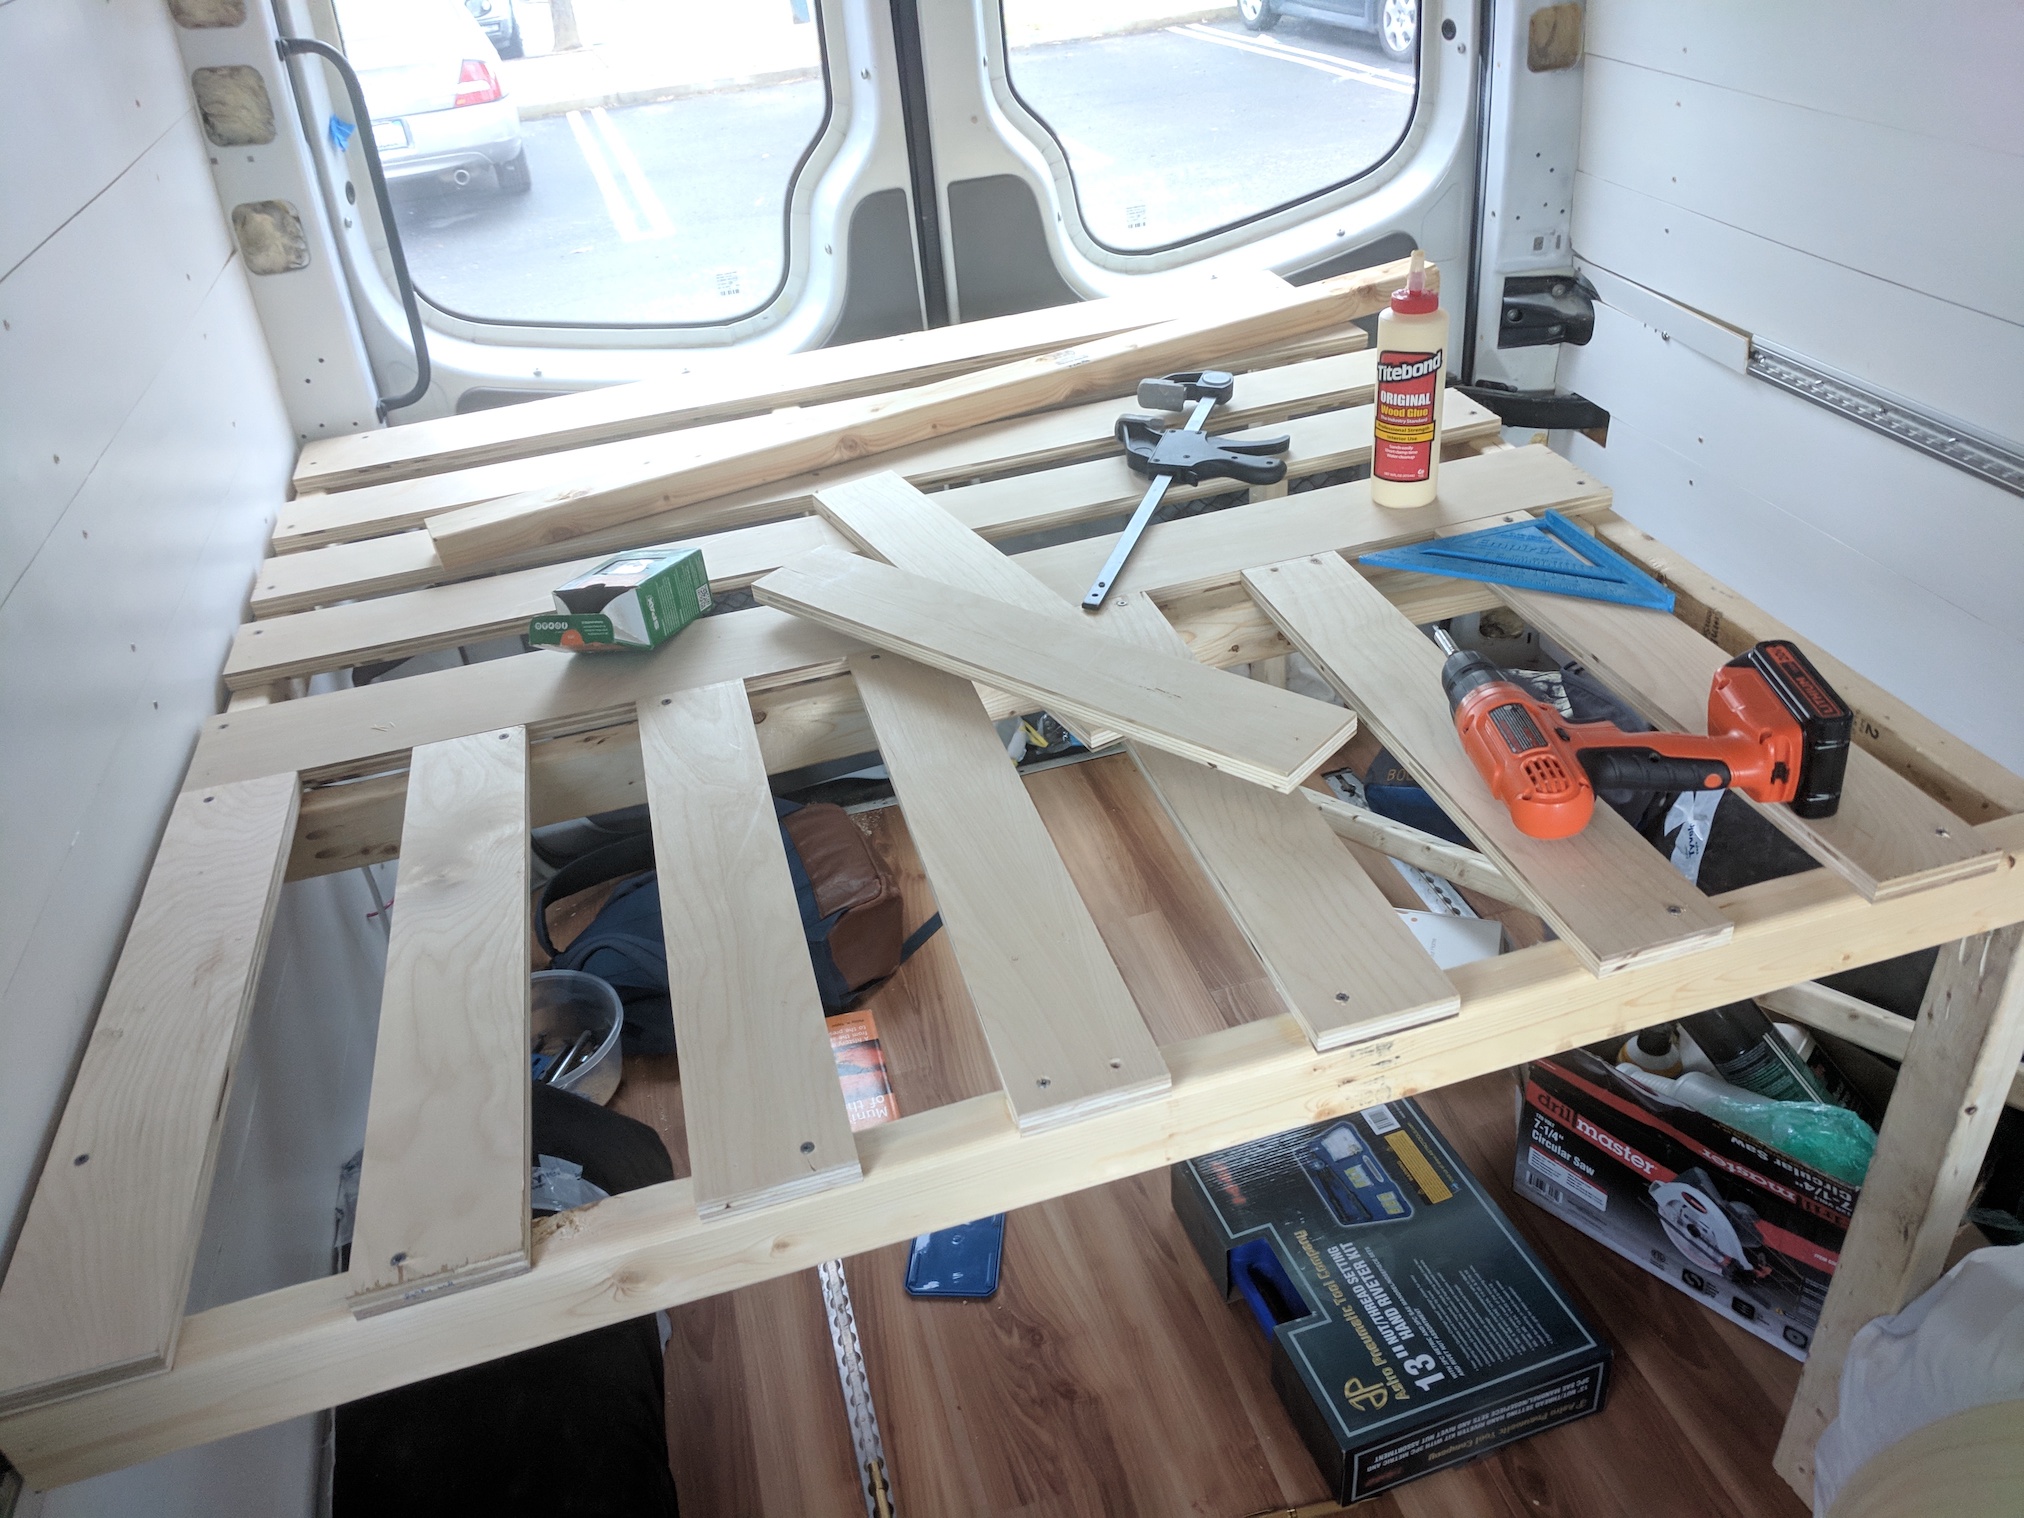
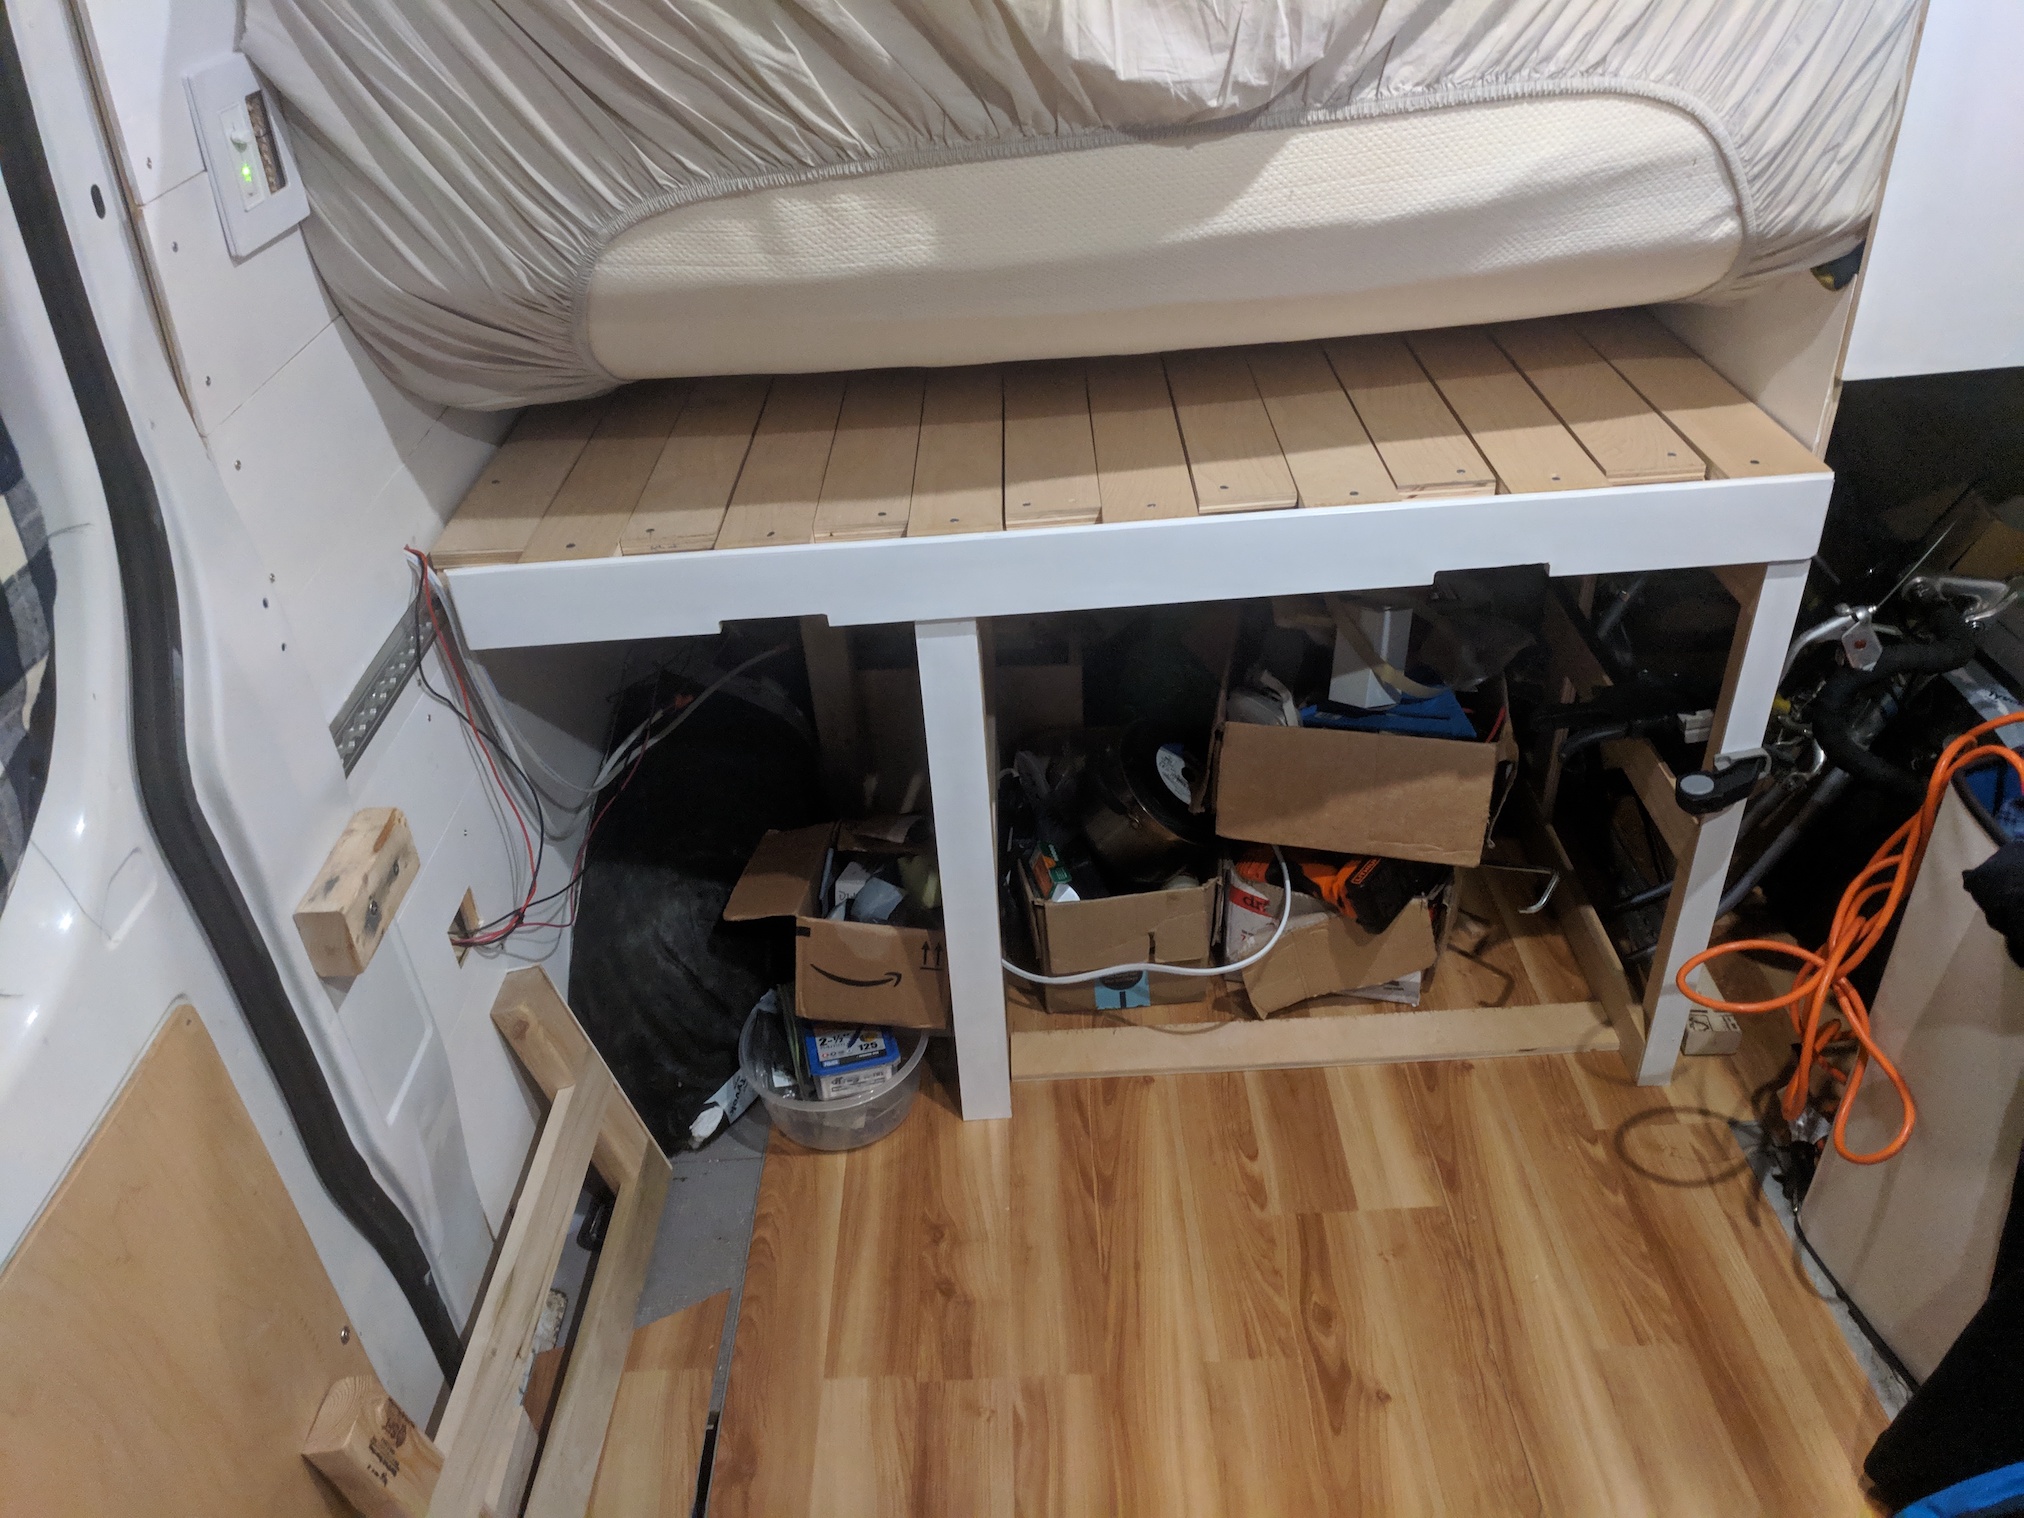
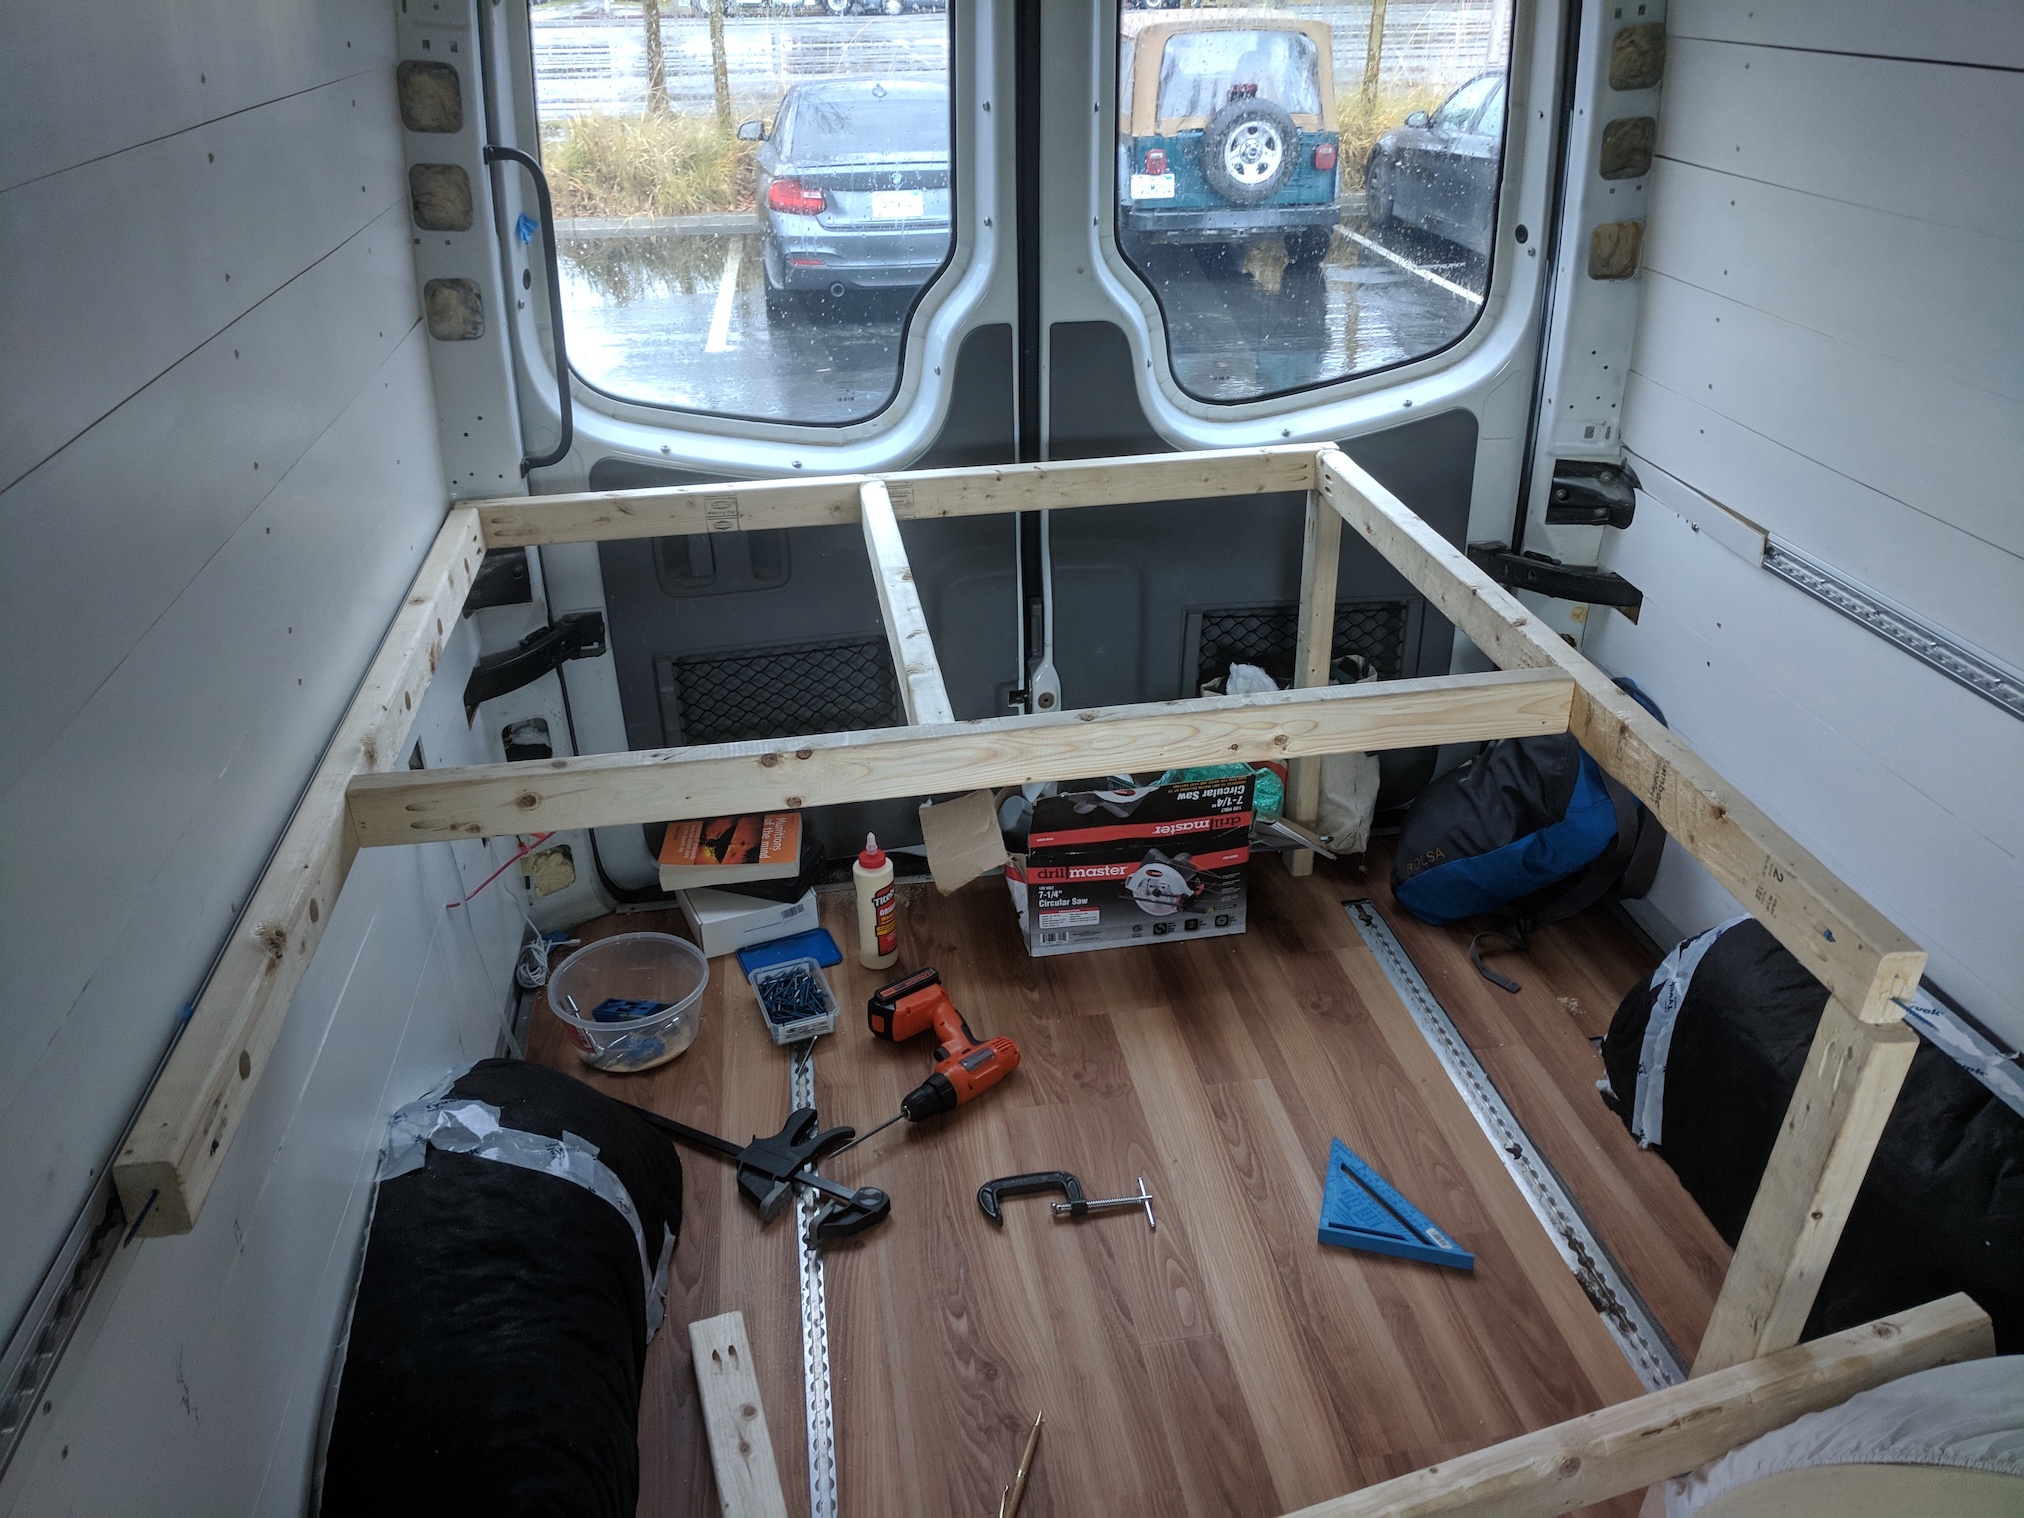 The skeleton frame of the bed
The frame skeleton is constructed with 2x3 lumber and supported on the driver’s side with basic legs. The frame is bolted into the L track on the passenger’s side. The frame pieces are joined primarily with pocket holes and glue.
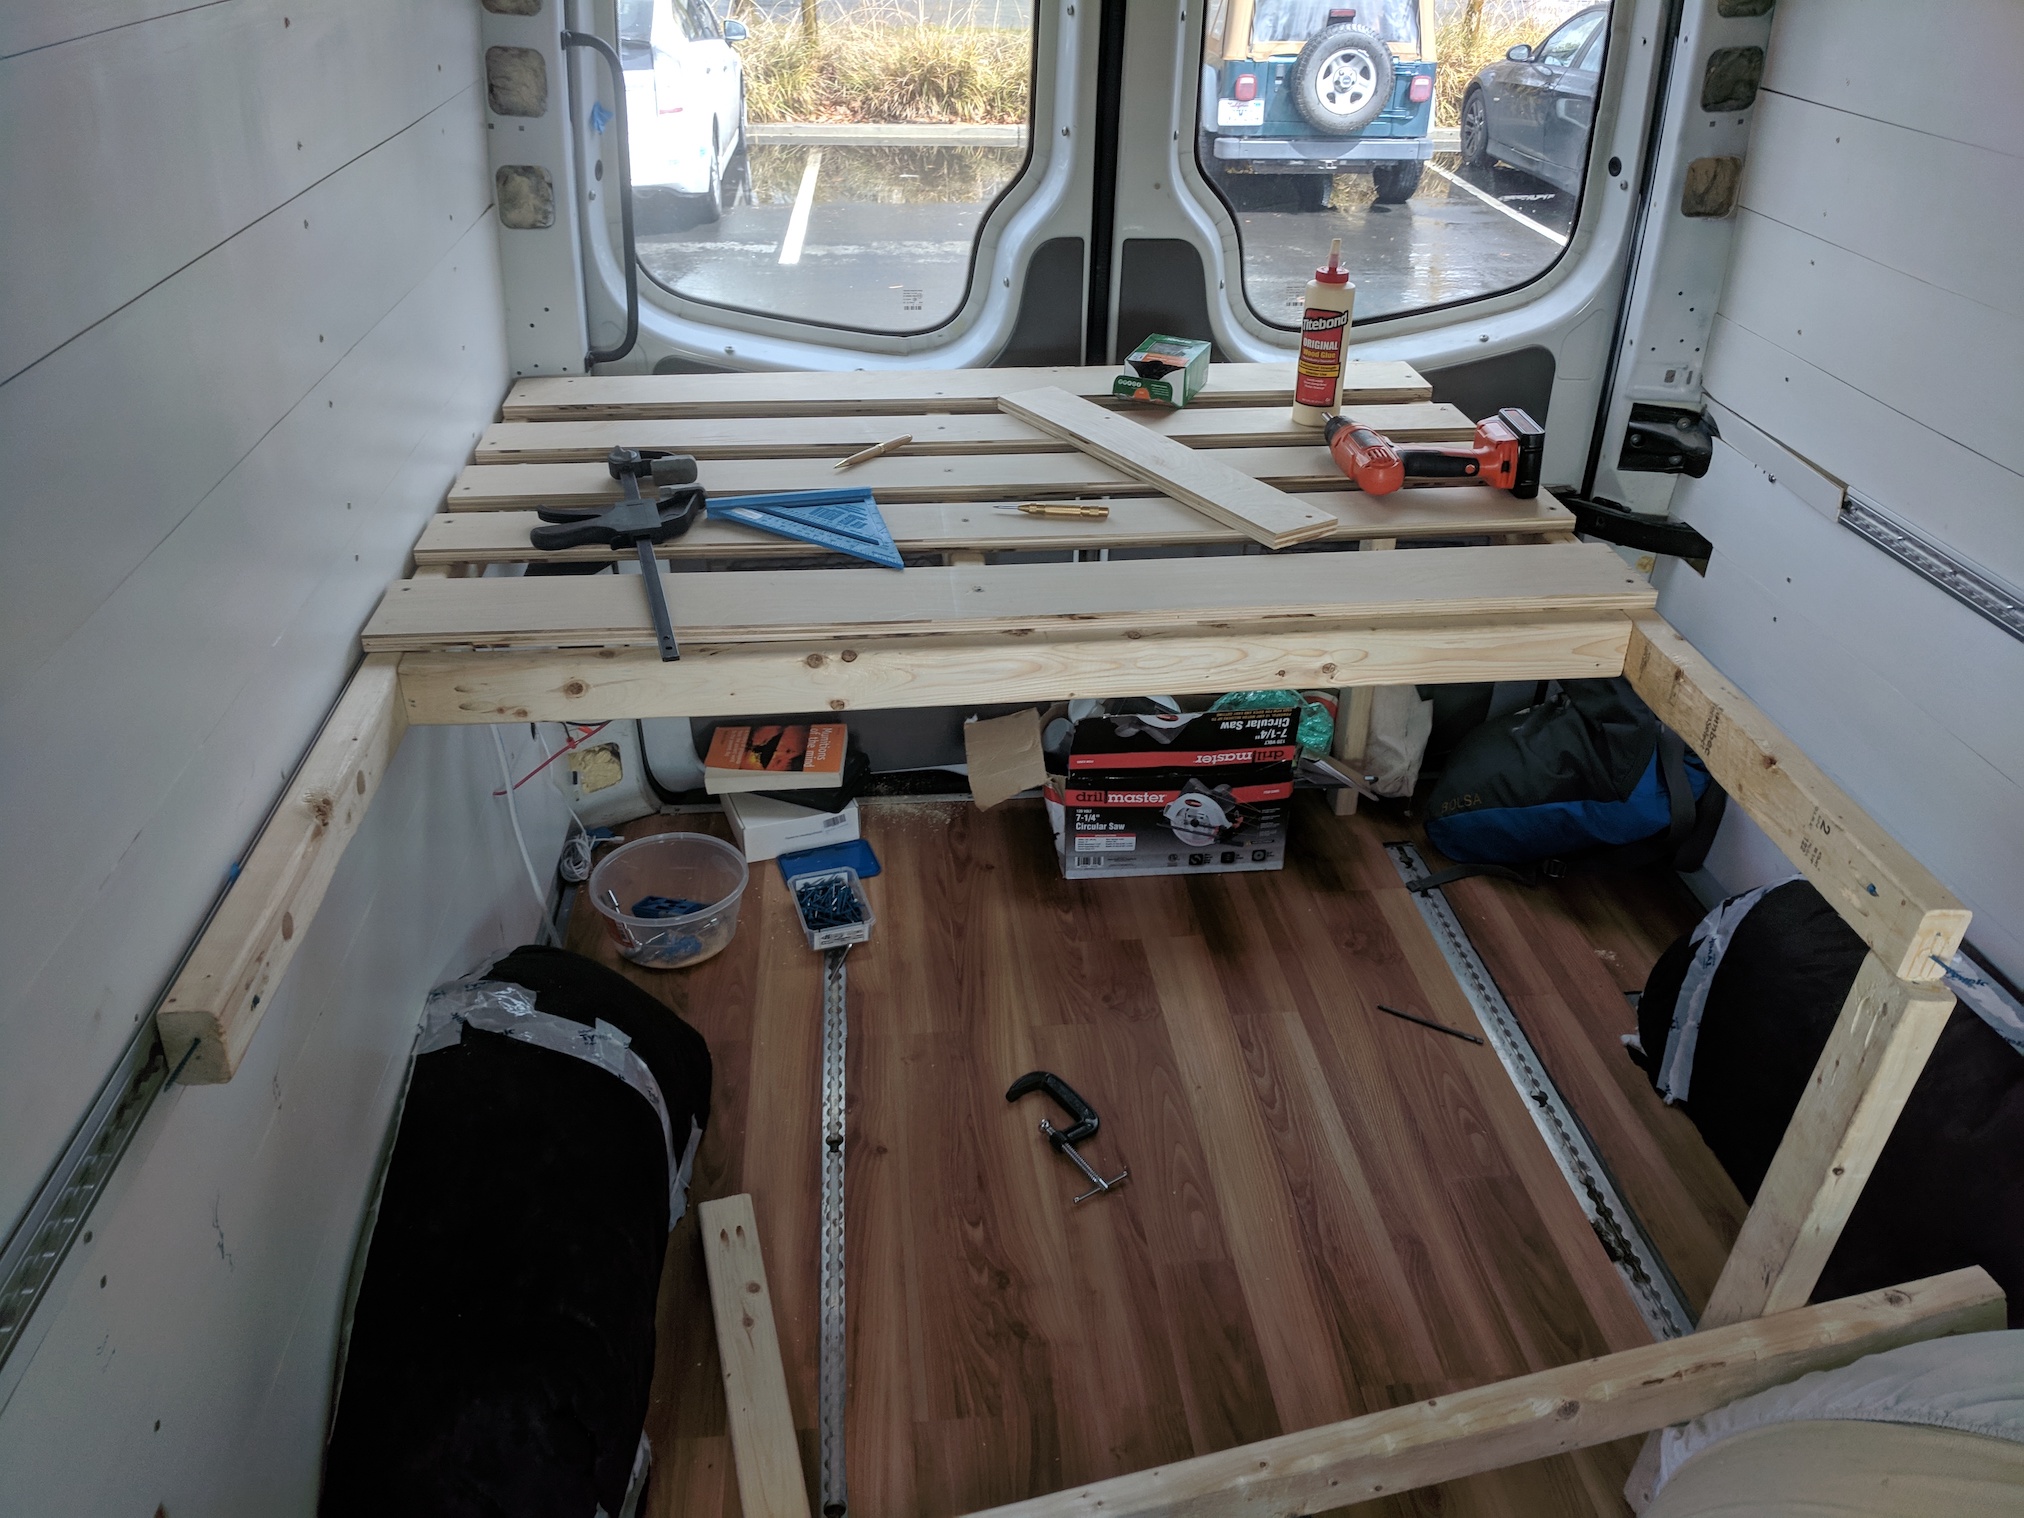 Fixing the slats - 3/4” birch ply
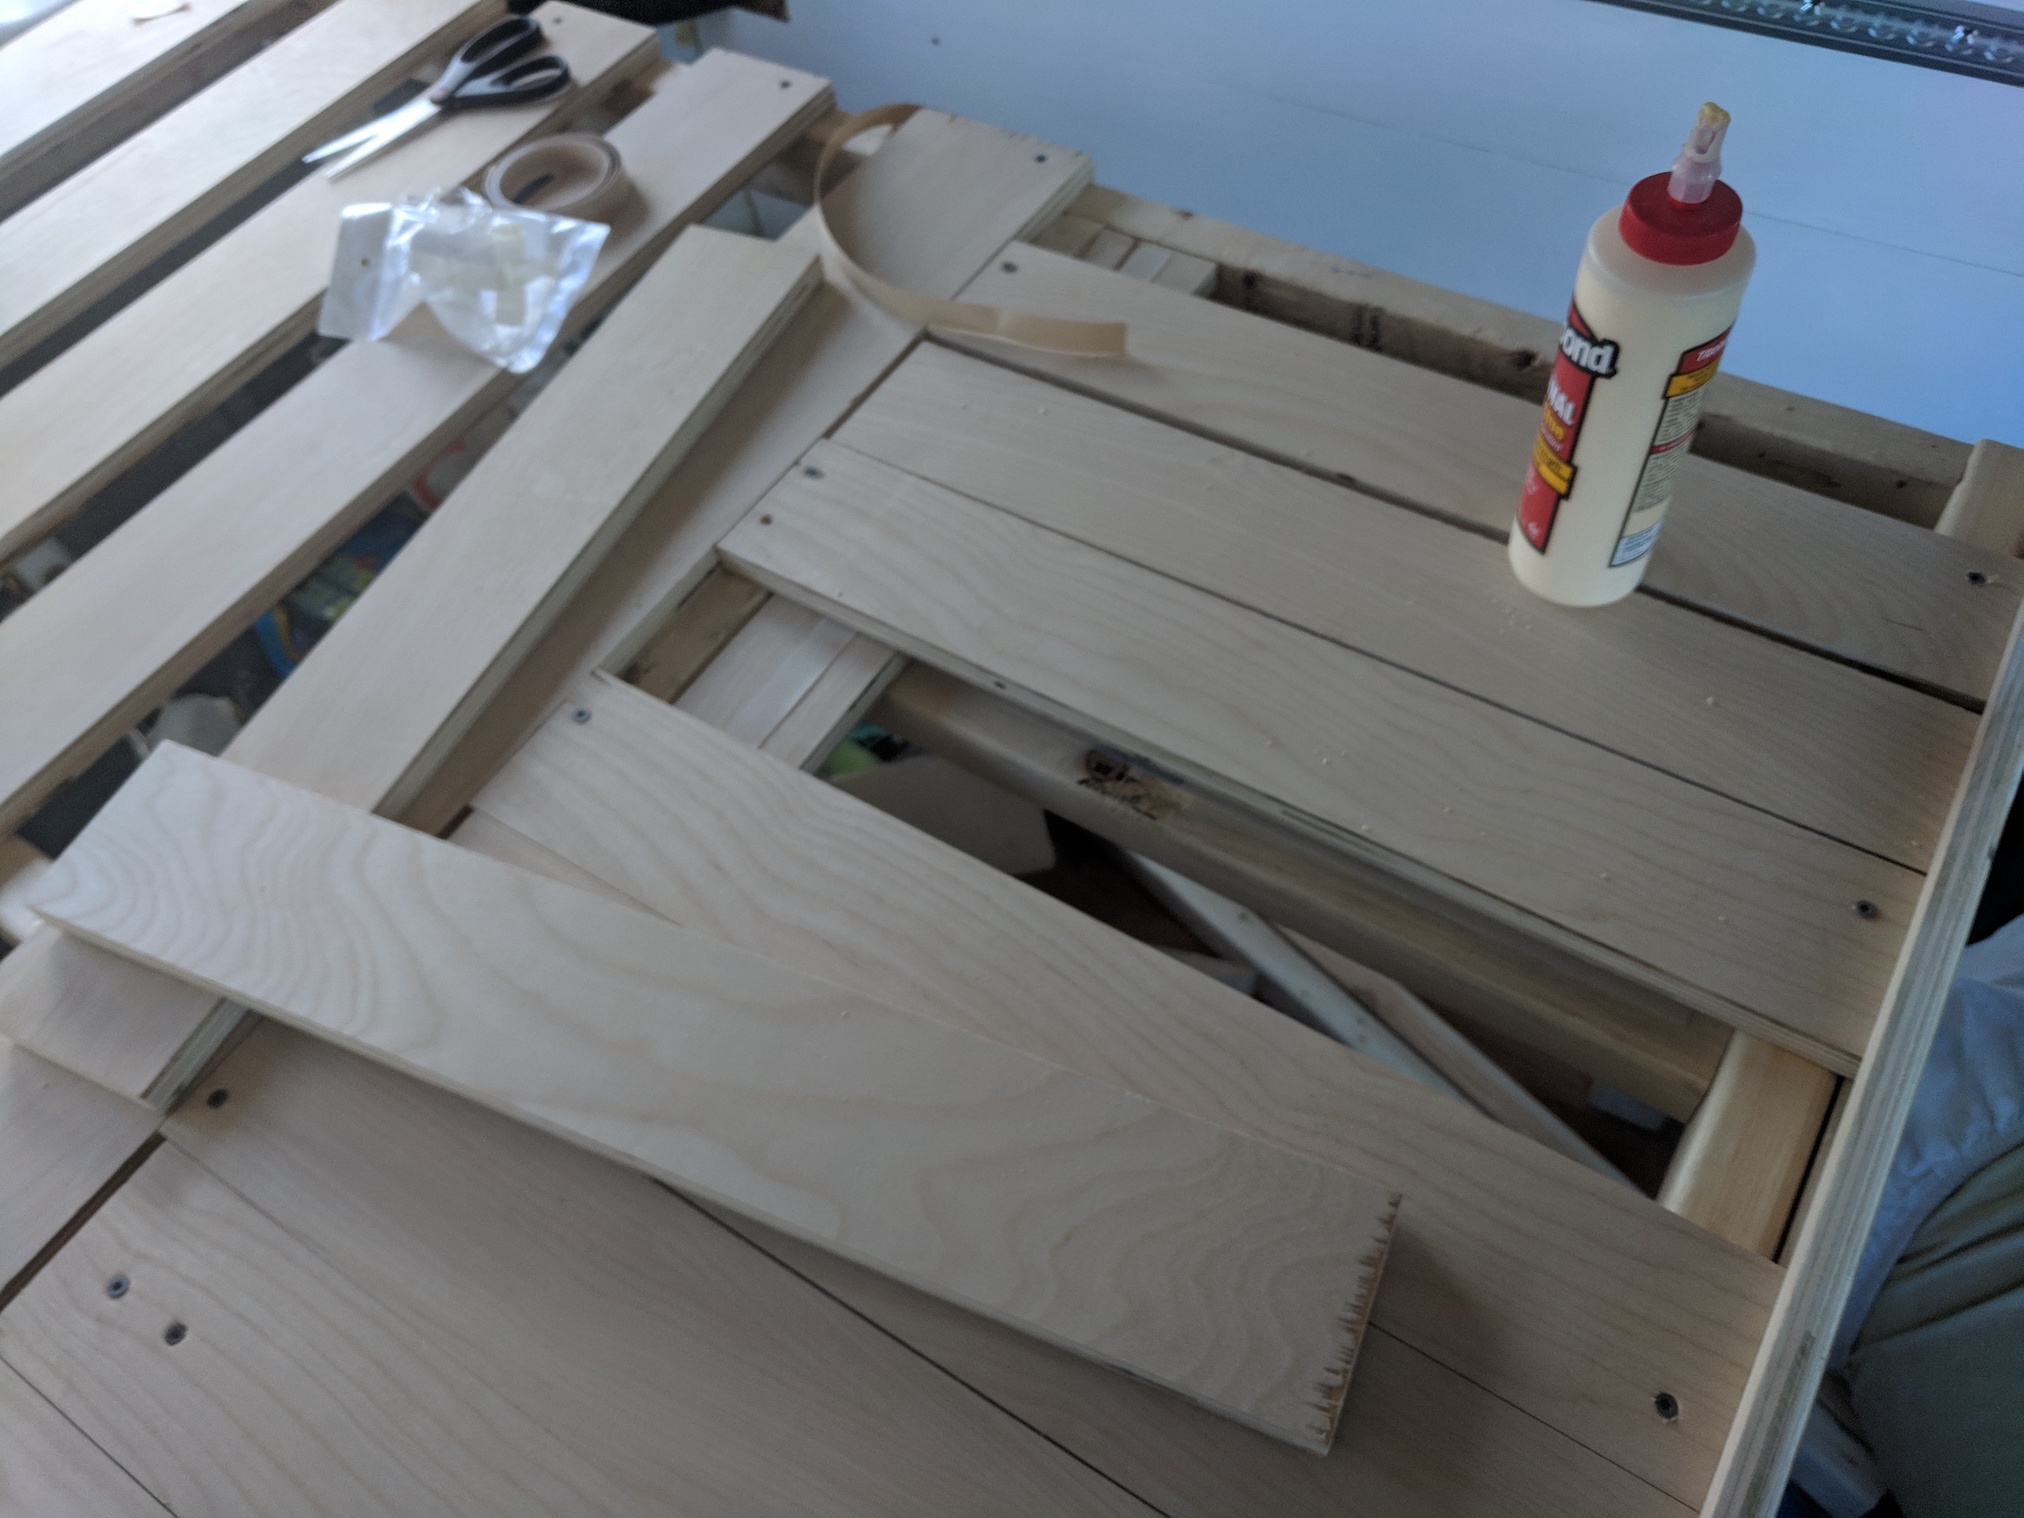
You might notice that the foot of the bed seems to be reserved for a different construction strategy. I planned for a collapsible foot of the bed using vertically oriented slats that could be pulled in and out. Ideally this would allow approximately 14” of extra floor space in the living area while only adding a minimal amount of effort for pulling out the bed each day.
 Fixing the vertical slats
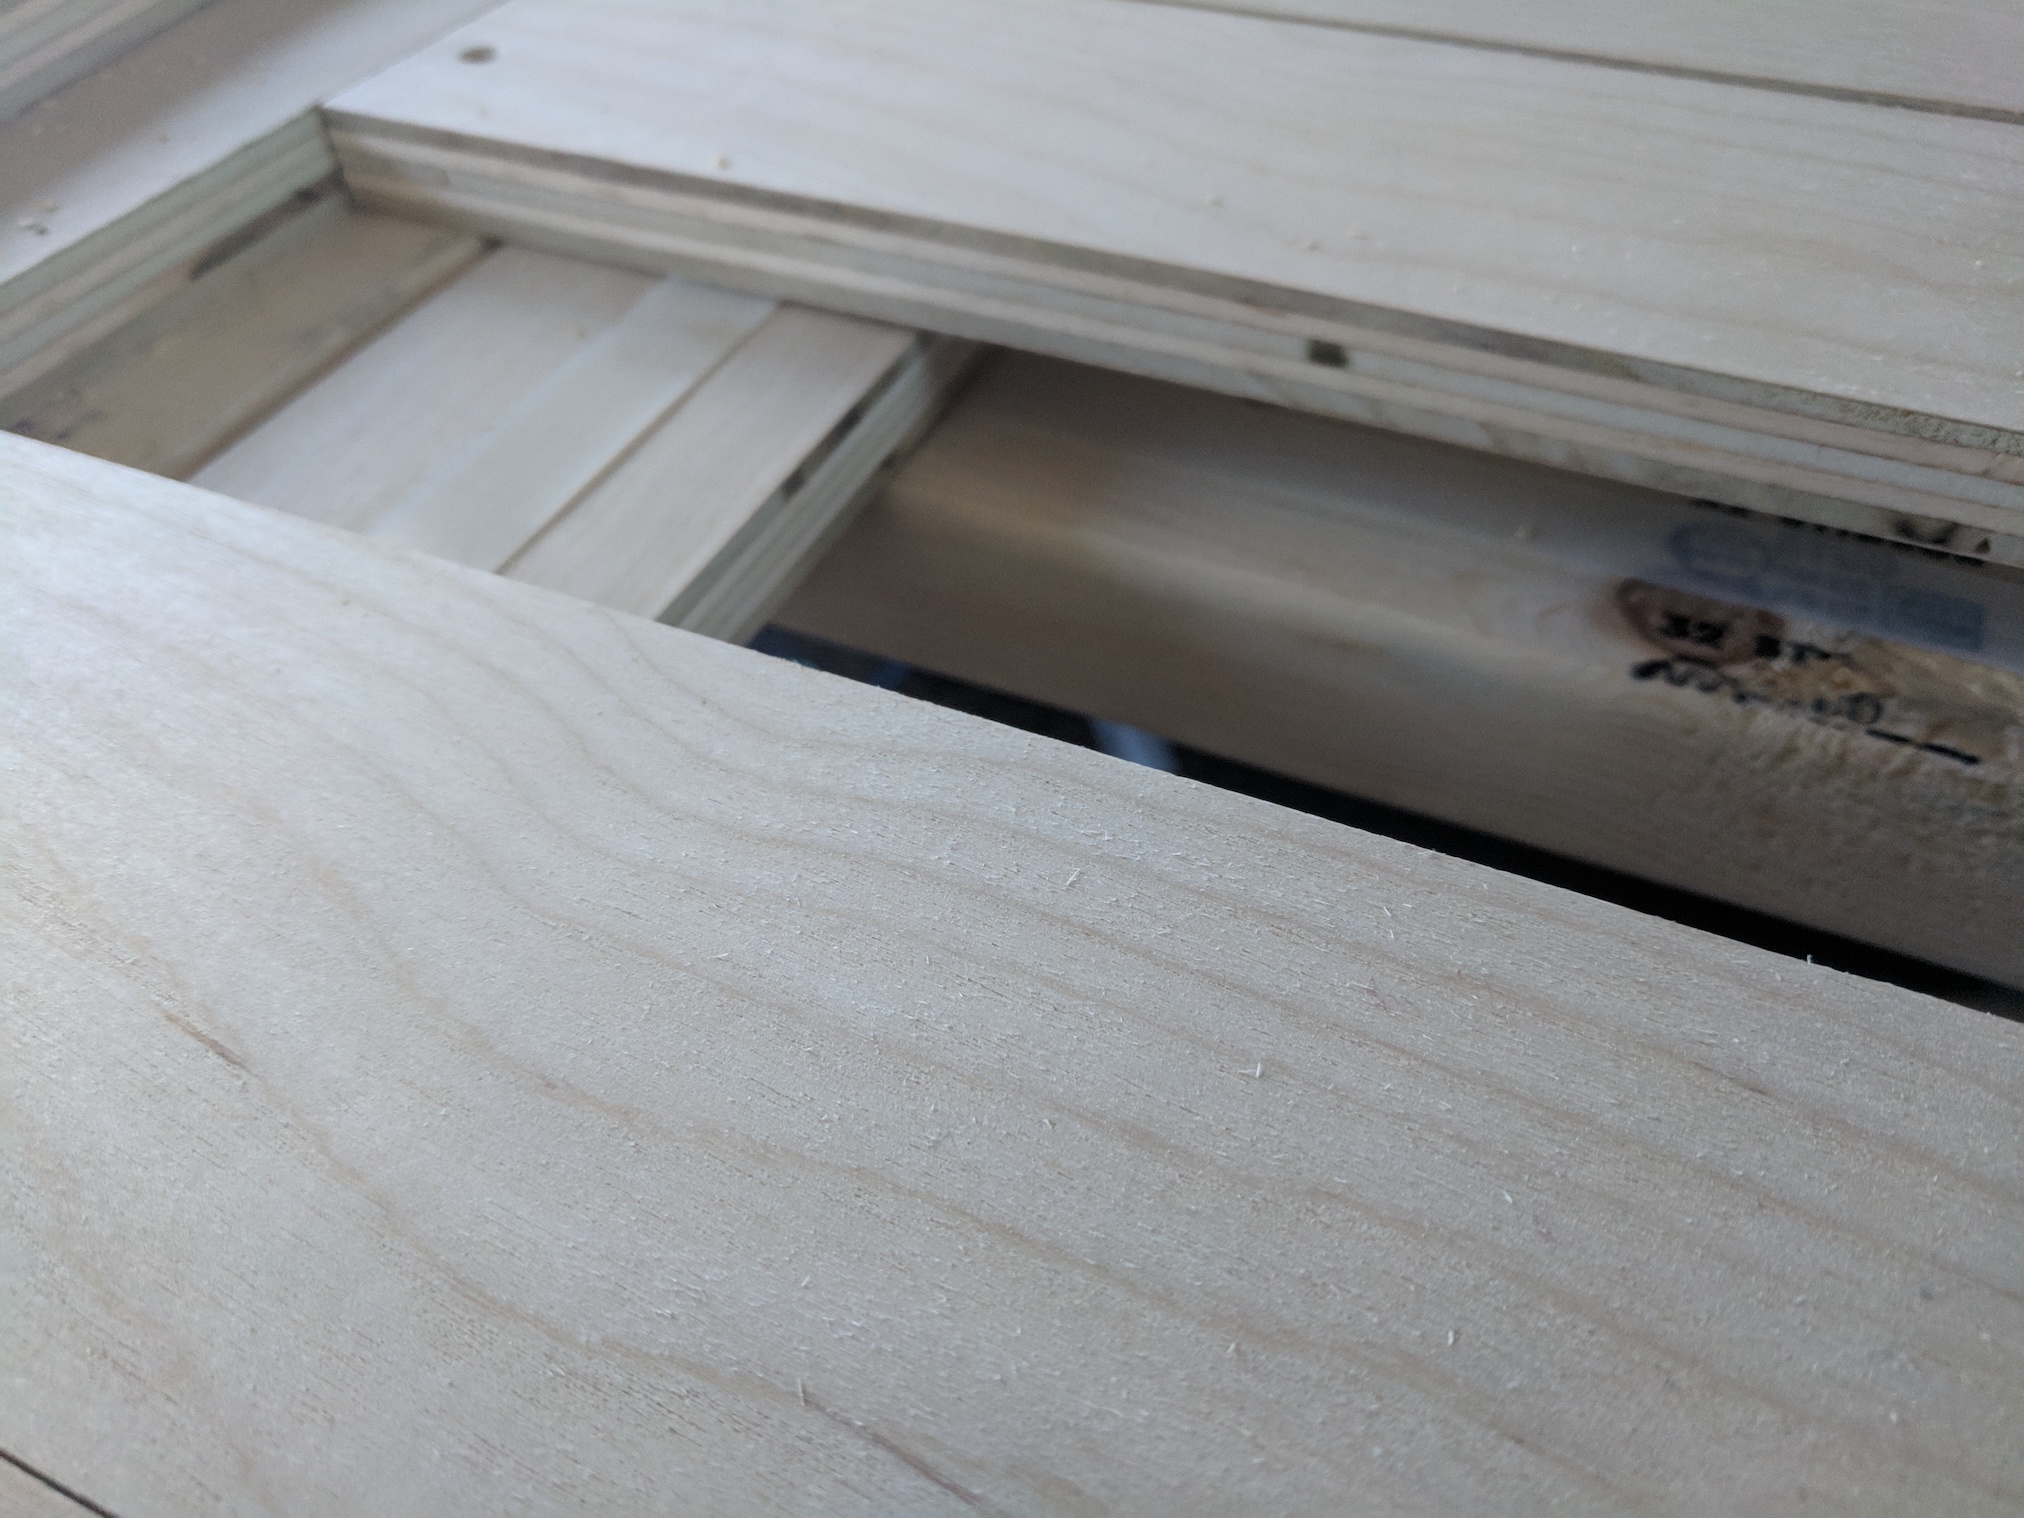
Building the extension portion was tricky. I decided to screw the movable slats to a piece of 3/4” plywood that lay sandwiched underneath the fixed vertical slats and above a pair of beams that was attached to the frame. You can make out this piece of plywood (with some nylon tape to reduce friction) and the support beams in the following pictures:
Here are some photos of the bed throughout various stages of the construction process - some of the future furniture pieces are revealed in these photos, but I actually couldn’t find any finished-product pictures from the original construction period.
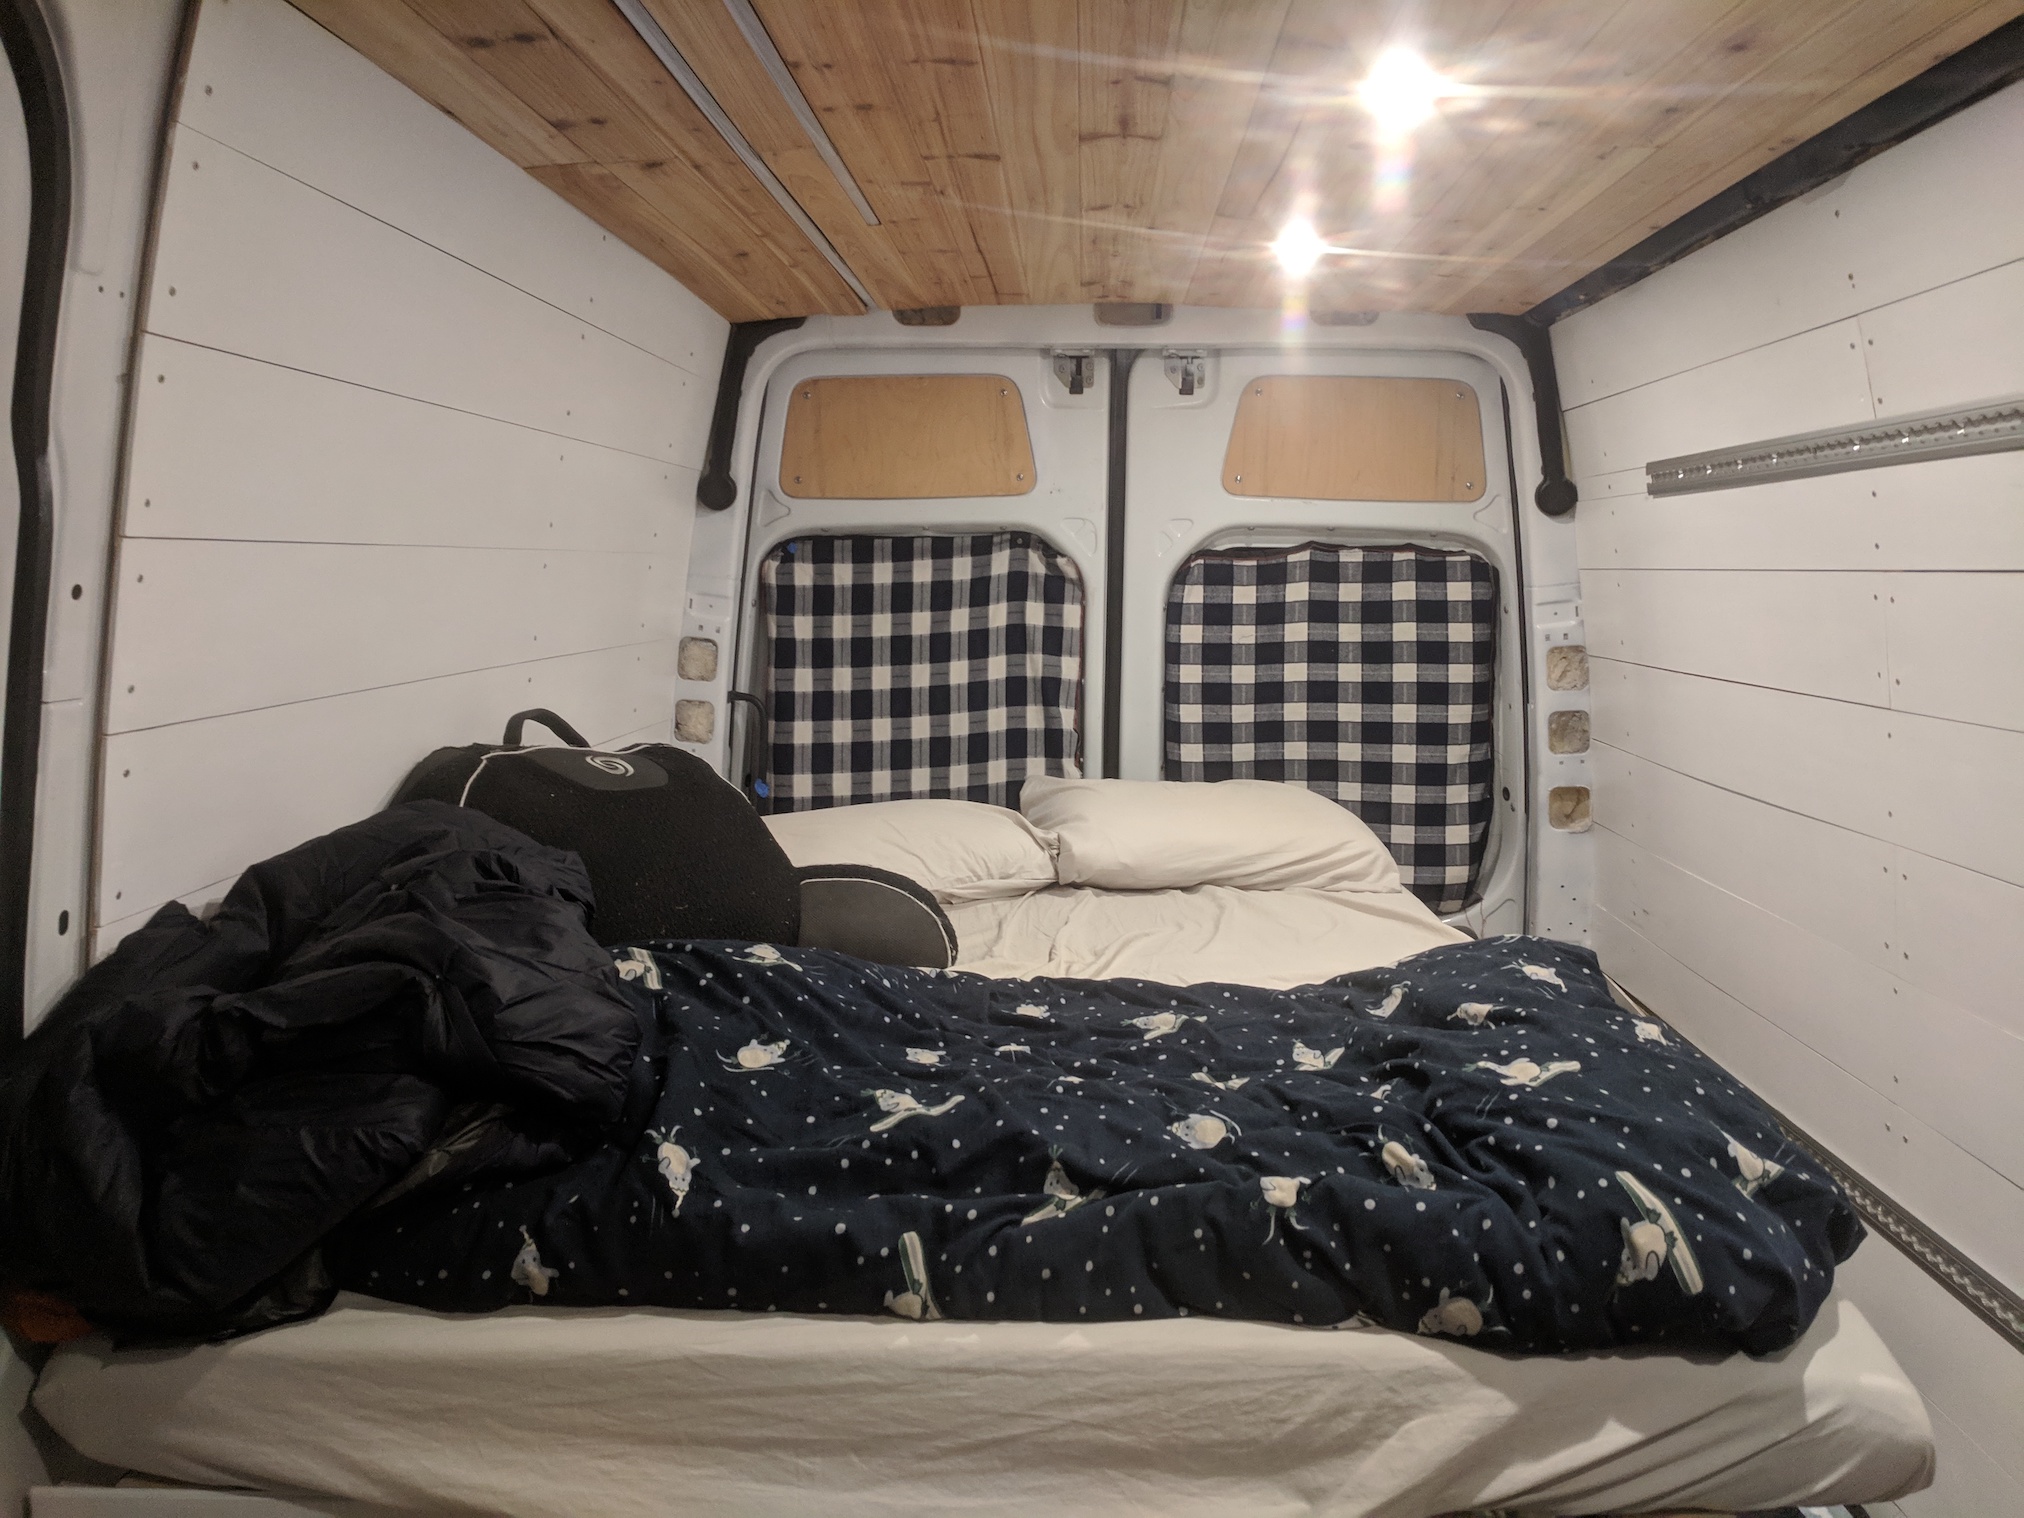 Starting to feel homey!
 Mattress lifted up showing extension in closed position. Note the block of wood bolted near the sliding door used to support weight on the extension when it’s pulled out.
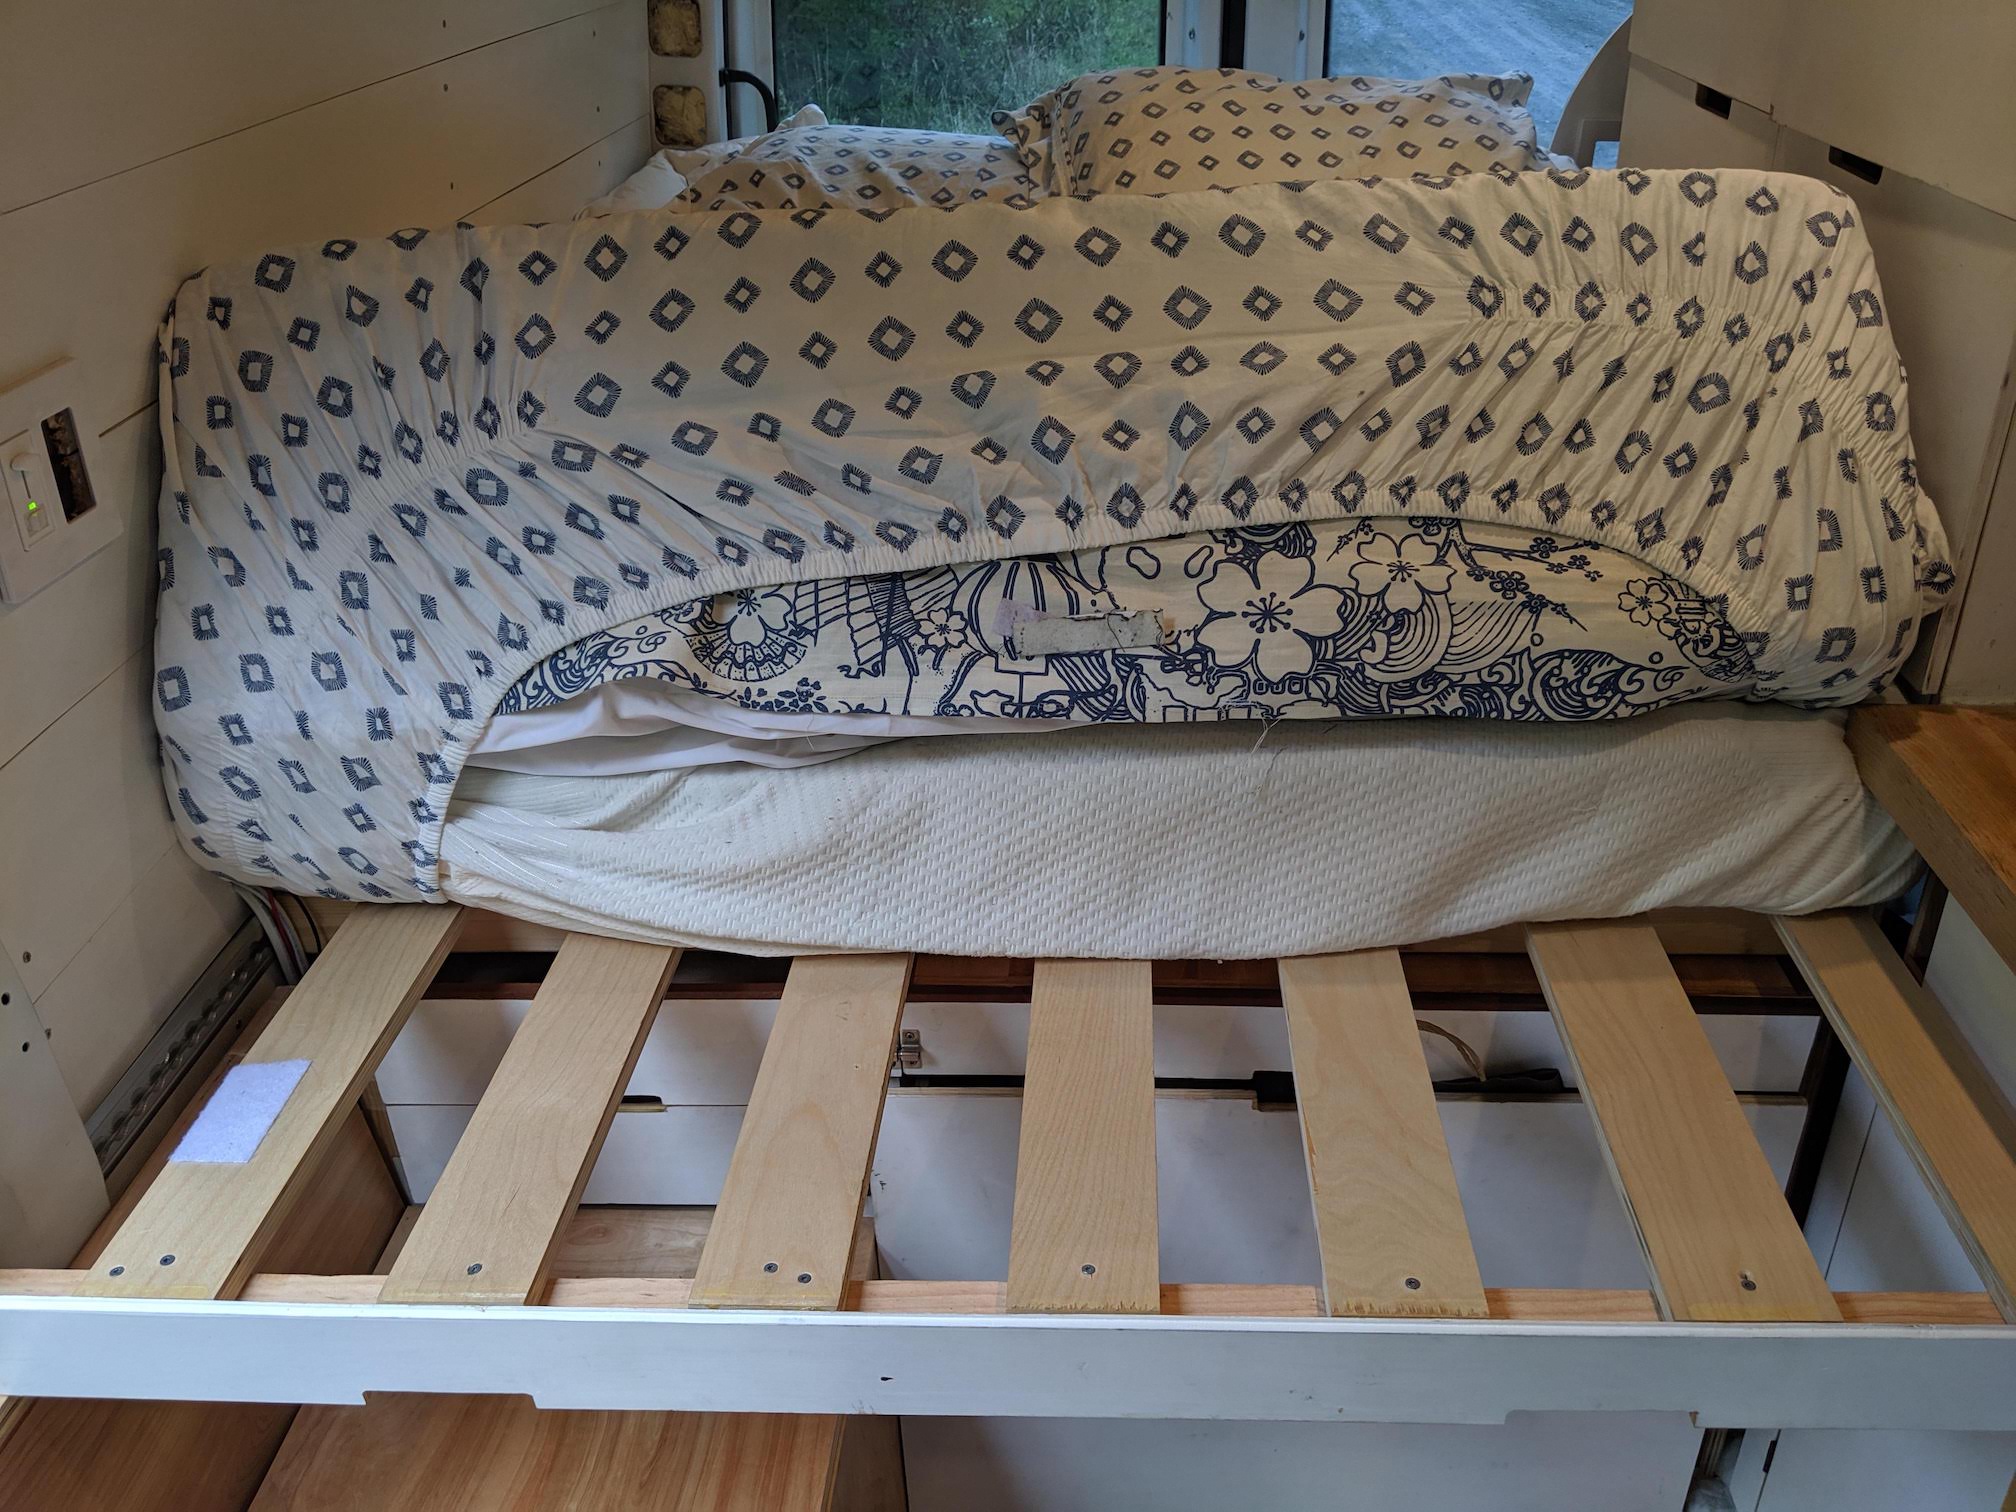 Mattress lifted up with extension in open position
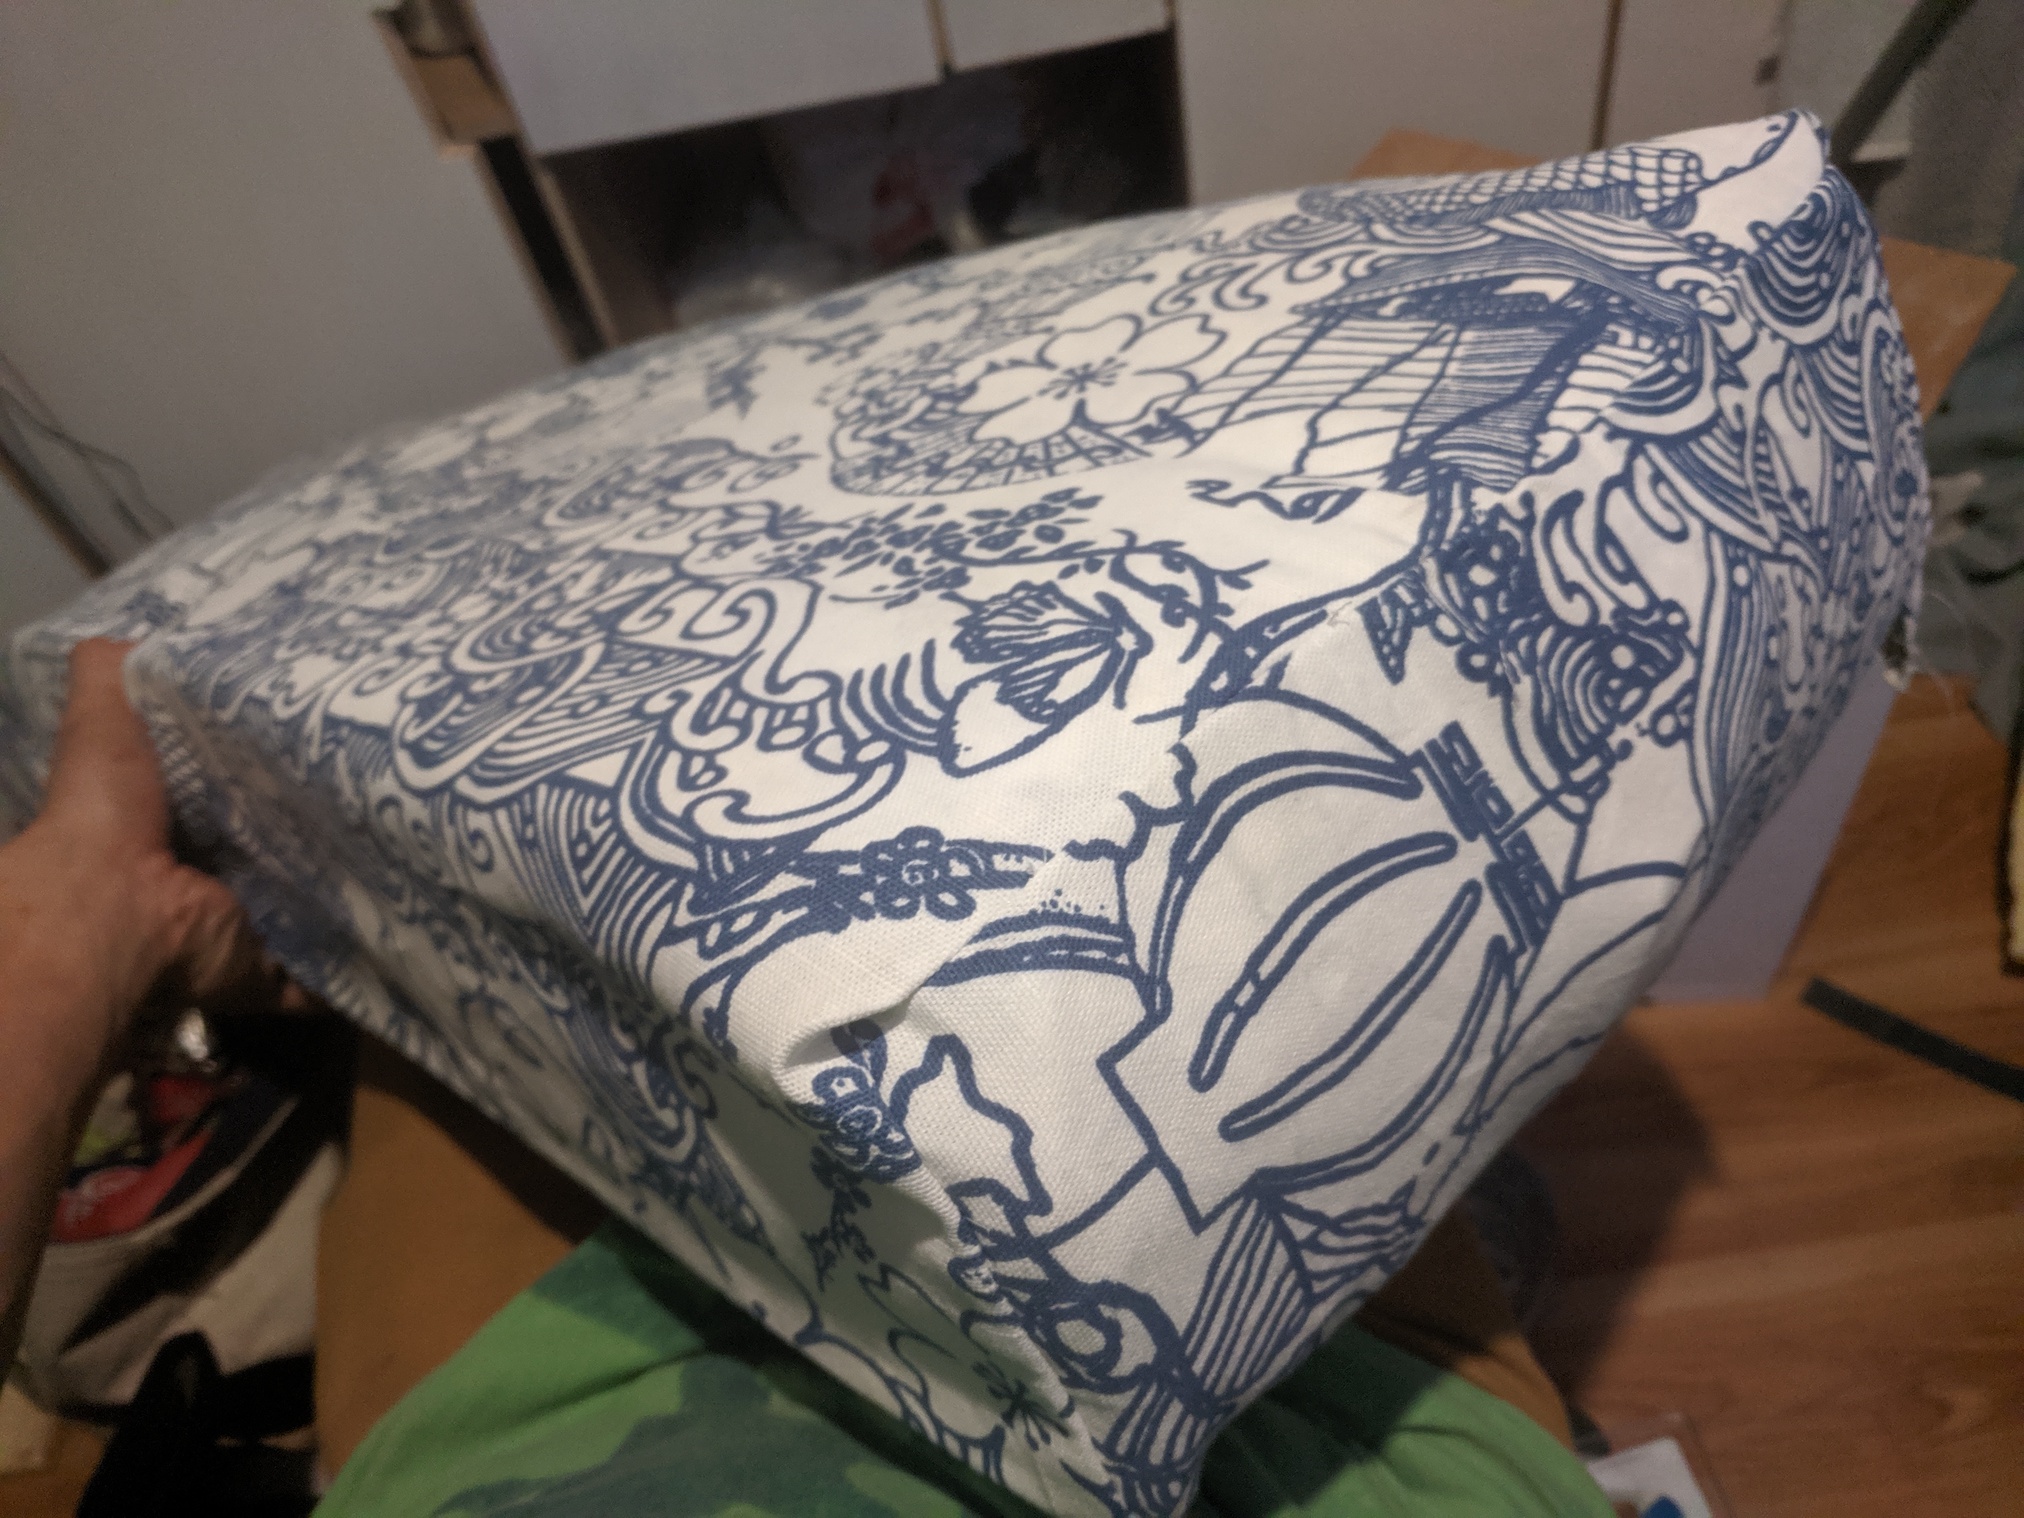
Preparing the Mattress
I ordered a 6” foam mattress on Amazon and used a bread knife to cut it to the necessary 50” width. I also cut it across into two pieces so that it could fold easily when the bed frame is in closed mode and sewed a custom cover for the extra mattress piece using upholstery fabric