THE VAN PROJECT - Walls and Ceiling
This is the third post in a series that serves as the primary documentation of how I purchased and converted a 2008 Dodge Sprinter Van to a full-time living space.
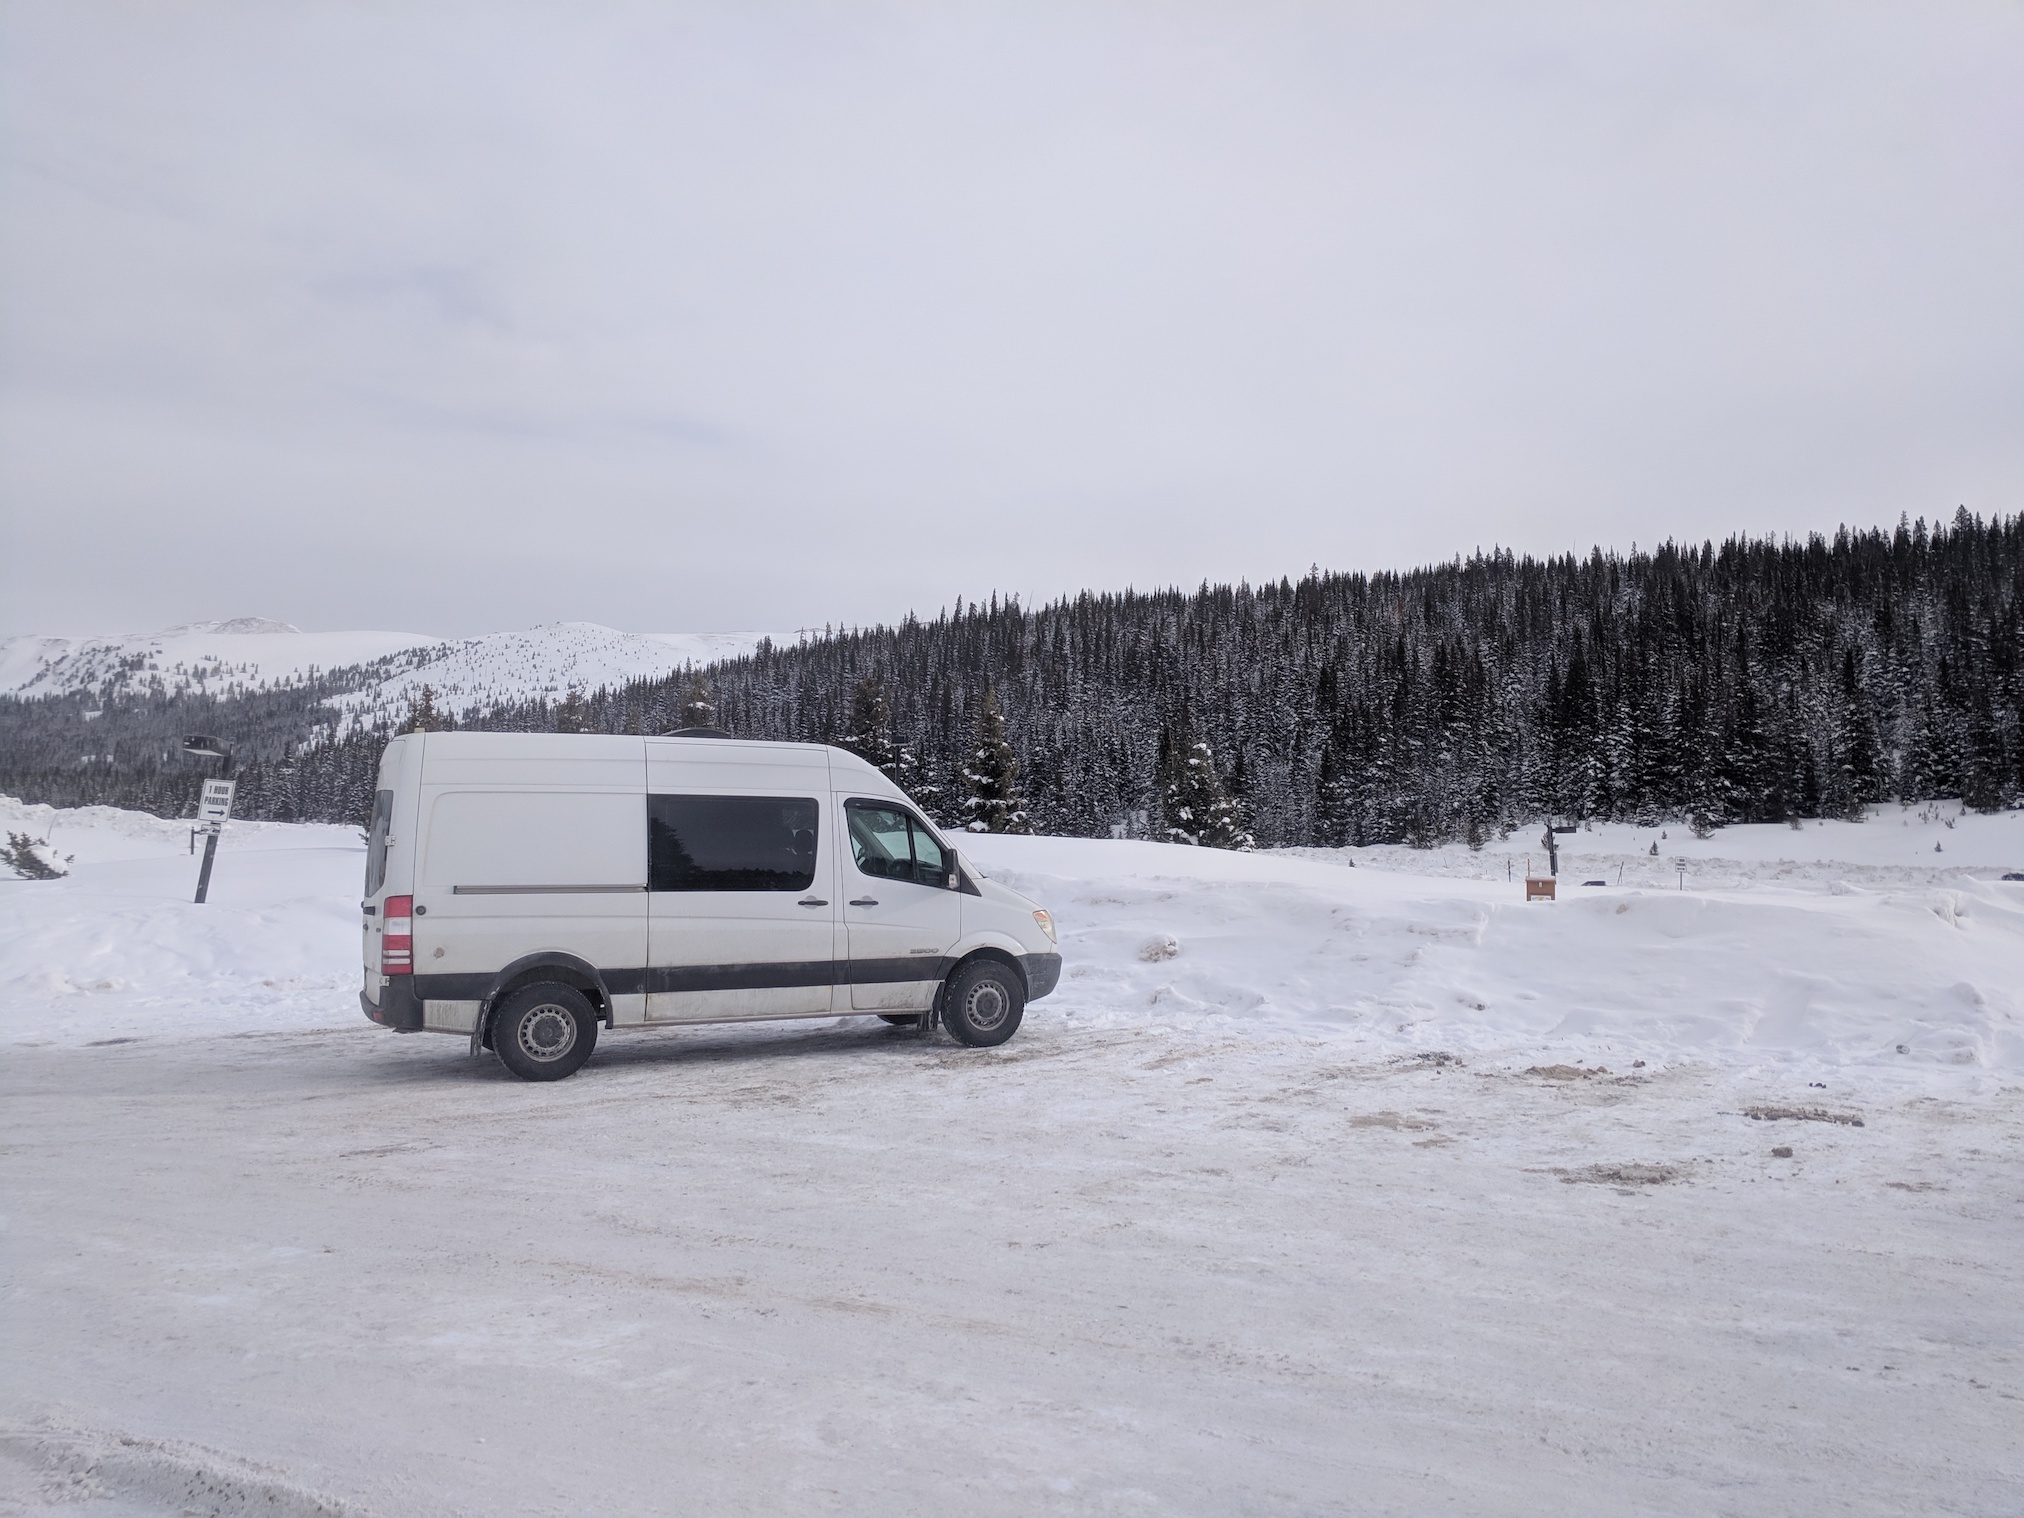 Vail, CO
Walls
The van came with 1/4” unpainted maple plywood walls. They did the job of covering the insulation, but I wanted something a bit more aesthetically pleasing. My grand vision called for white plank walls (somewhat similar to shiplap) which would require installing furring strips (studs, basically) to the van’s steel walls in order to provide mounting points for each plank. I also wanted to install L-track, essentially a metal rail attached directly to the steel walls (this is what I planned to attach all my furniture to), which meant that the total thickness of my studs + walls ideally would have to come to about 1/2” total in order to allow everything to be flush.
The first step was to install 1/4” furring strips along the sides of the van. I re-used the ceiling maple plywood, cutting them into roughly 3” wide strips and using sheet metal screws to attach the wood strips to the van walls. The maple plywood is actually not super strong, and if I did this again I would probably choose a higher quality ply like baltic birch. However, since the walls themselves won’t be load-bearing, it just needs to be strong enough to hold up the wall planks themselves.
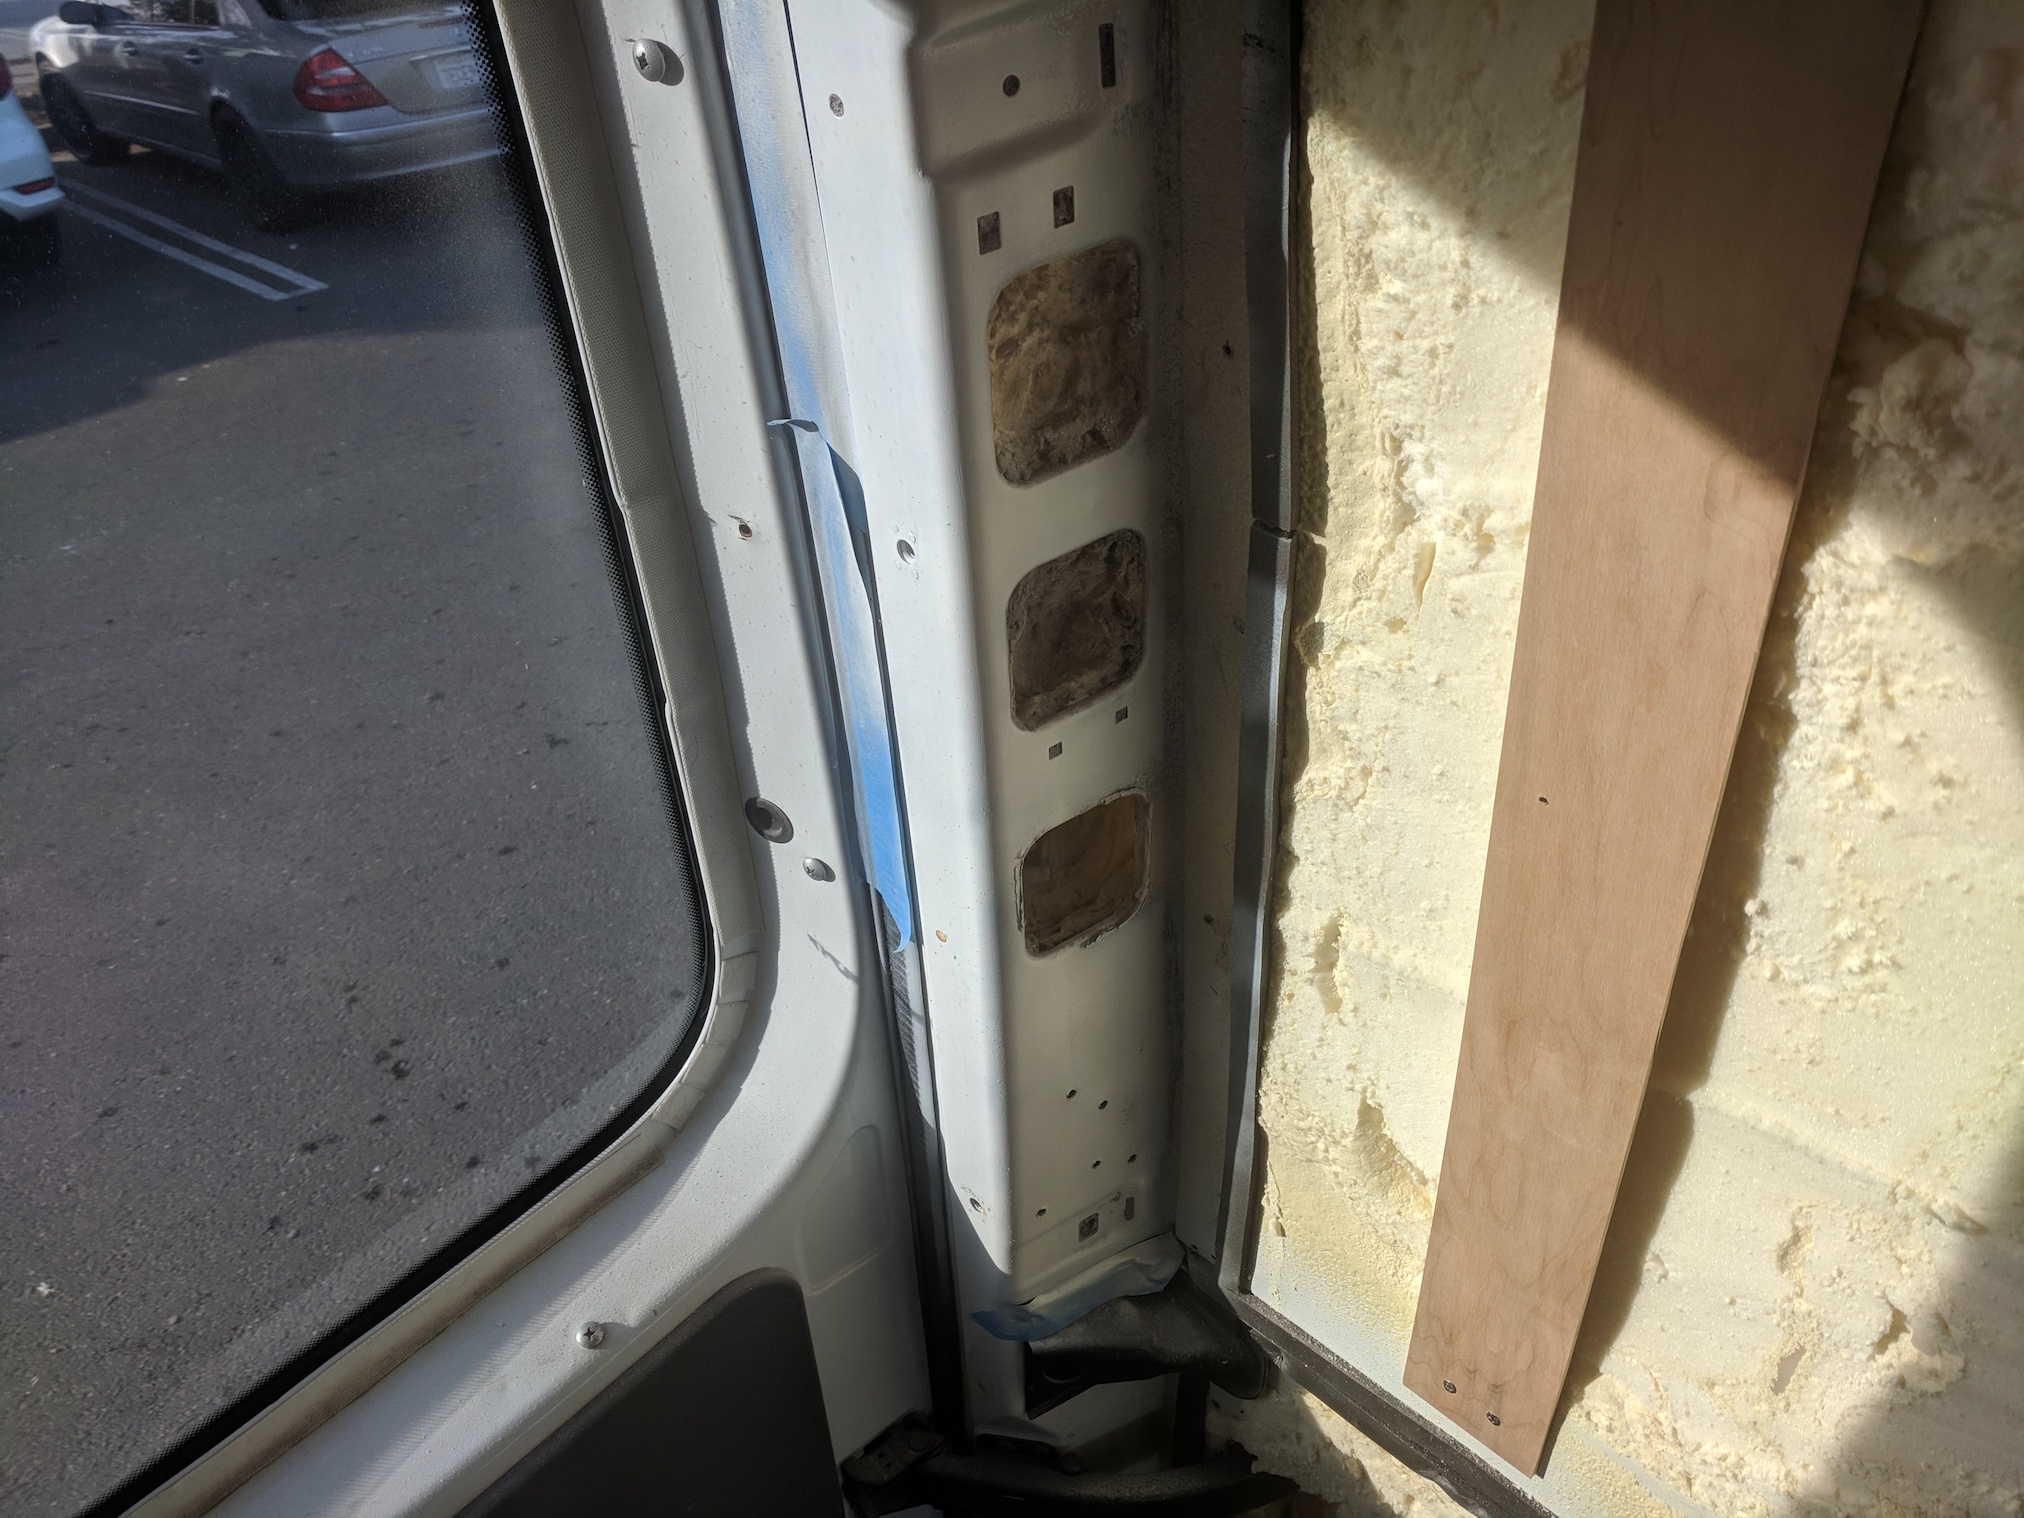 A furring strip attached to the van wall
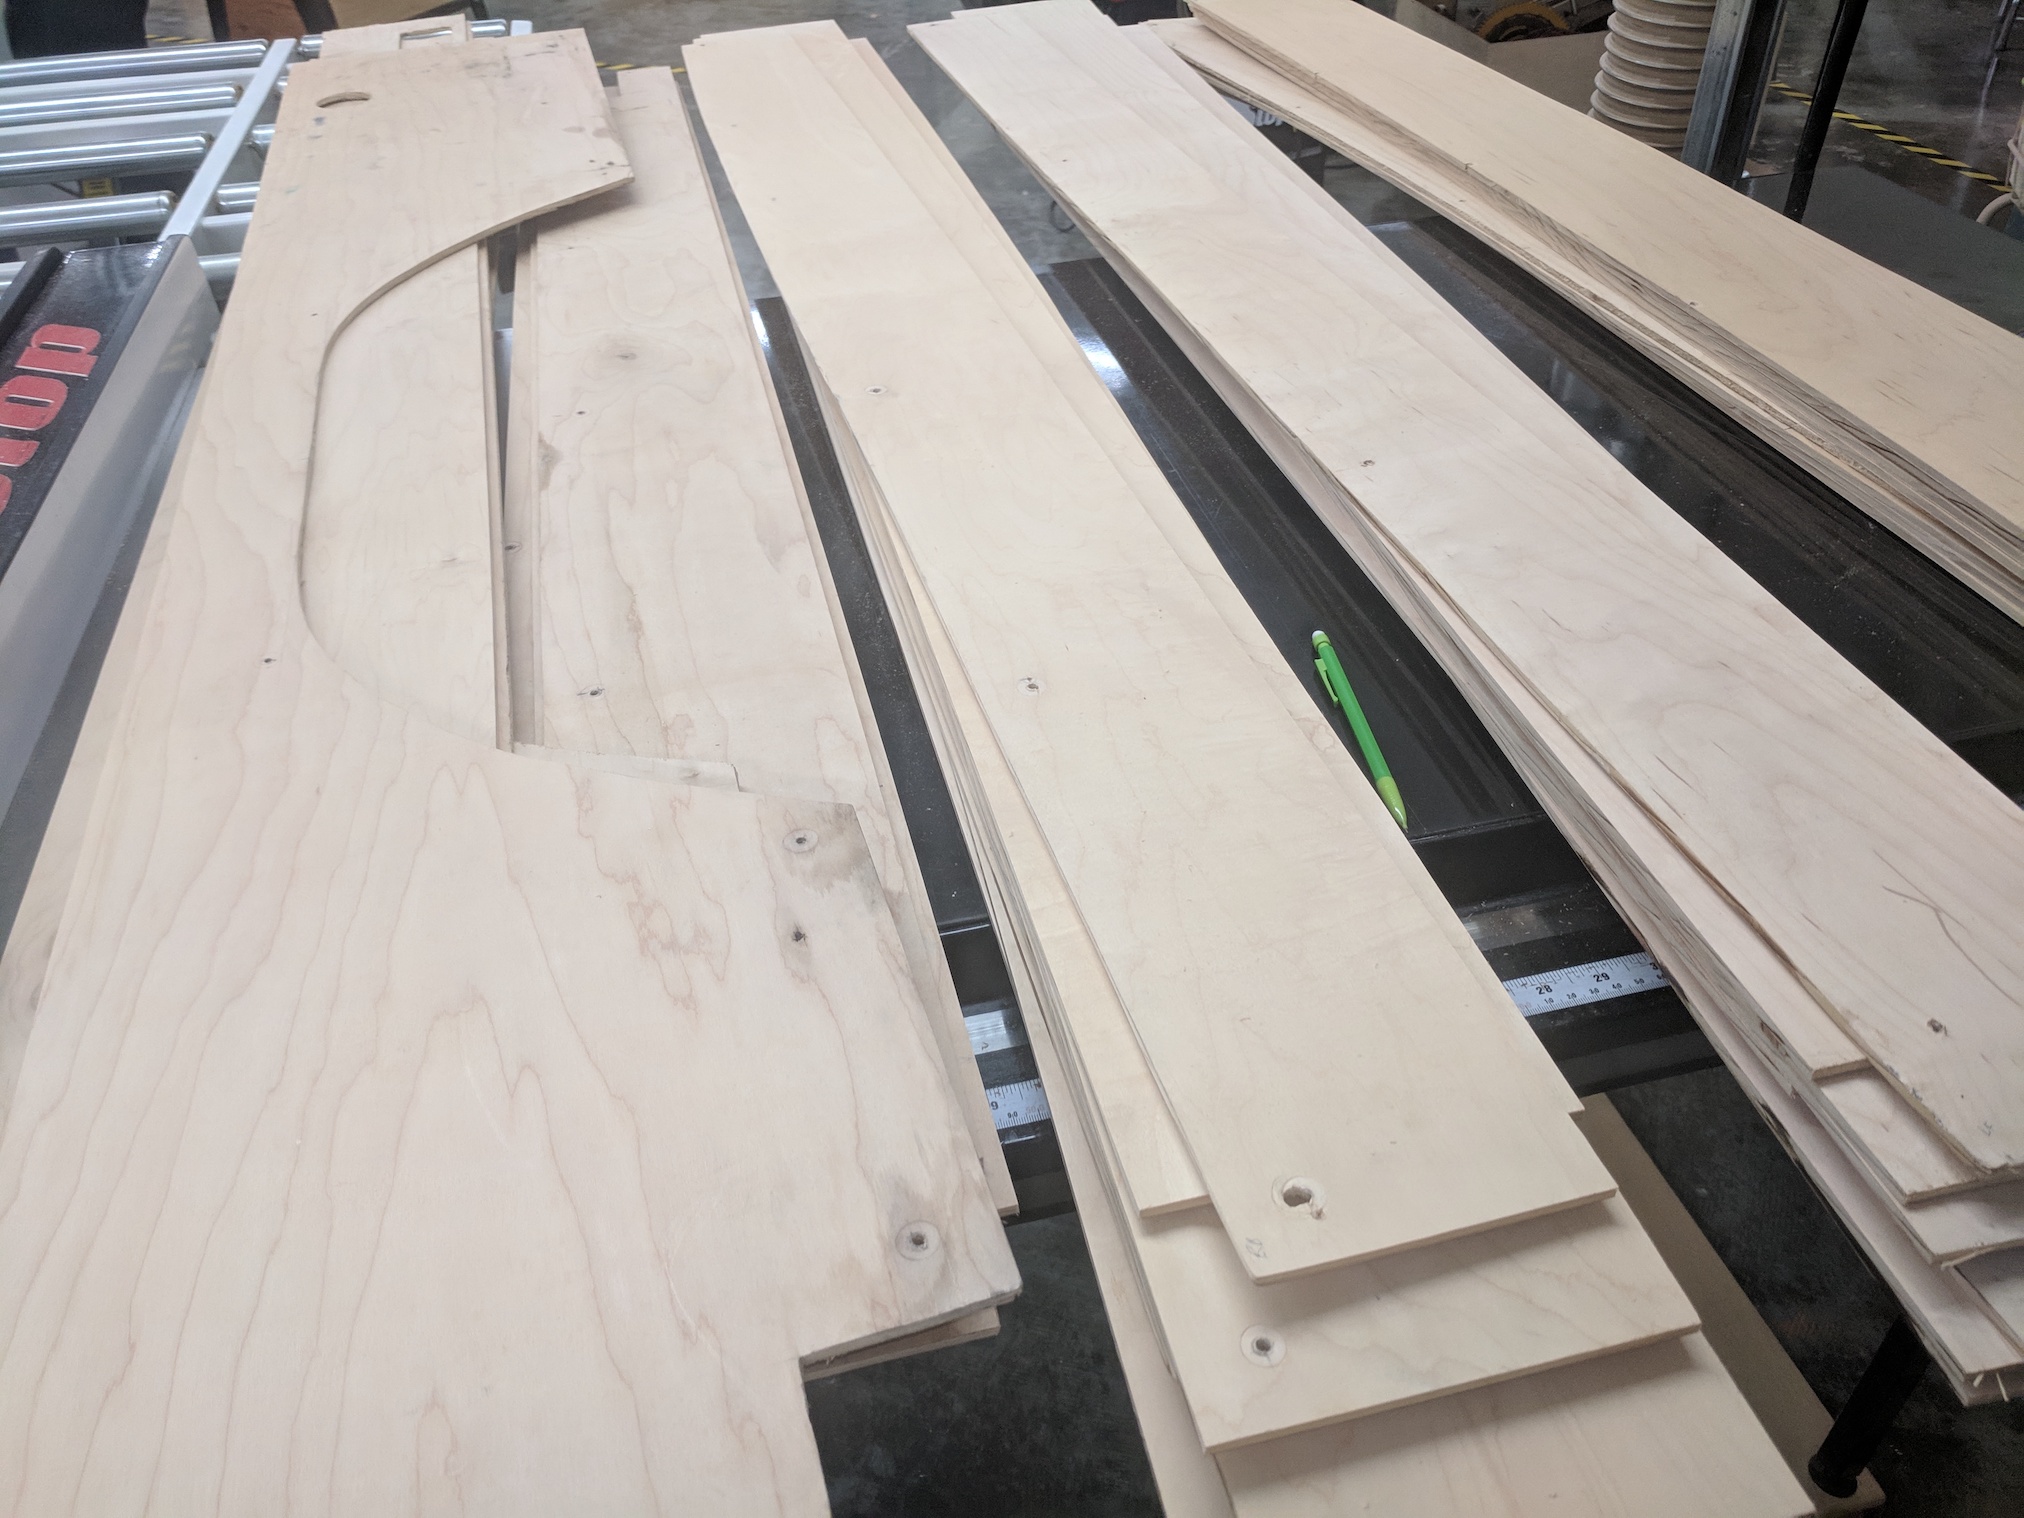
I decided to re-use the walls that came with the van. The van walls are quite irregularly shaped, making the process of cutting out the right shapes quite difficult. This way I would just need to cut and paint the old walls. The first step was to cut the old wall panels into 7” strips, making sure I was able to keep track of the right order for each.
After a weekend applying one coat of primer and three coats of glossy white interior paint (I chose glossy to increase the ease of cleaning and amount of light reflection) I was ready to install the wall pieces. This was a matter of attaching each wall plank to a furring strip with 1/2” wood screws. I also made sure to leave room for the L-track pieces that would eventually be attached - one high on the left side for overhead cabinetry, one low for kitchen and bed anchoring, and one low on the right side also for bed anchoring.
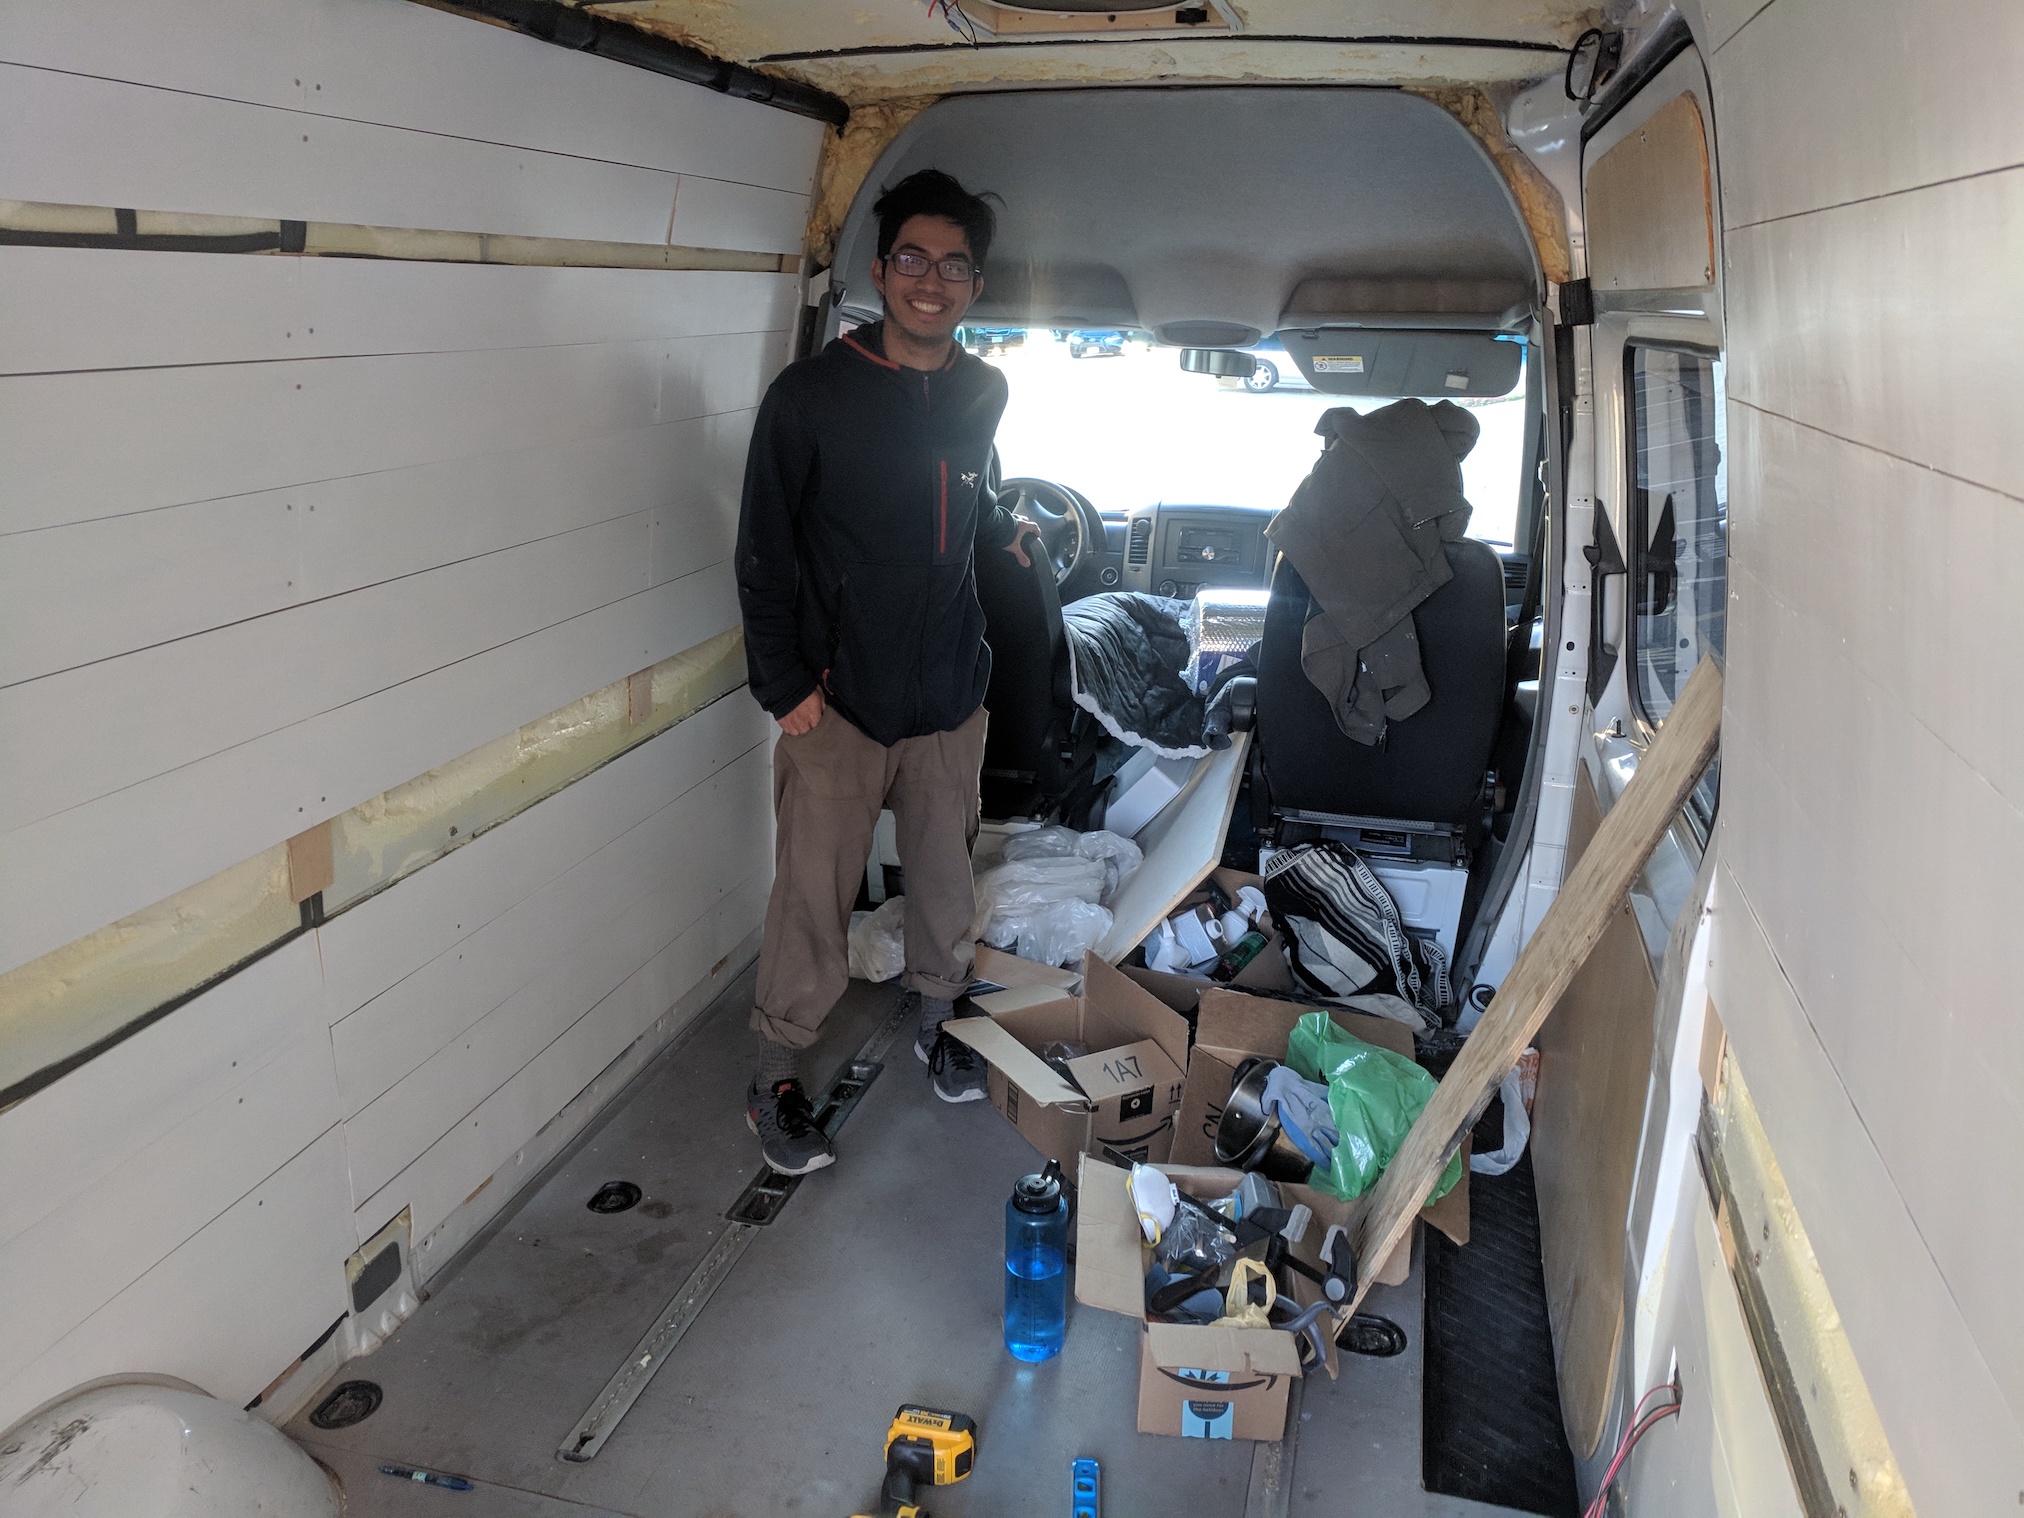 Justin poses with the walls
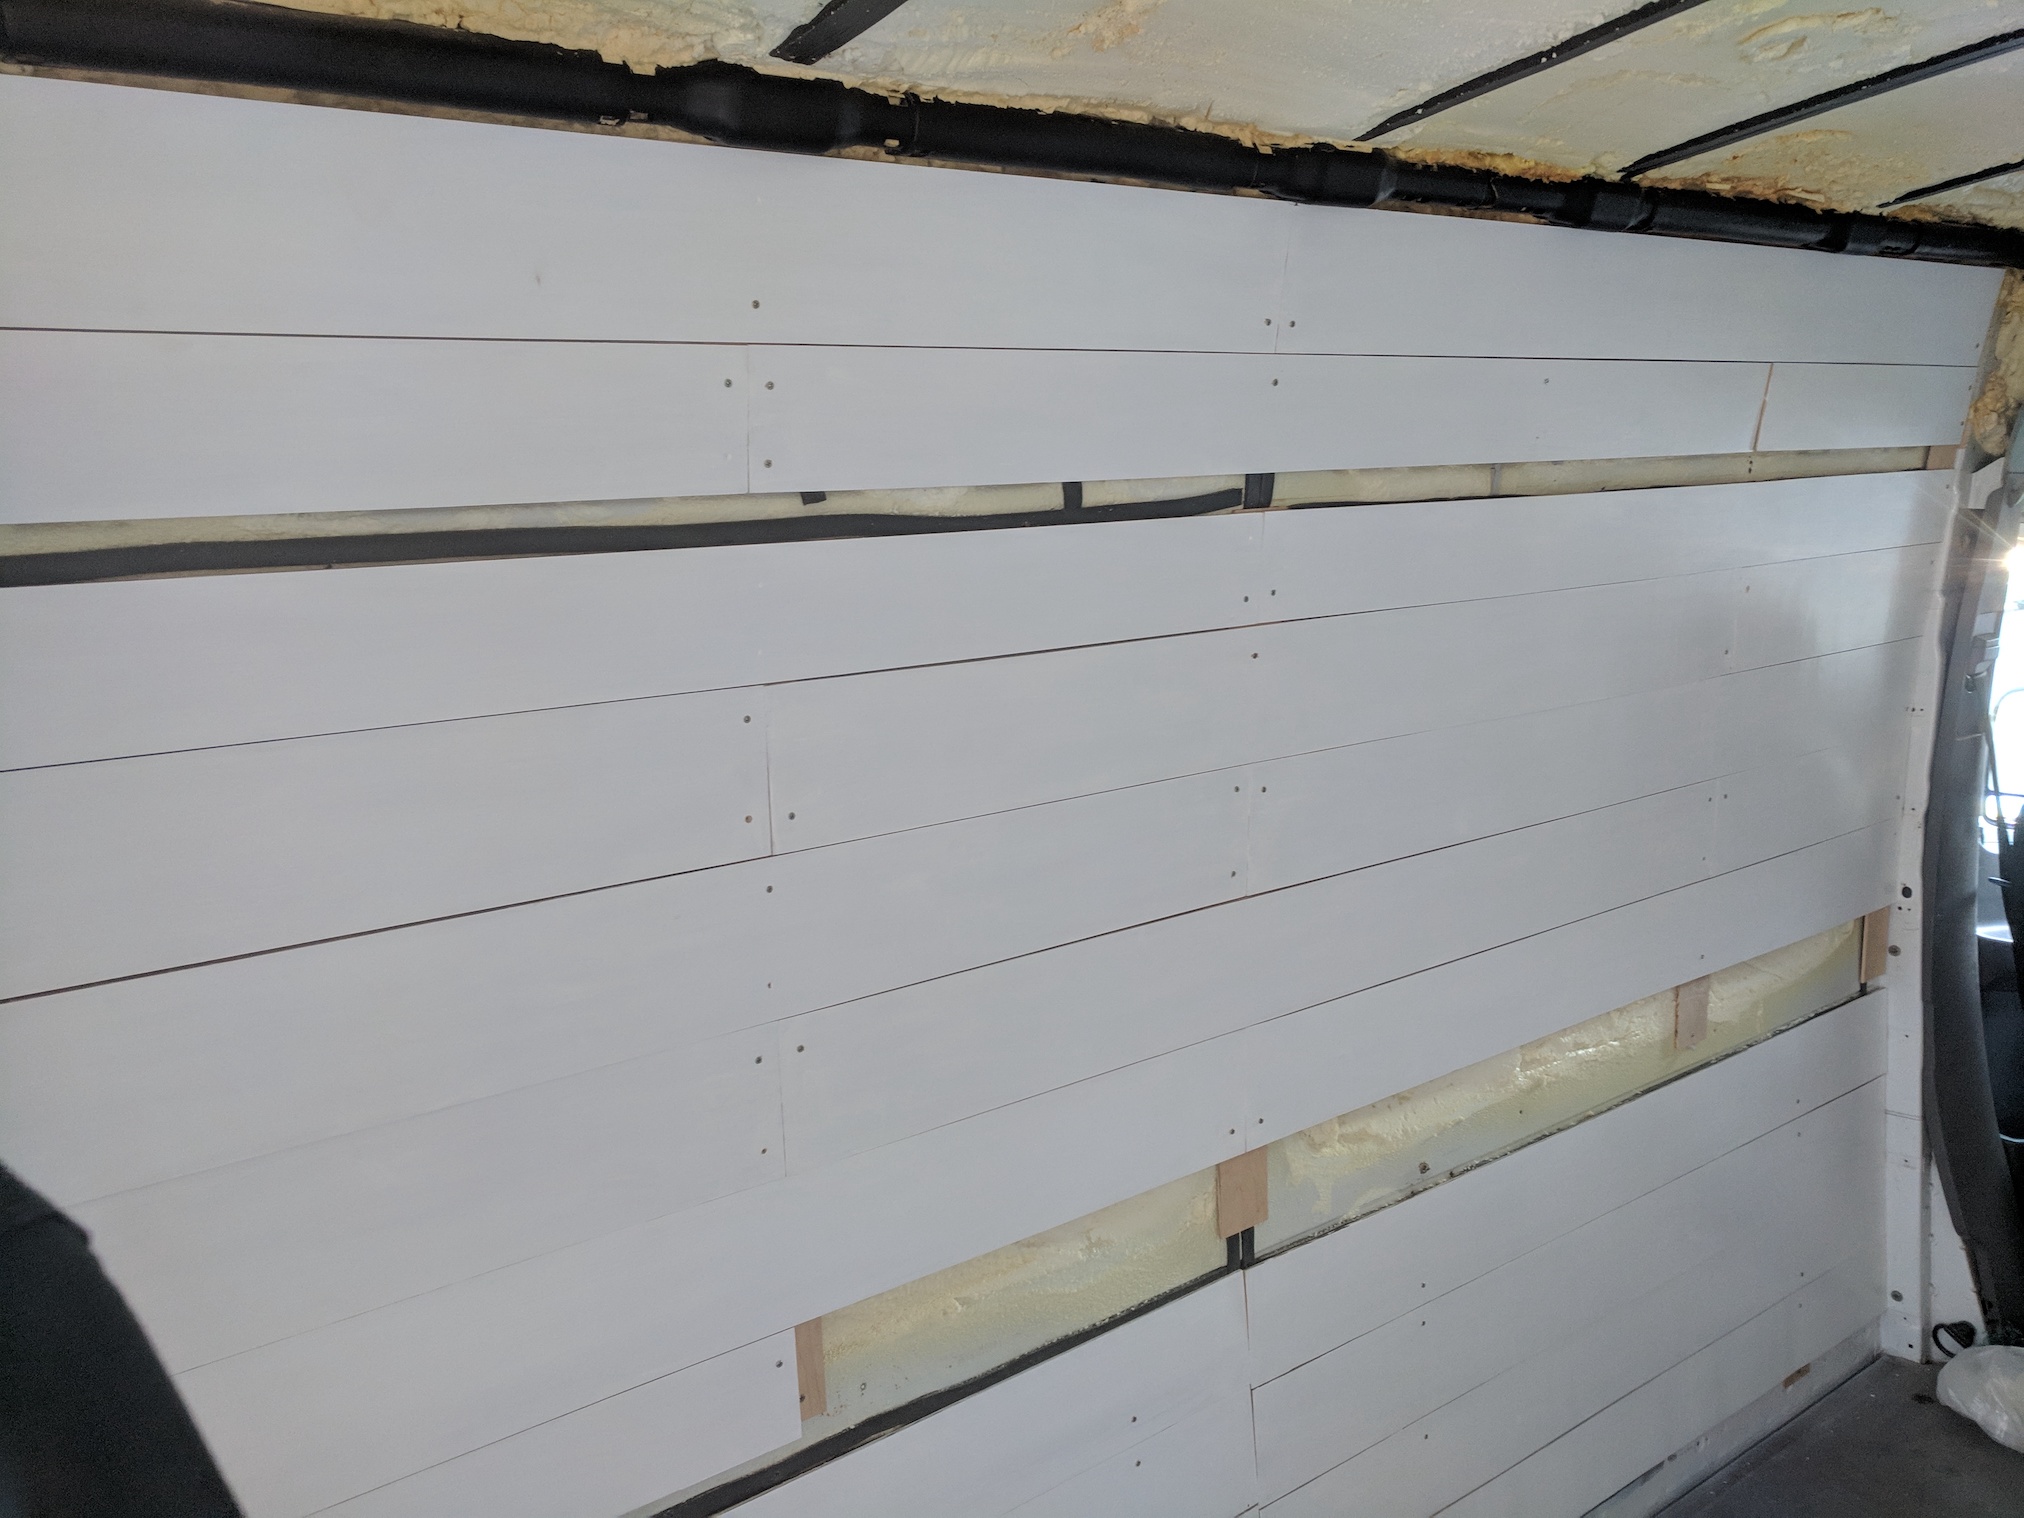 Another shot of the wall planks
I was lucky enough that the previous owner had already run conduit for the fan and a single overhead light through the insulation in the walls. This was another benefit of using the old walls - I would be able to tap into the openings for this conduit later on.
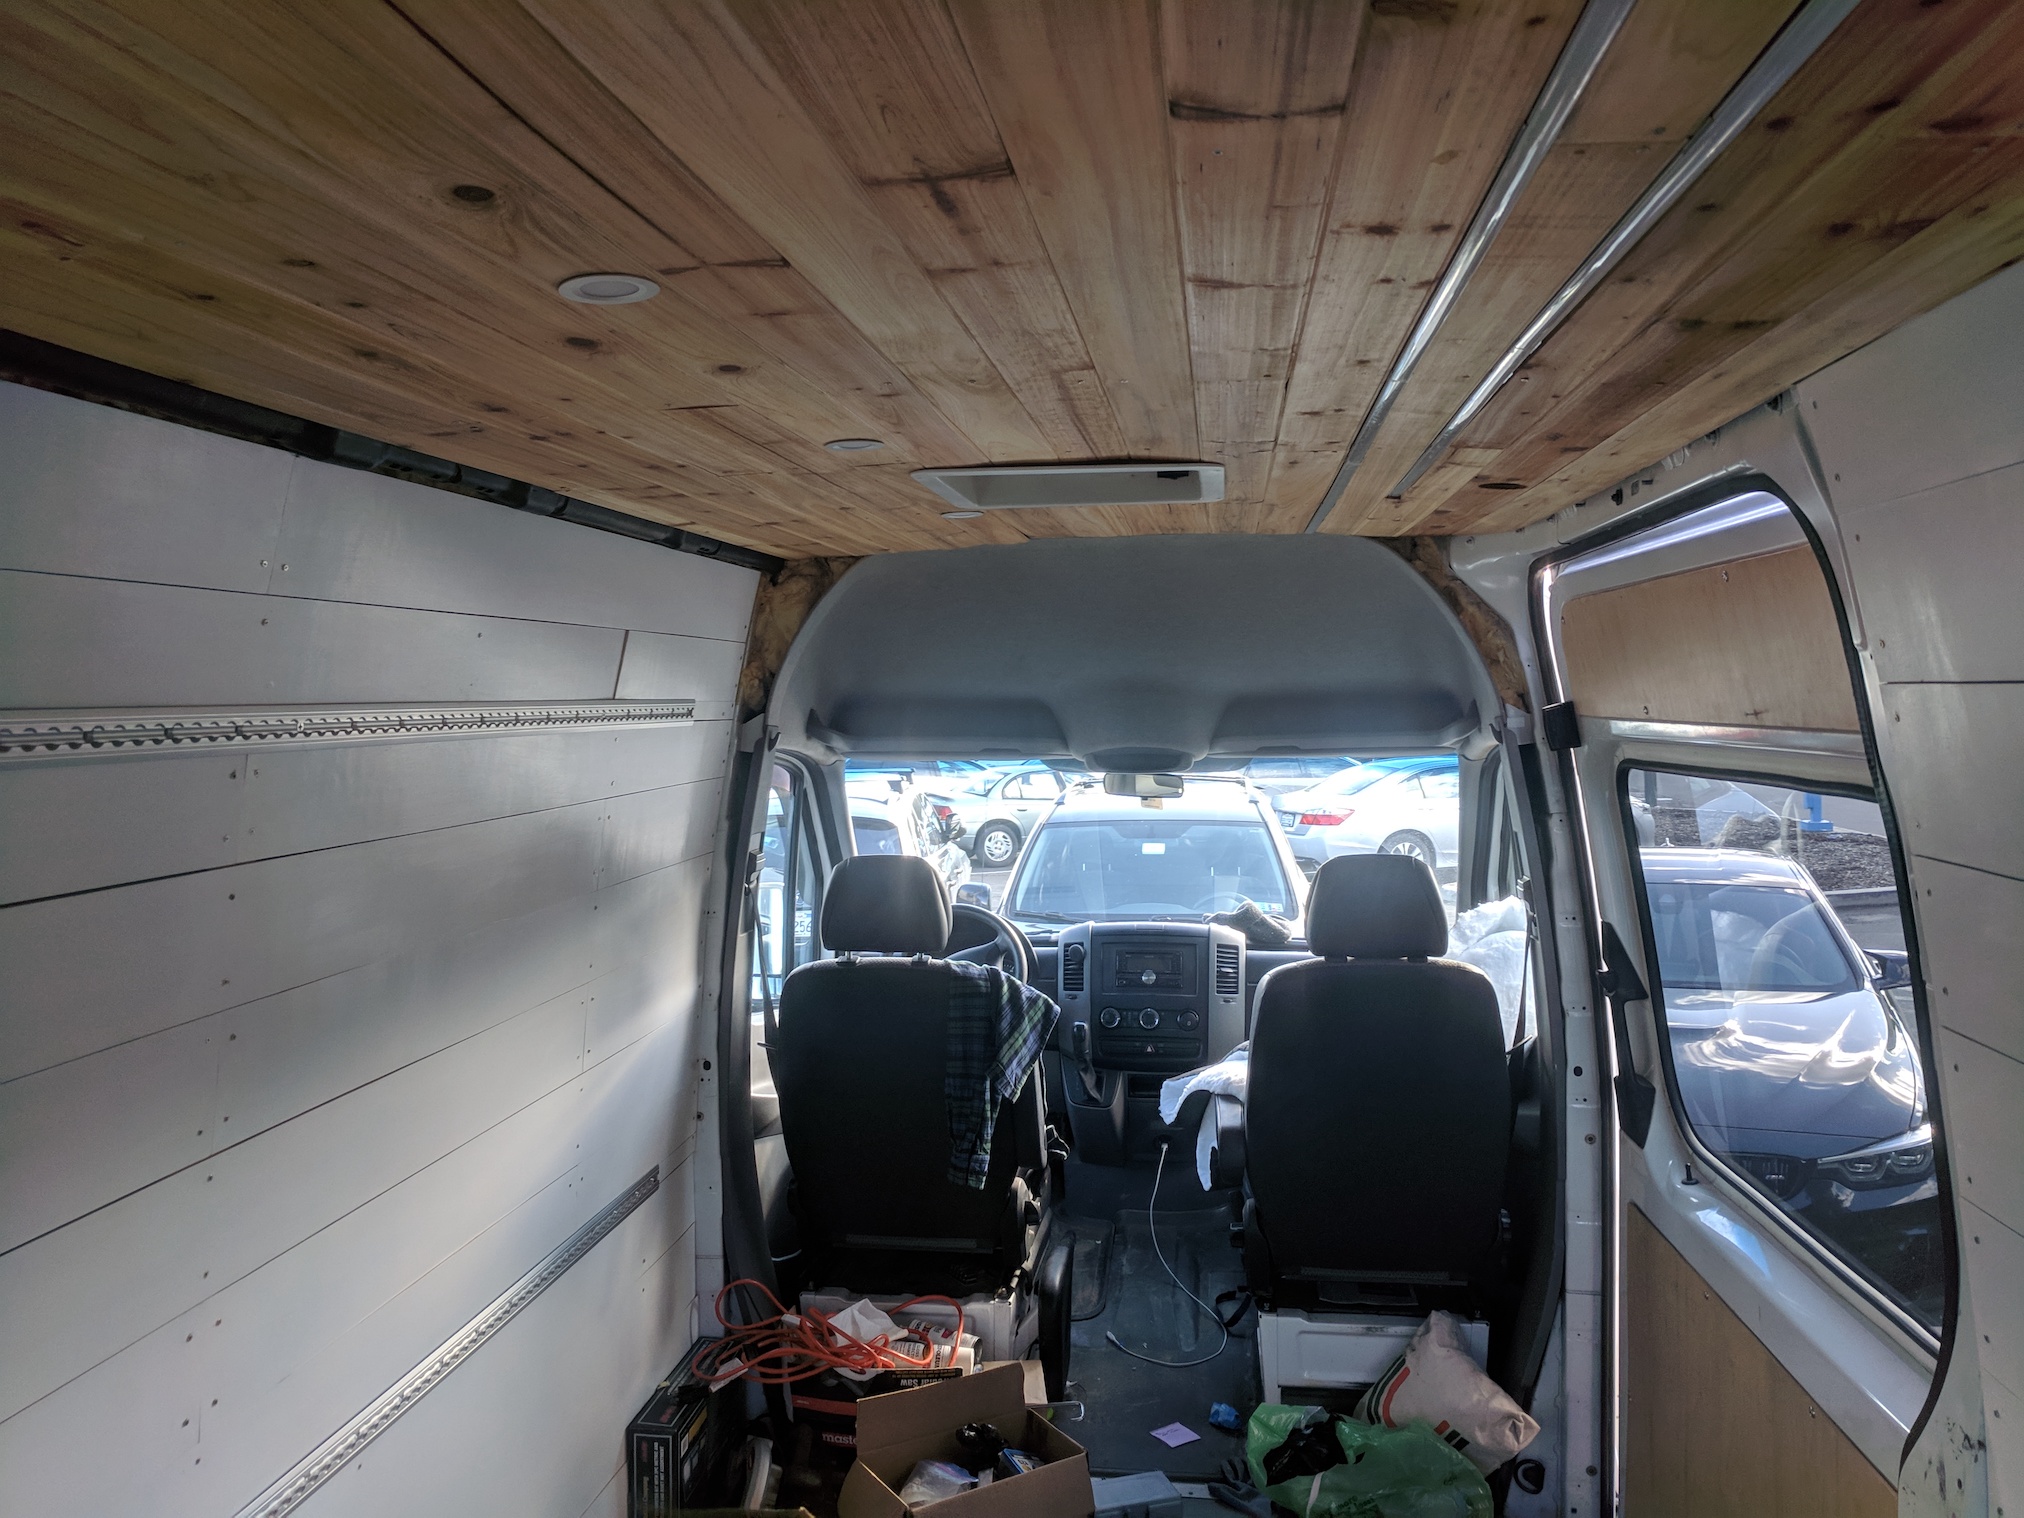
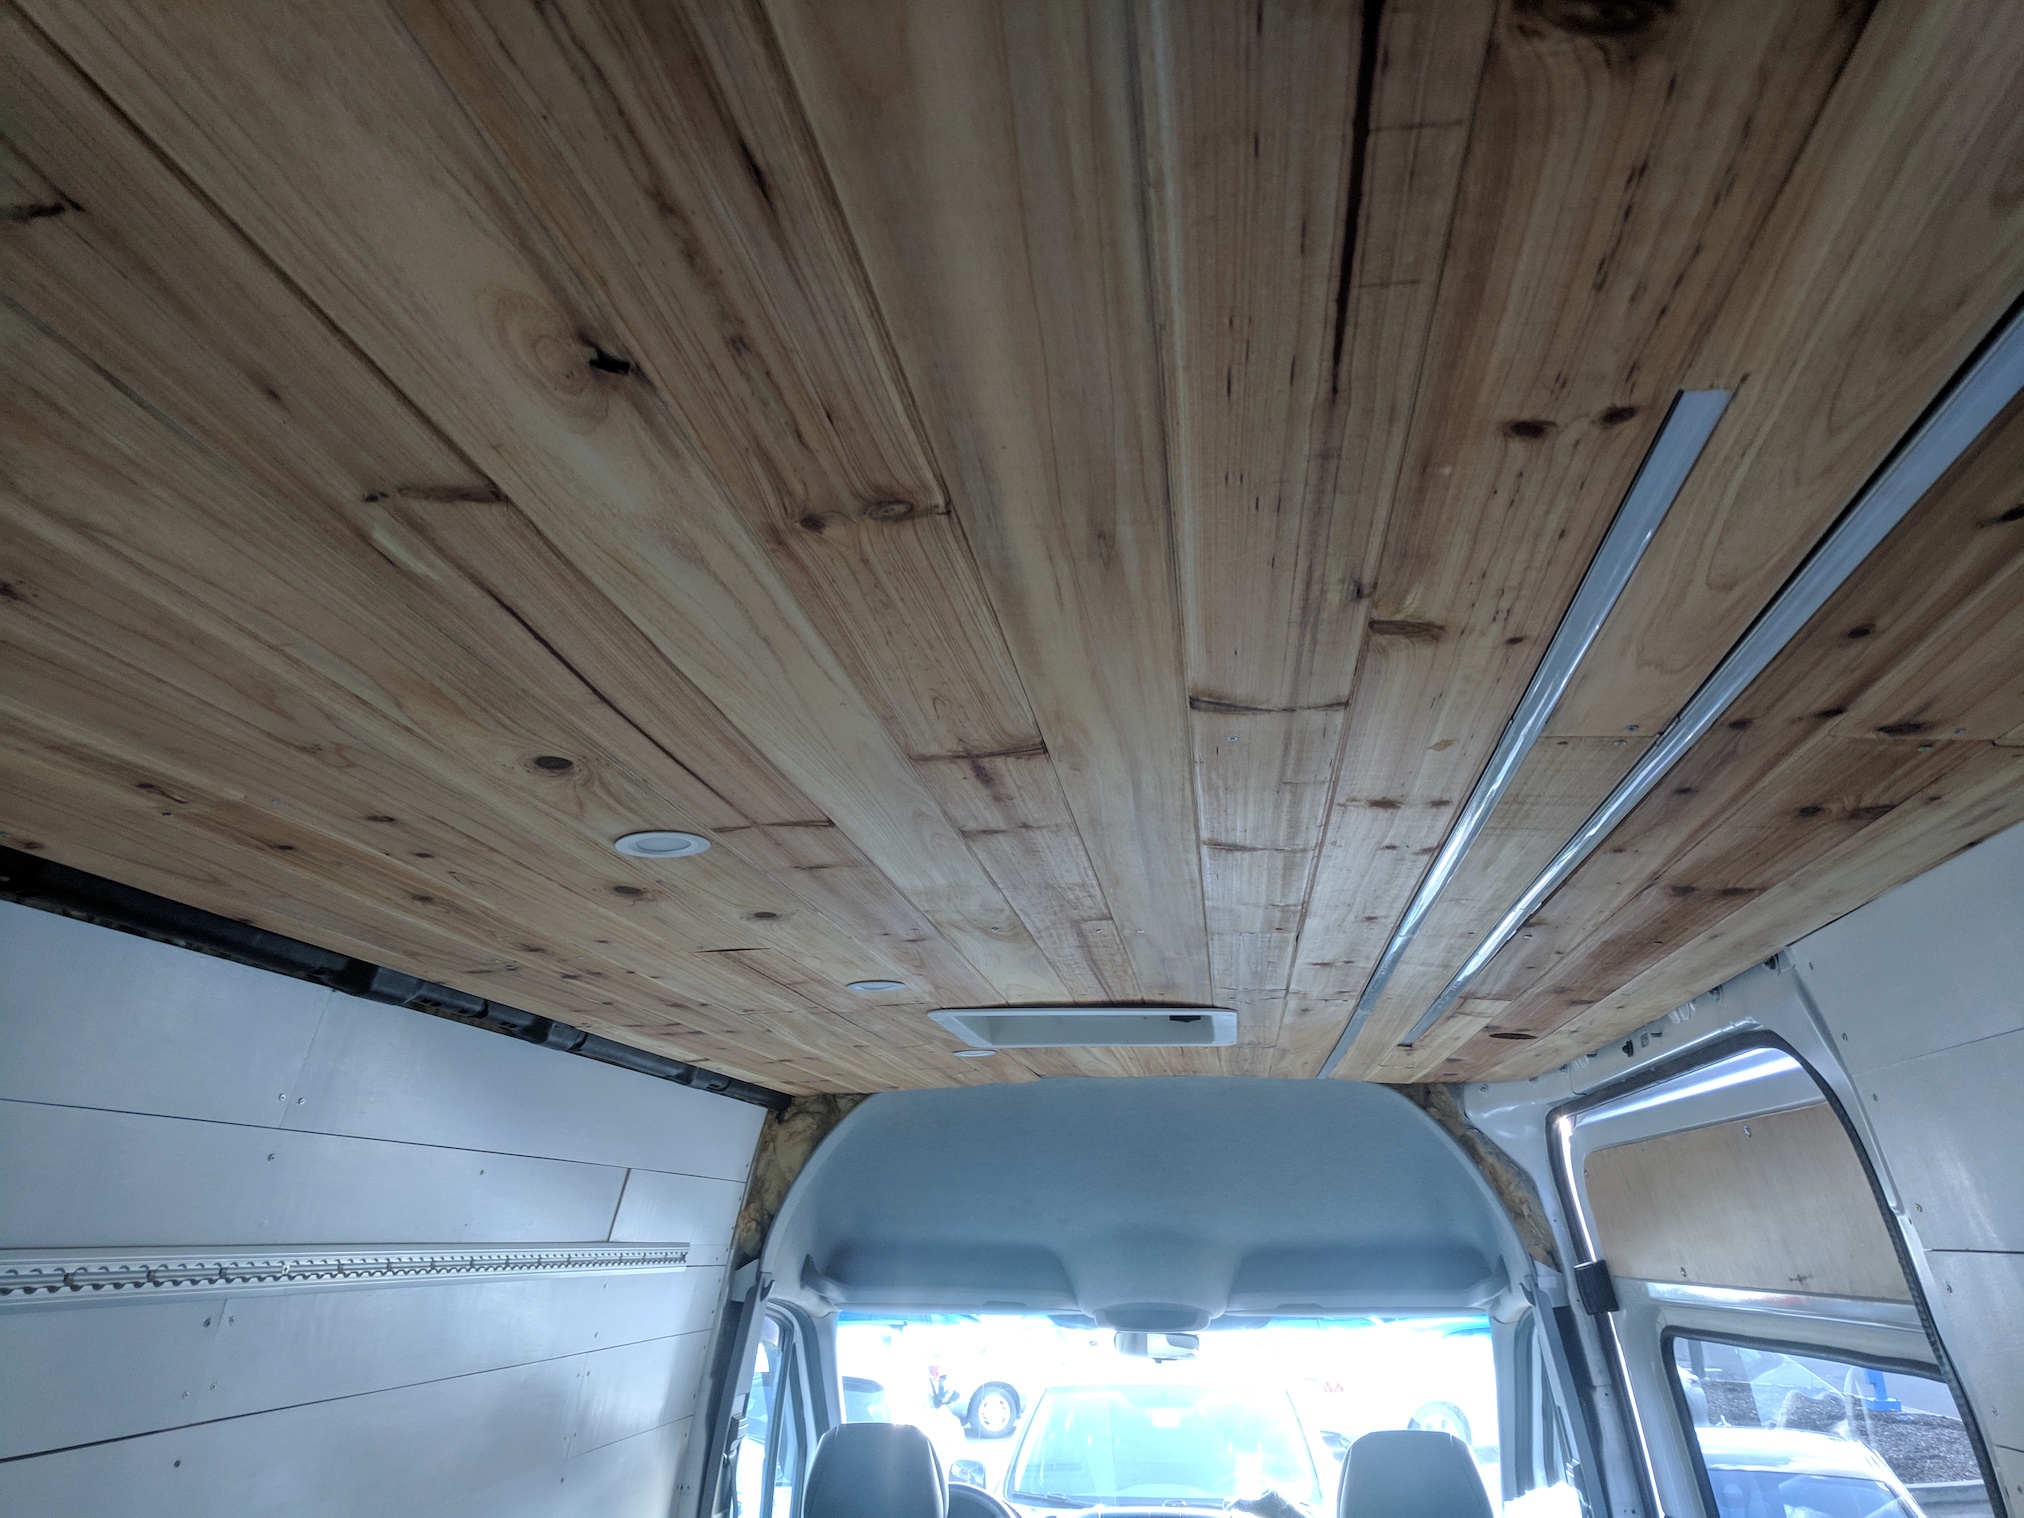
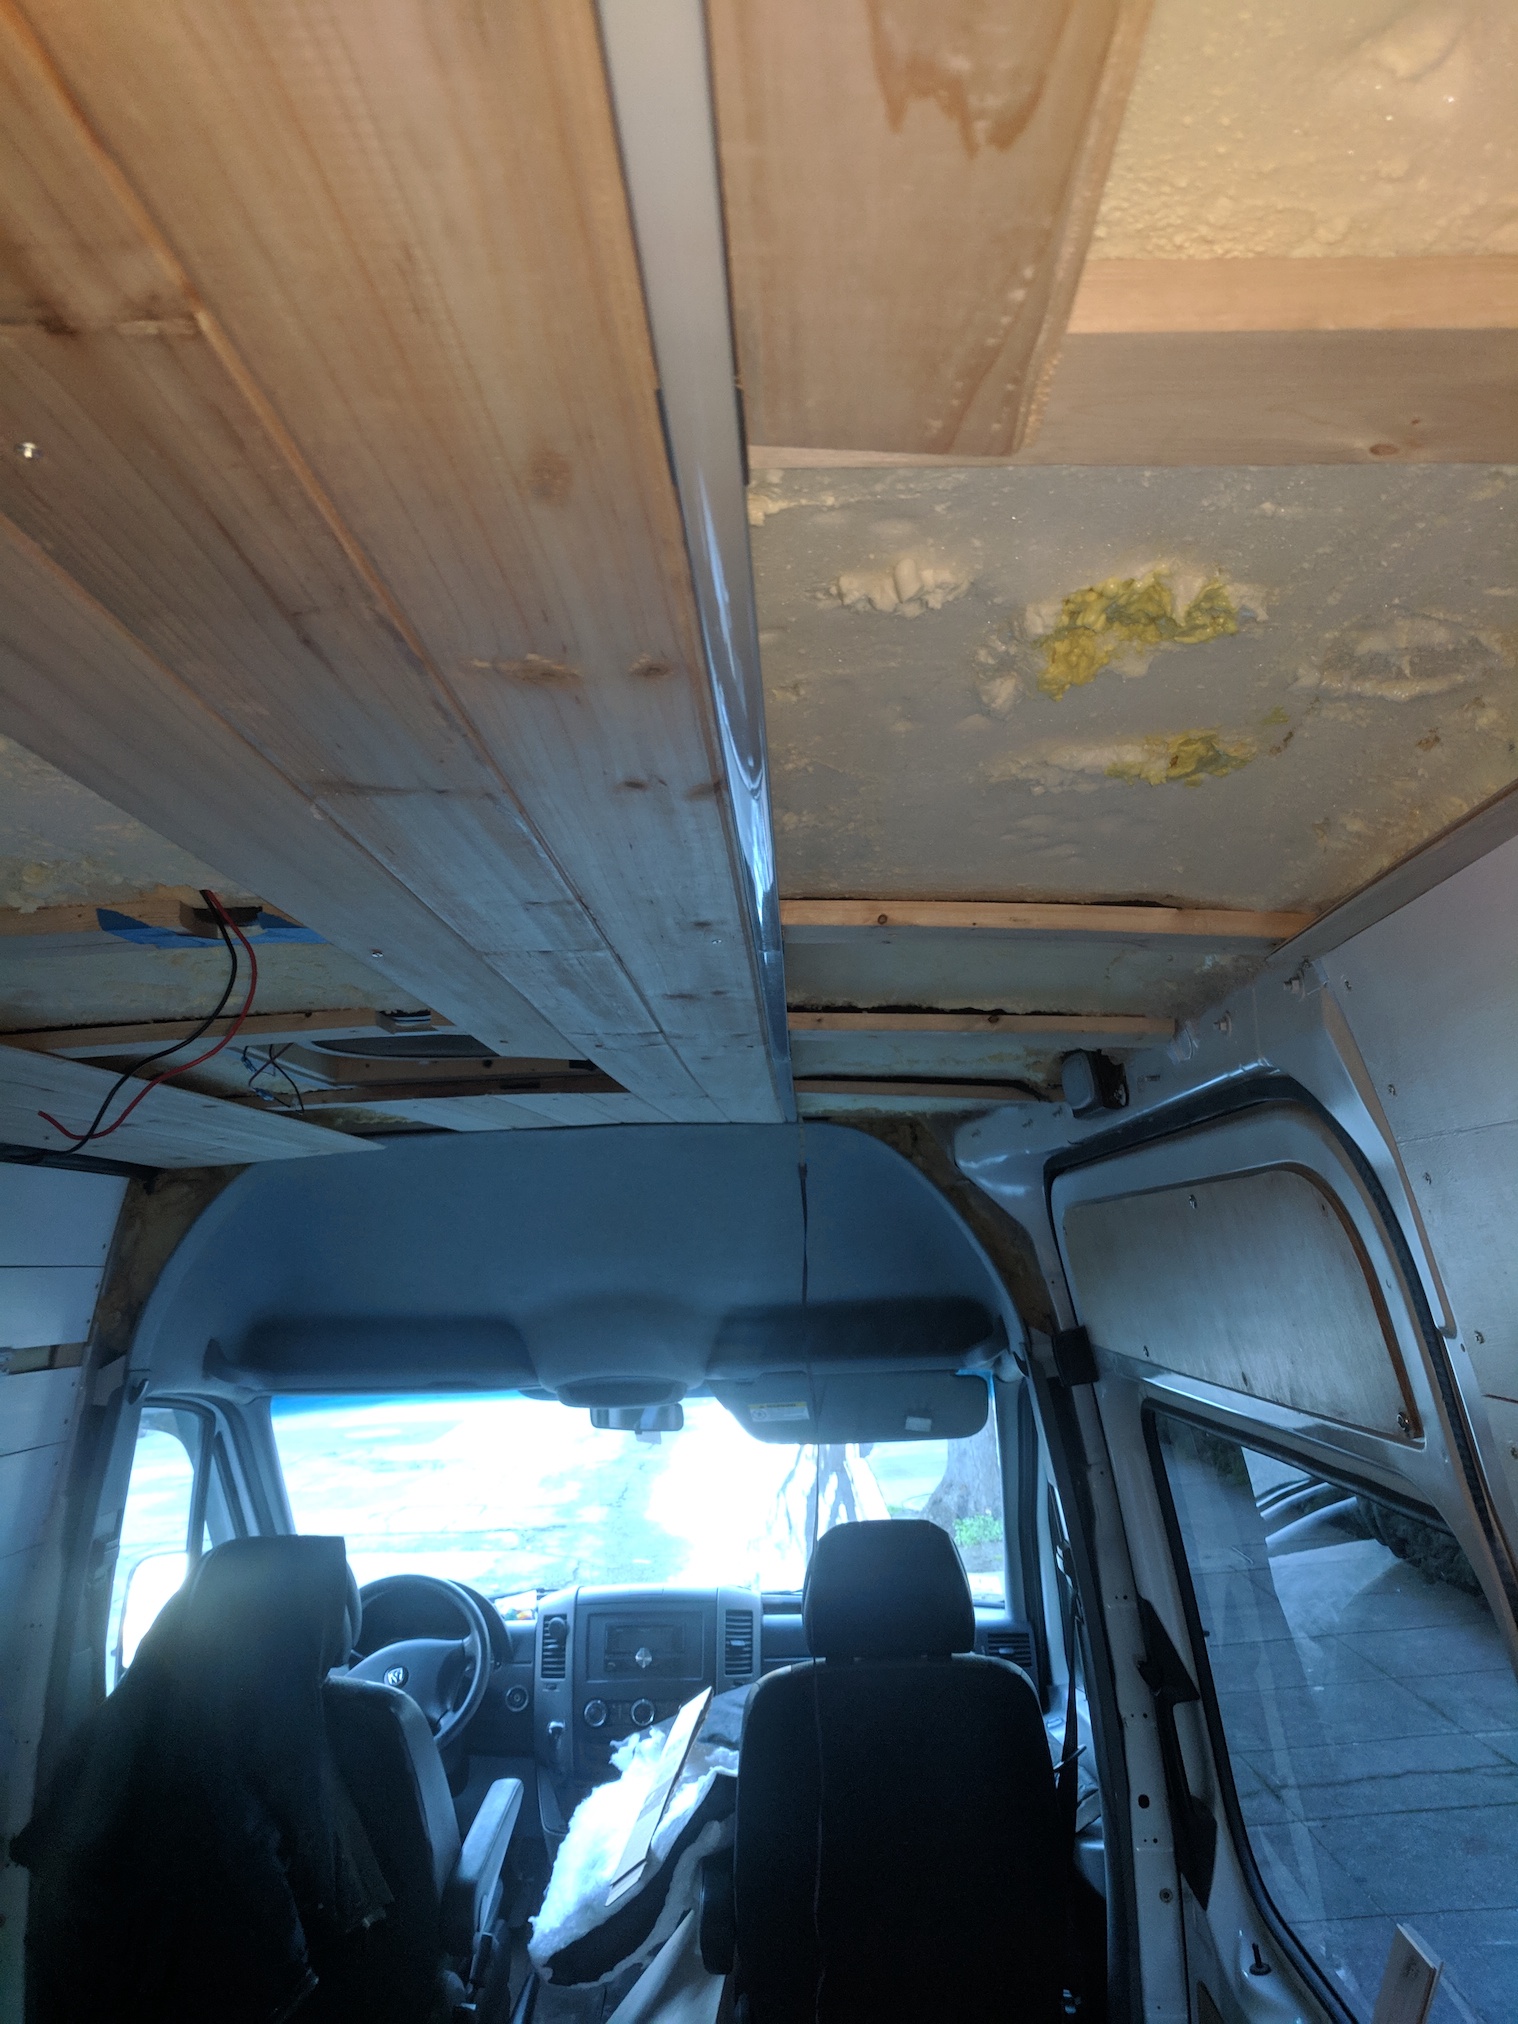
Ceiling
The process of installing the ceiling would be similar to installing the walls with one major exception - I needed to install the overhead lighting at the same time.
When installing furring strips I would need to be careful to make sure that wires would have a path to connect each overhead LED. I decided on using 3/4” wood for the ceiling furring strips, both for additional stability and to make sure there was enough room above the ceiling planks for the lighting housing and wires.
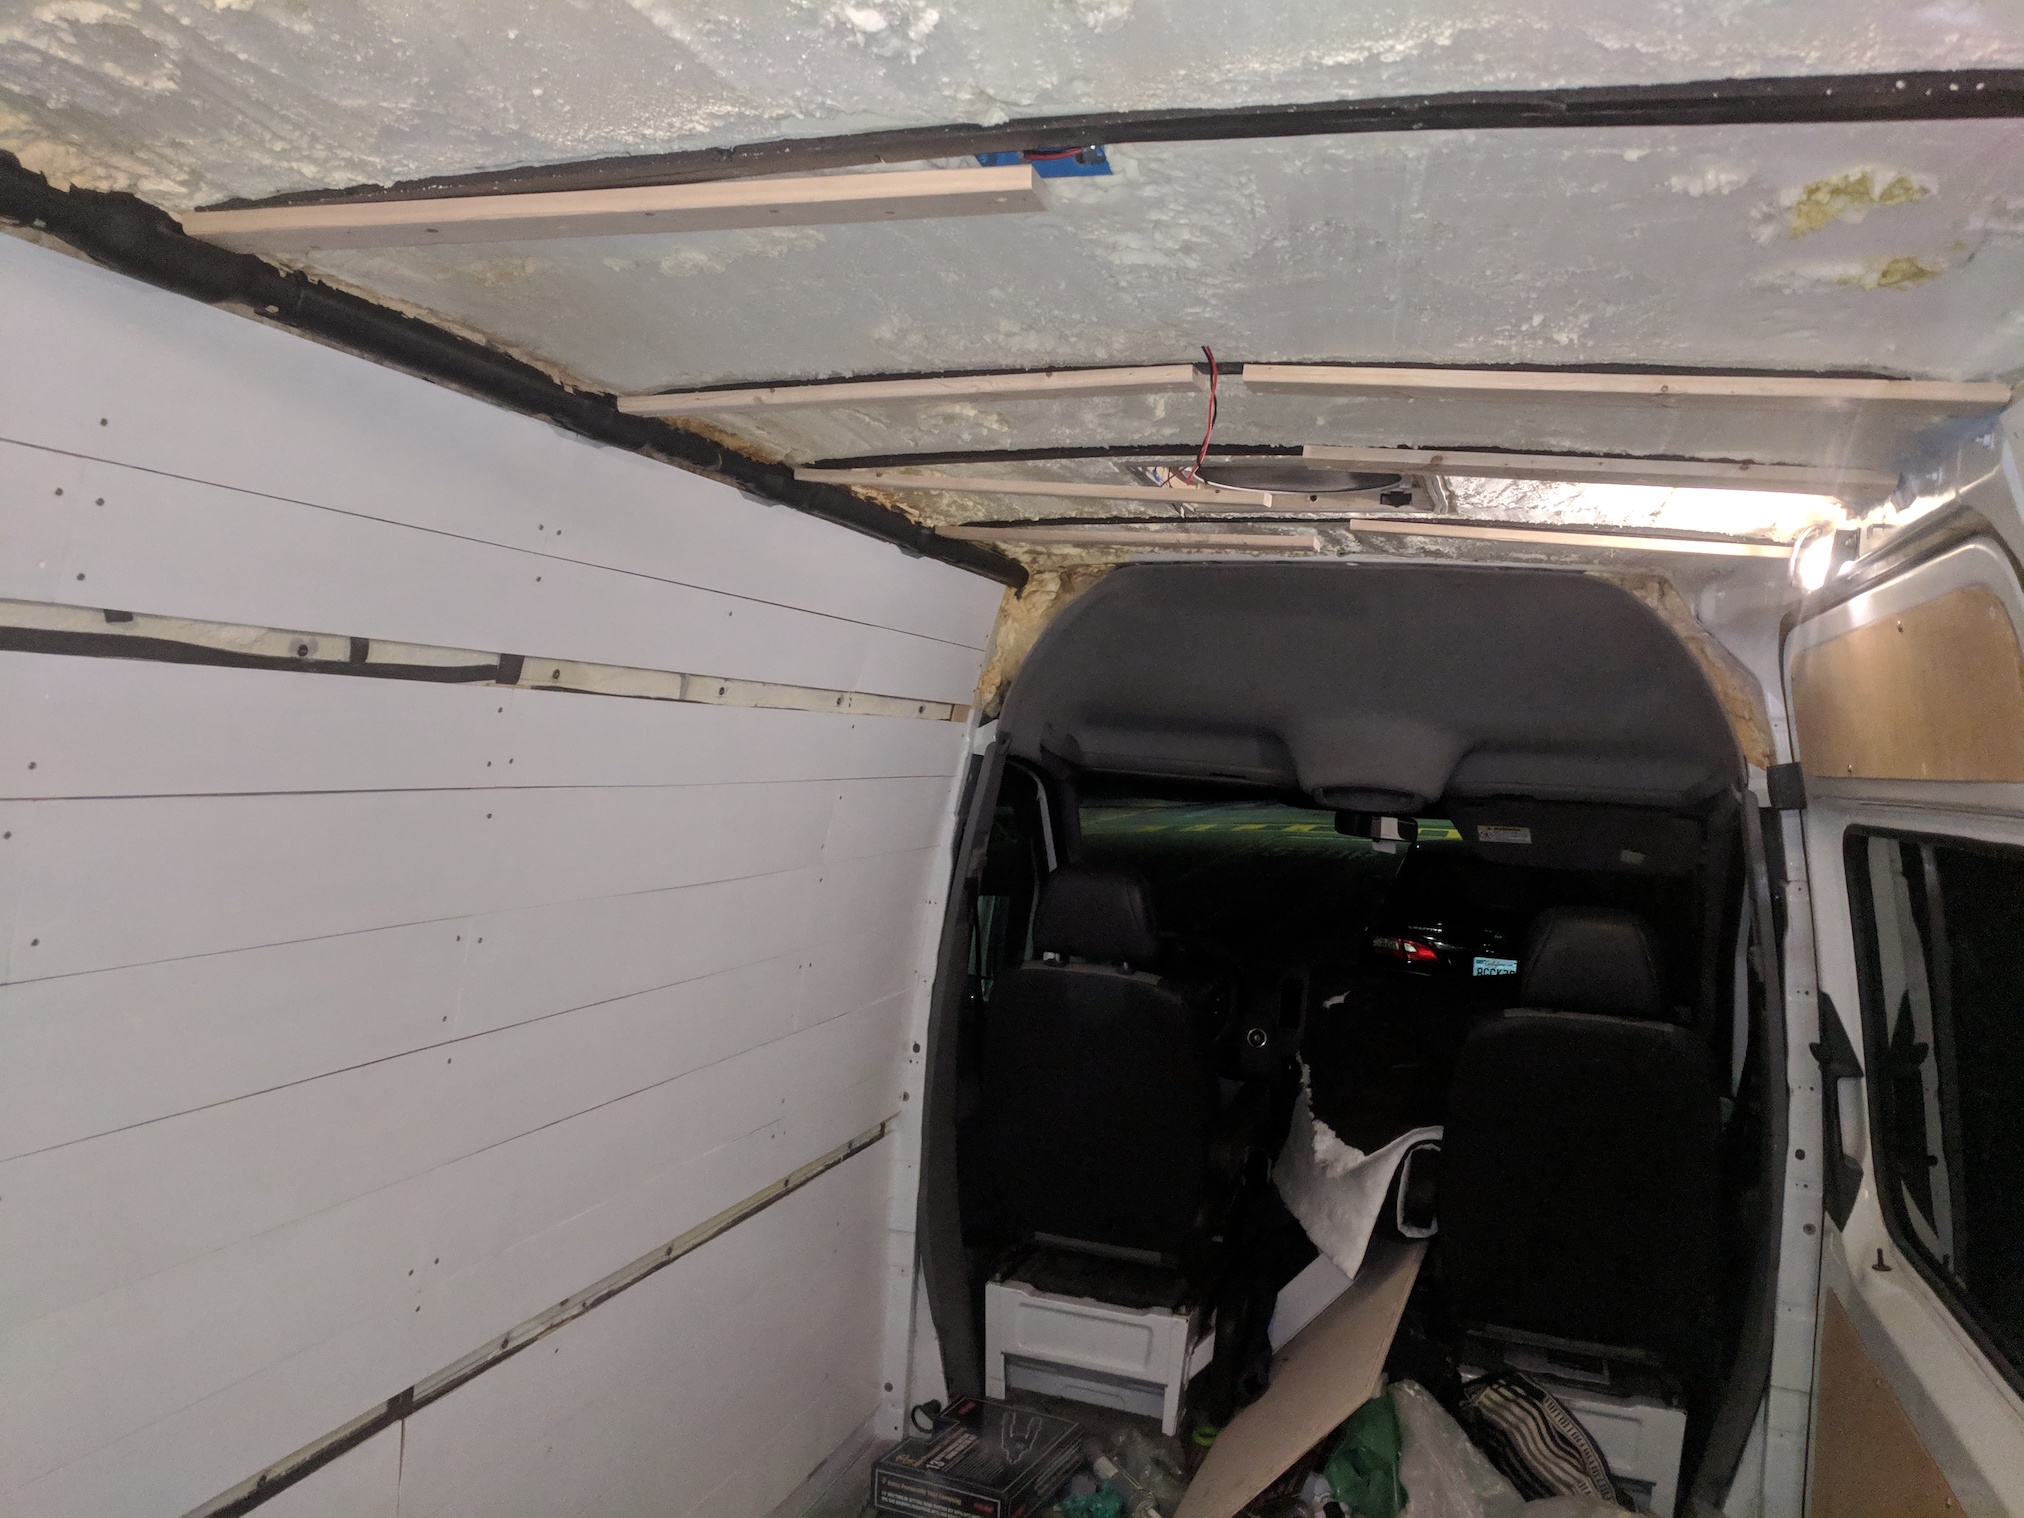 Ceiling furring strips. Note the gap in the center for wires
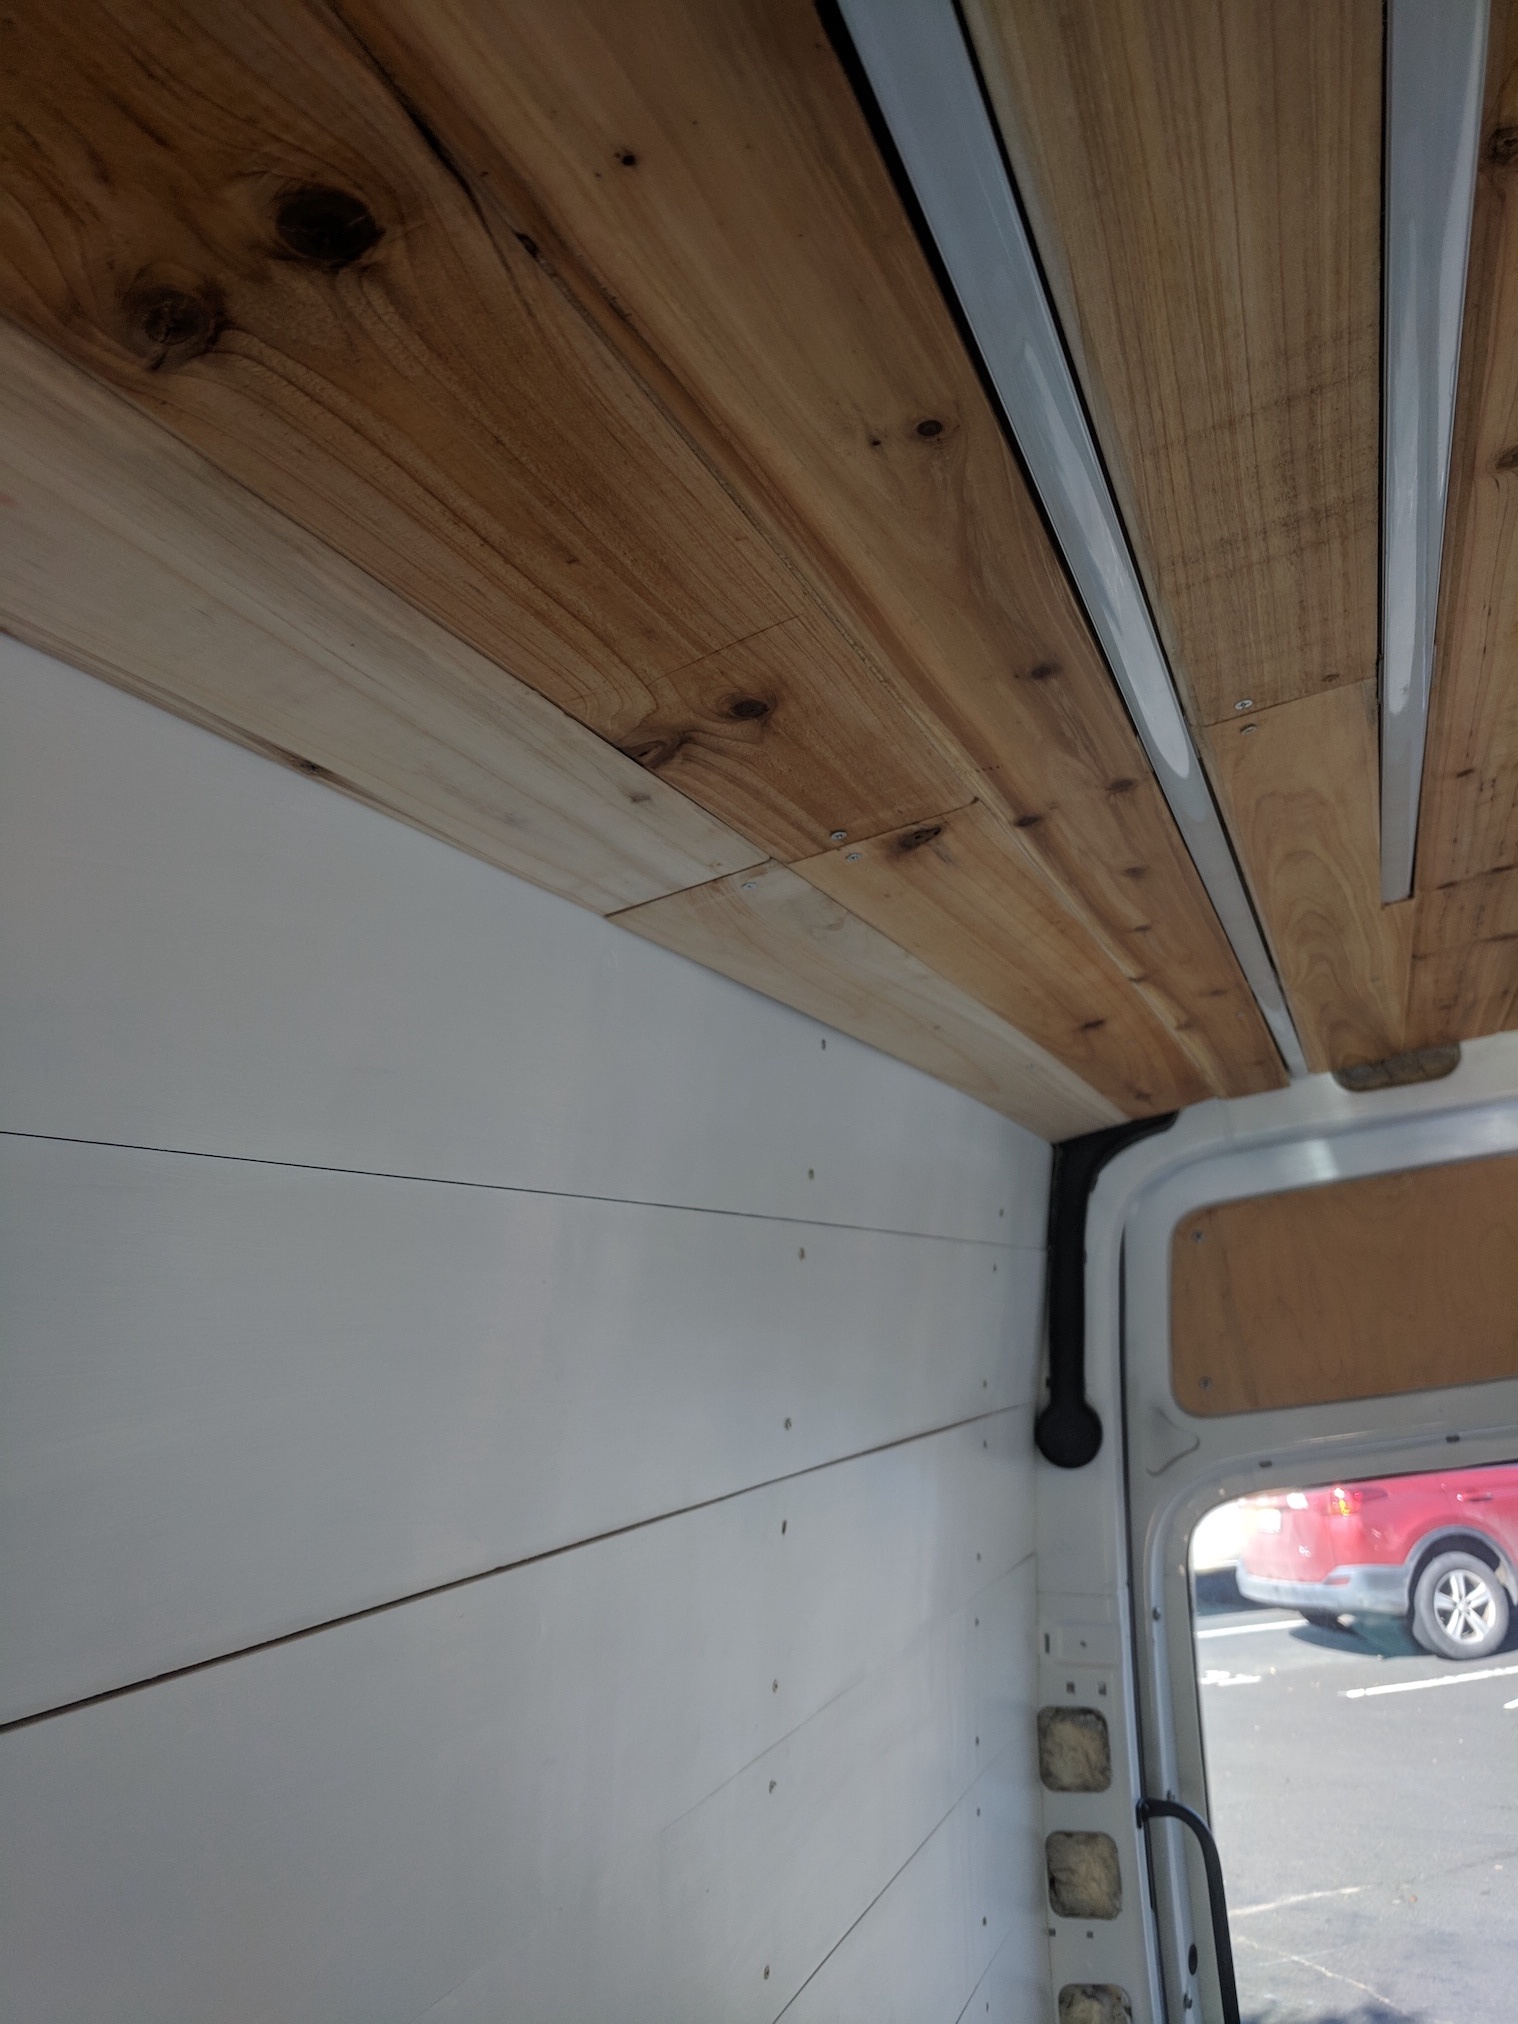
I used tongue and groove cedar paneling for the ceiling, tracing out the shapes using the old ceiling pieces as a template. I decided on three different spacings for the cedar planks, since a single eight foot length wouldn’t be long enough to cover the entire ceiling - some sections would be composed of an eight foot and two foot piece, other sections would have a three foot and seven foot piece, and other sections would be composed of a four foot and six foot piece.
I used a hole saw to then drill 2.5” holes in the pieces where I planned to install LED overhead lights, and a table saw to cut out straight channels for LED strip lighting housing. I cut LED strip lighting housing (from Amazon) using a hacksaw in order to be able to connect two five foot sections to the ceiling furring strips.
Attaching each ceiling plank then was only a matter of holding it overhead, lining up the tongue and groove, and attaching it to furring strips with wood screws. This process involved a lot of dropping of planks and swearing.
 Putting up some initial planks around the LED light strip
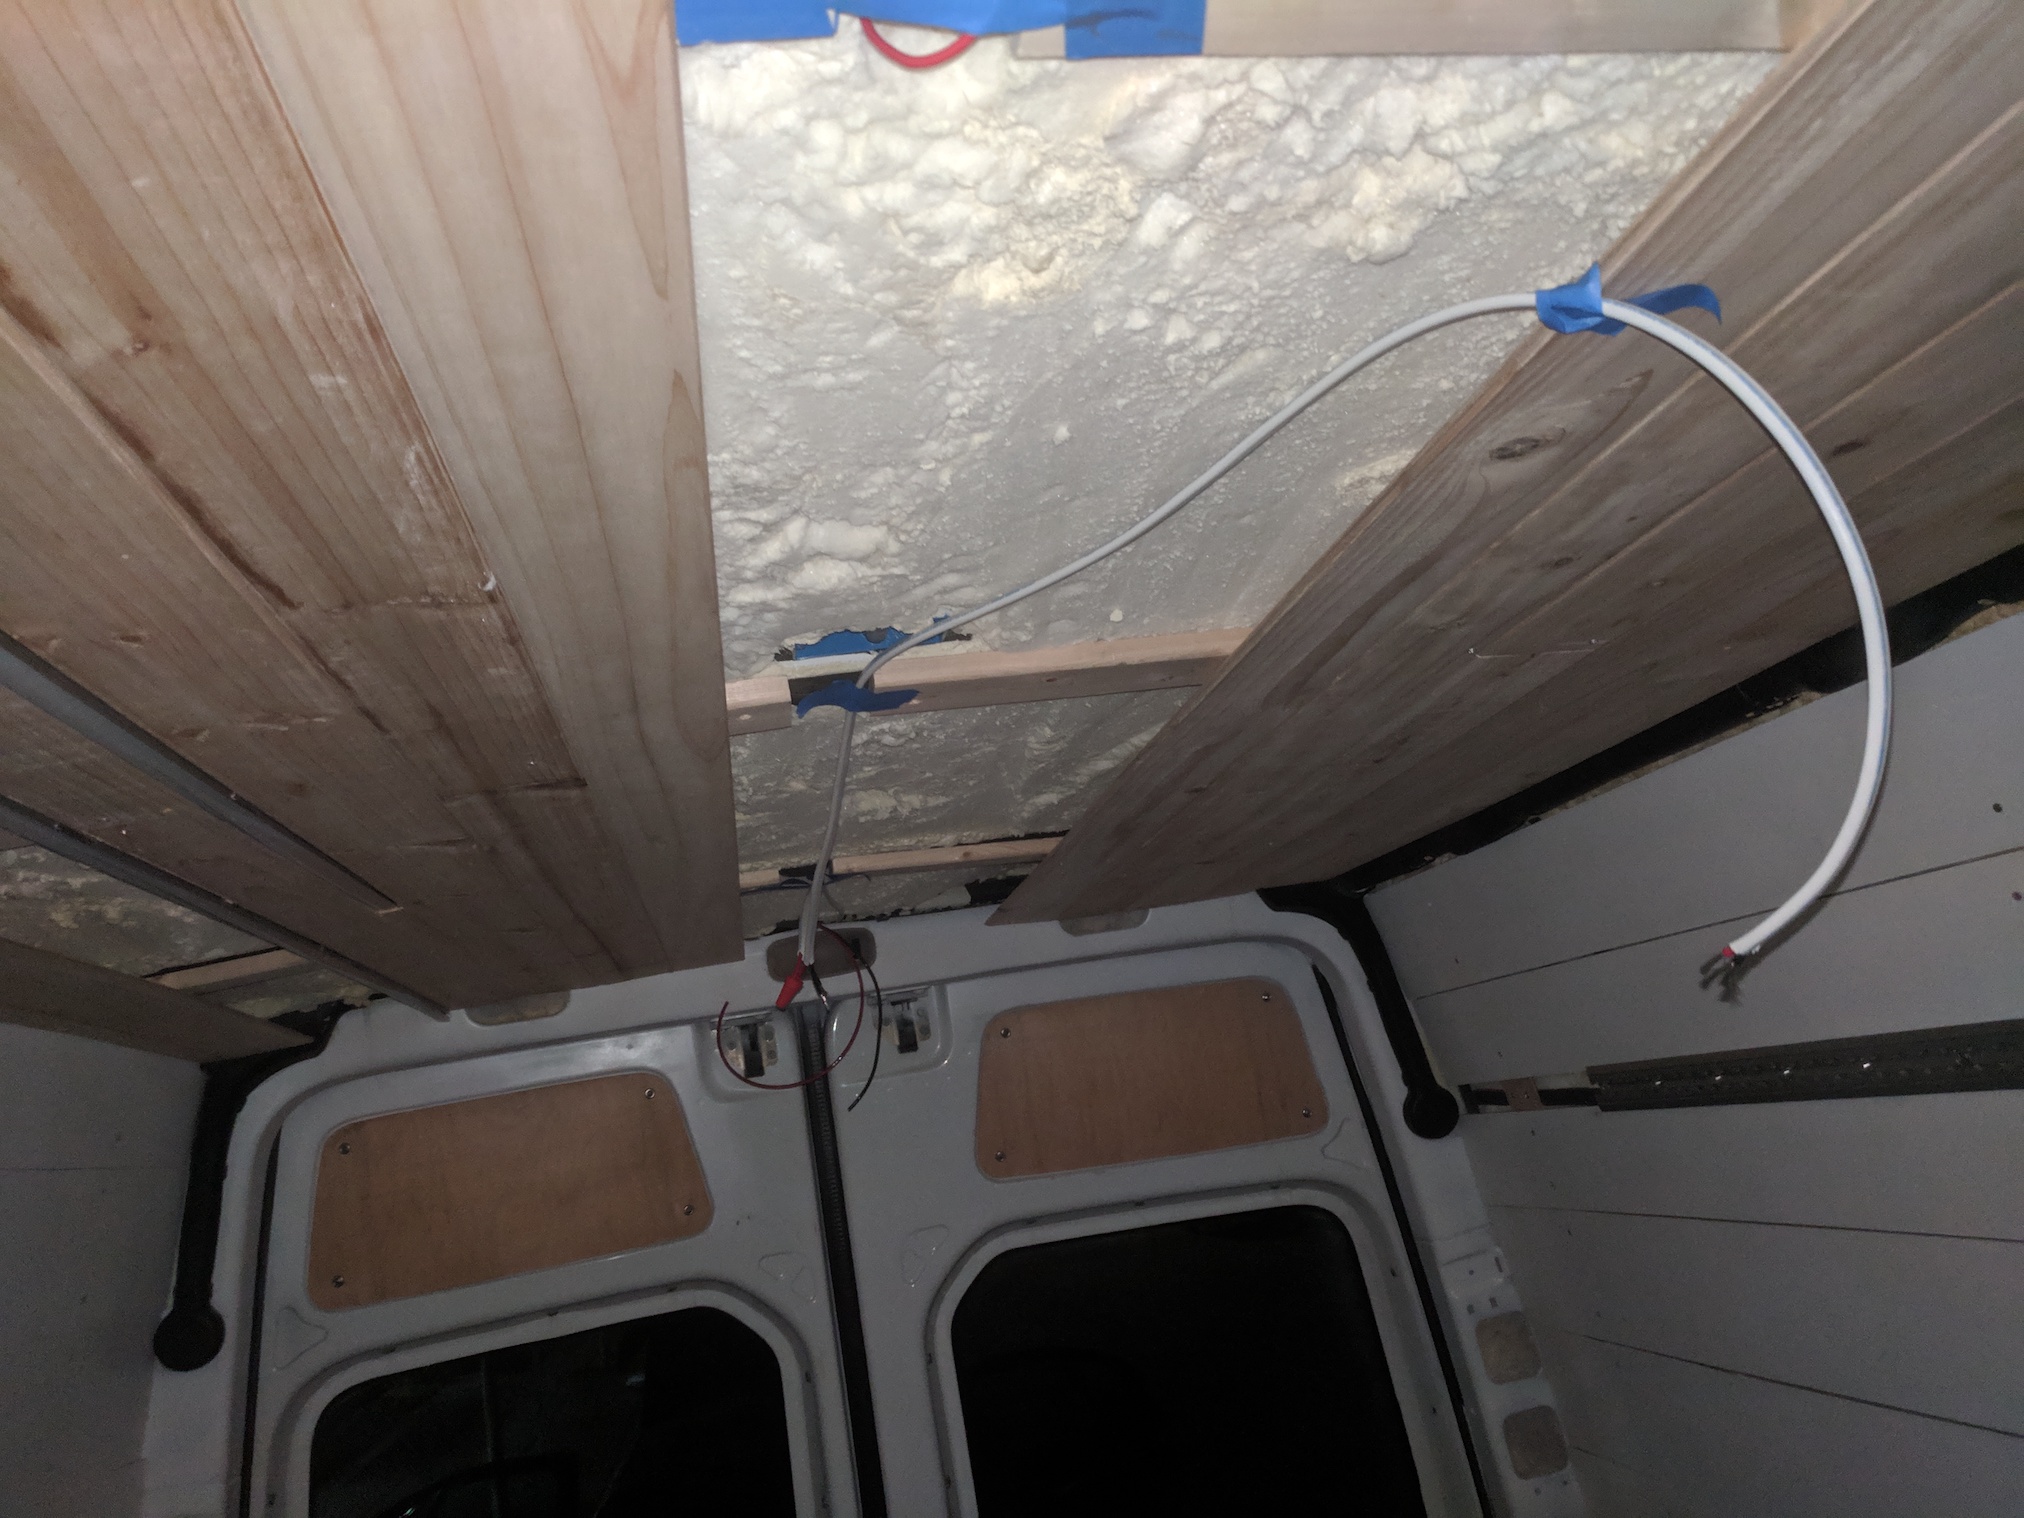 Running marine wire for the LED overhead lights.
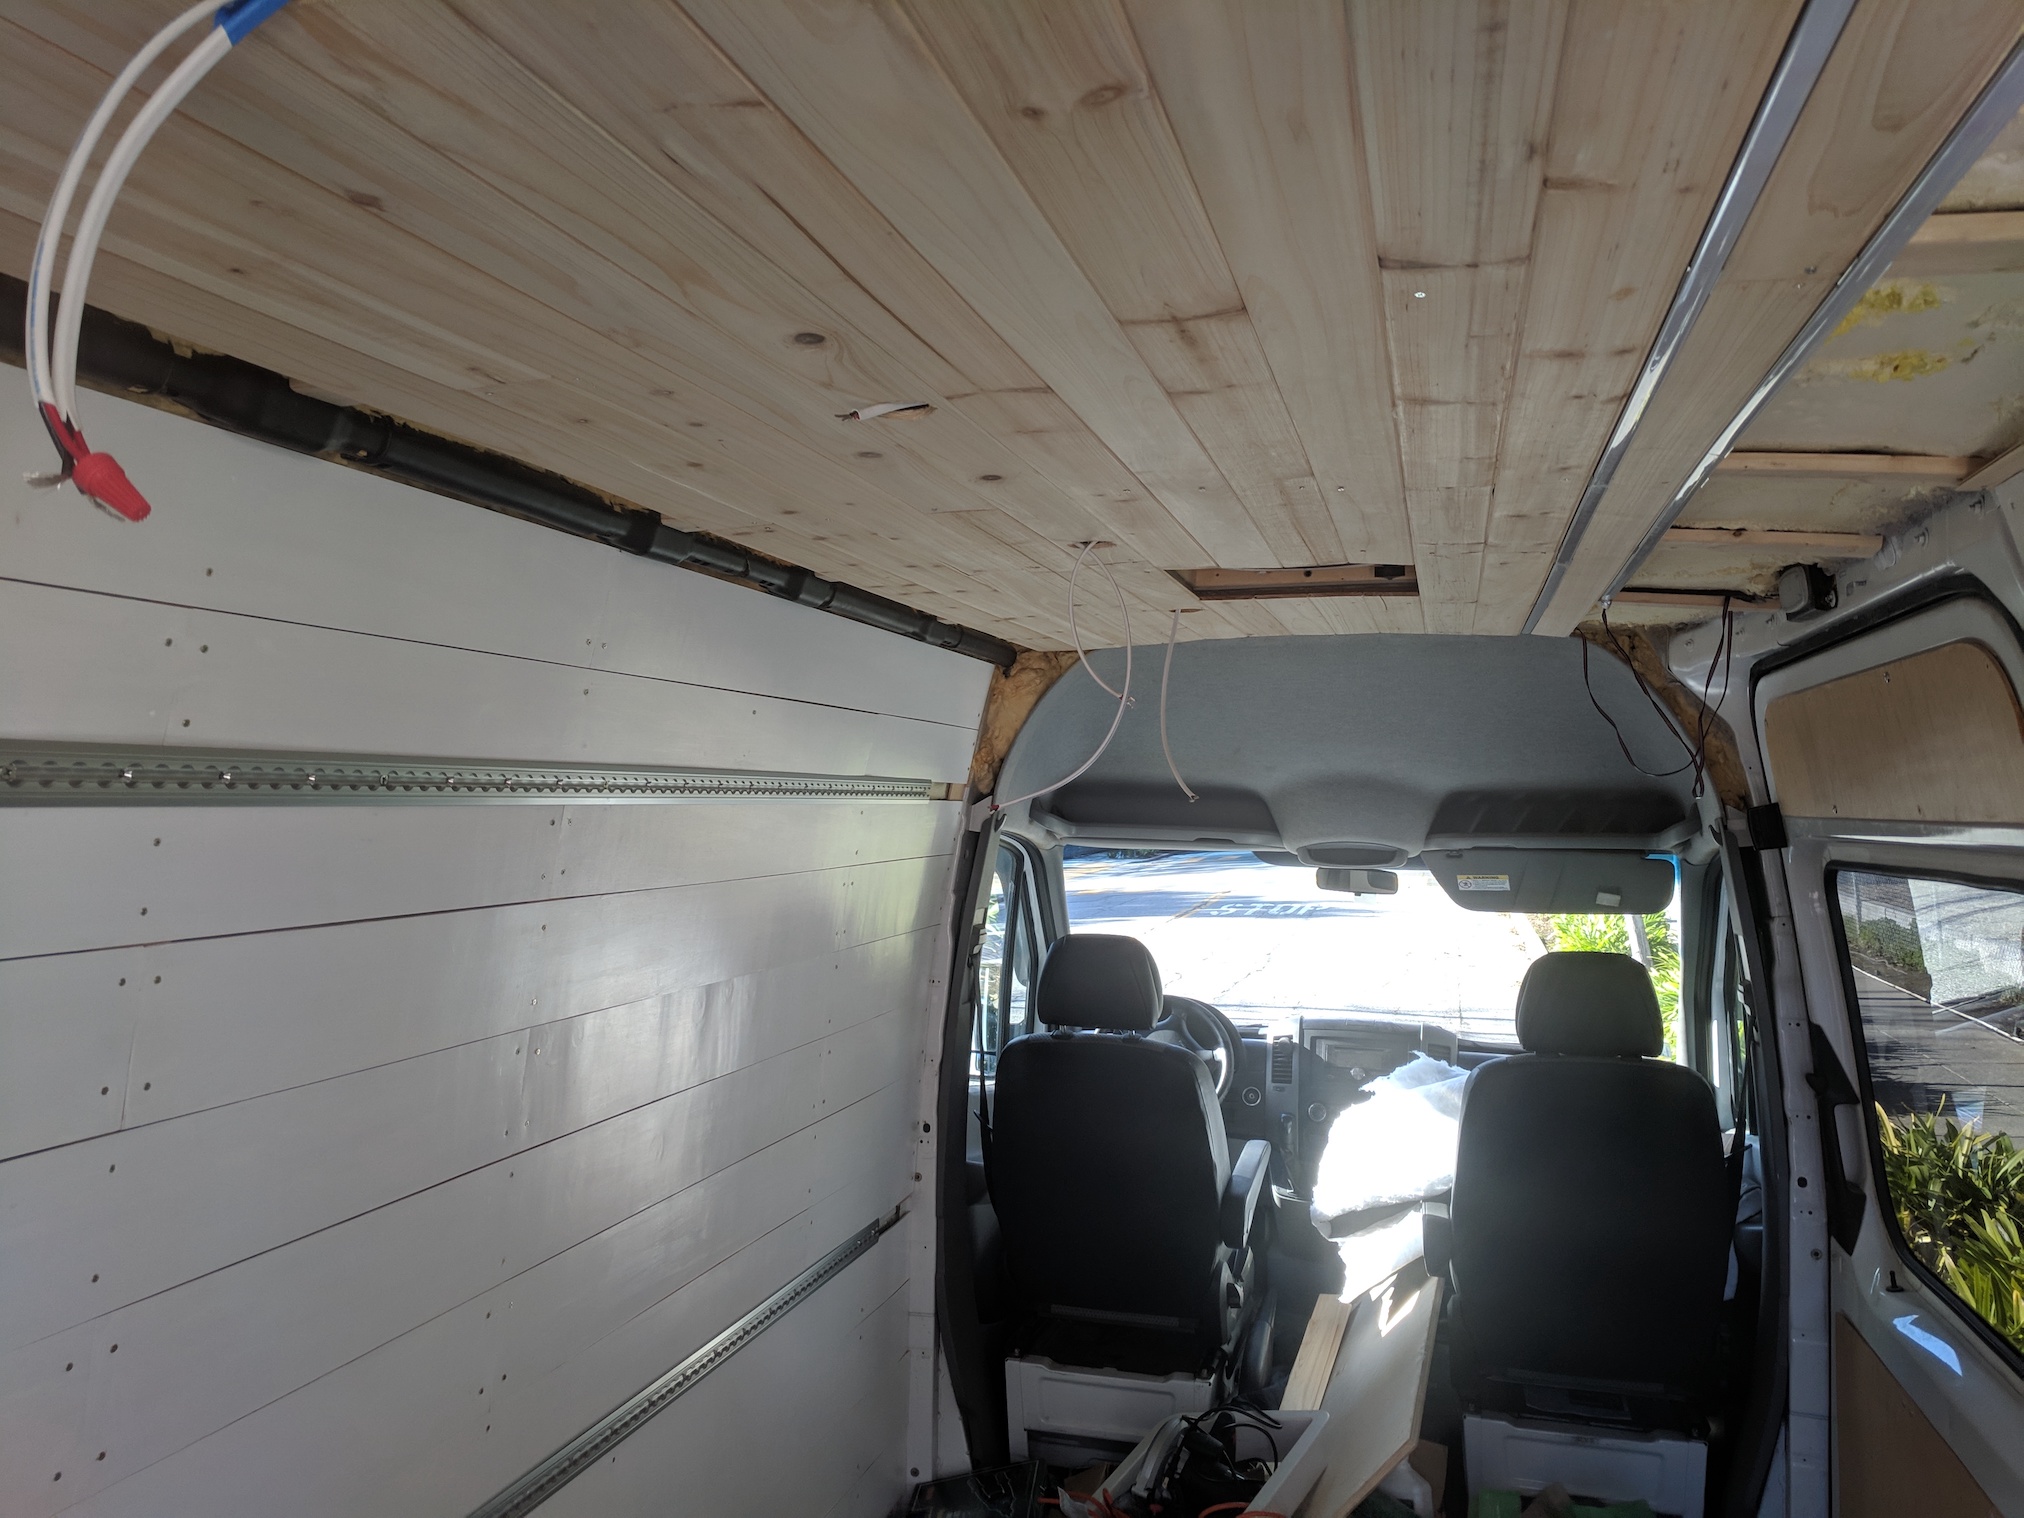 Left side ceiling planks installed, with LED overhead wires prepared
Somewhere along the way I also installed the L track (the wall-mounted aluminum strips visible in pictures above). First, I
- drilled 23/64” holes in the steel frame using a series of metal drill bits and penetrating oil
- installed rivnuts using the Astro Pneumatic rivnut tool
- Cut the L track by hand using a hacksaw
- Lined up the track and screwed into the rivnuts using 1/4” bolts. Only about 50% of the rivnuts actually lined up with the holes in the L-track… Oh well
Next up was attaching and mounting the overhead LED lighting.
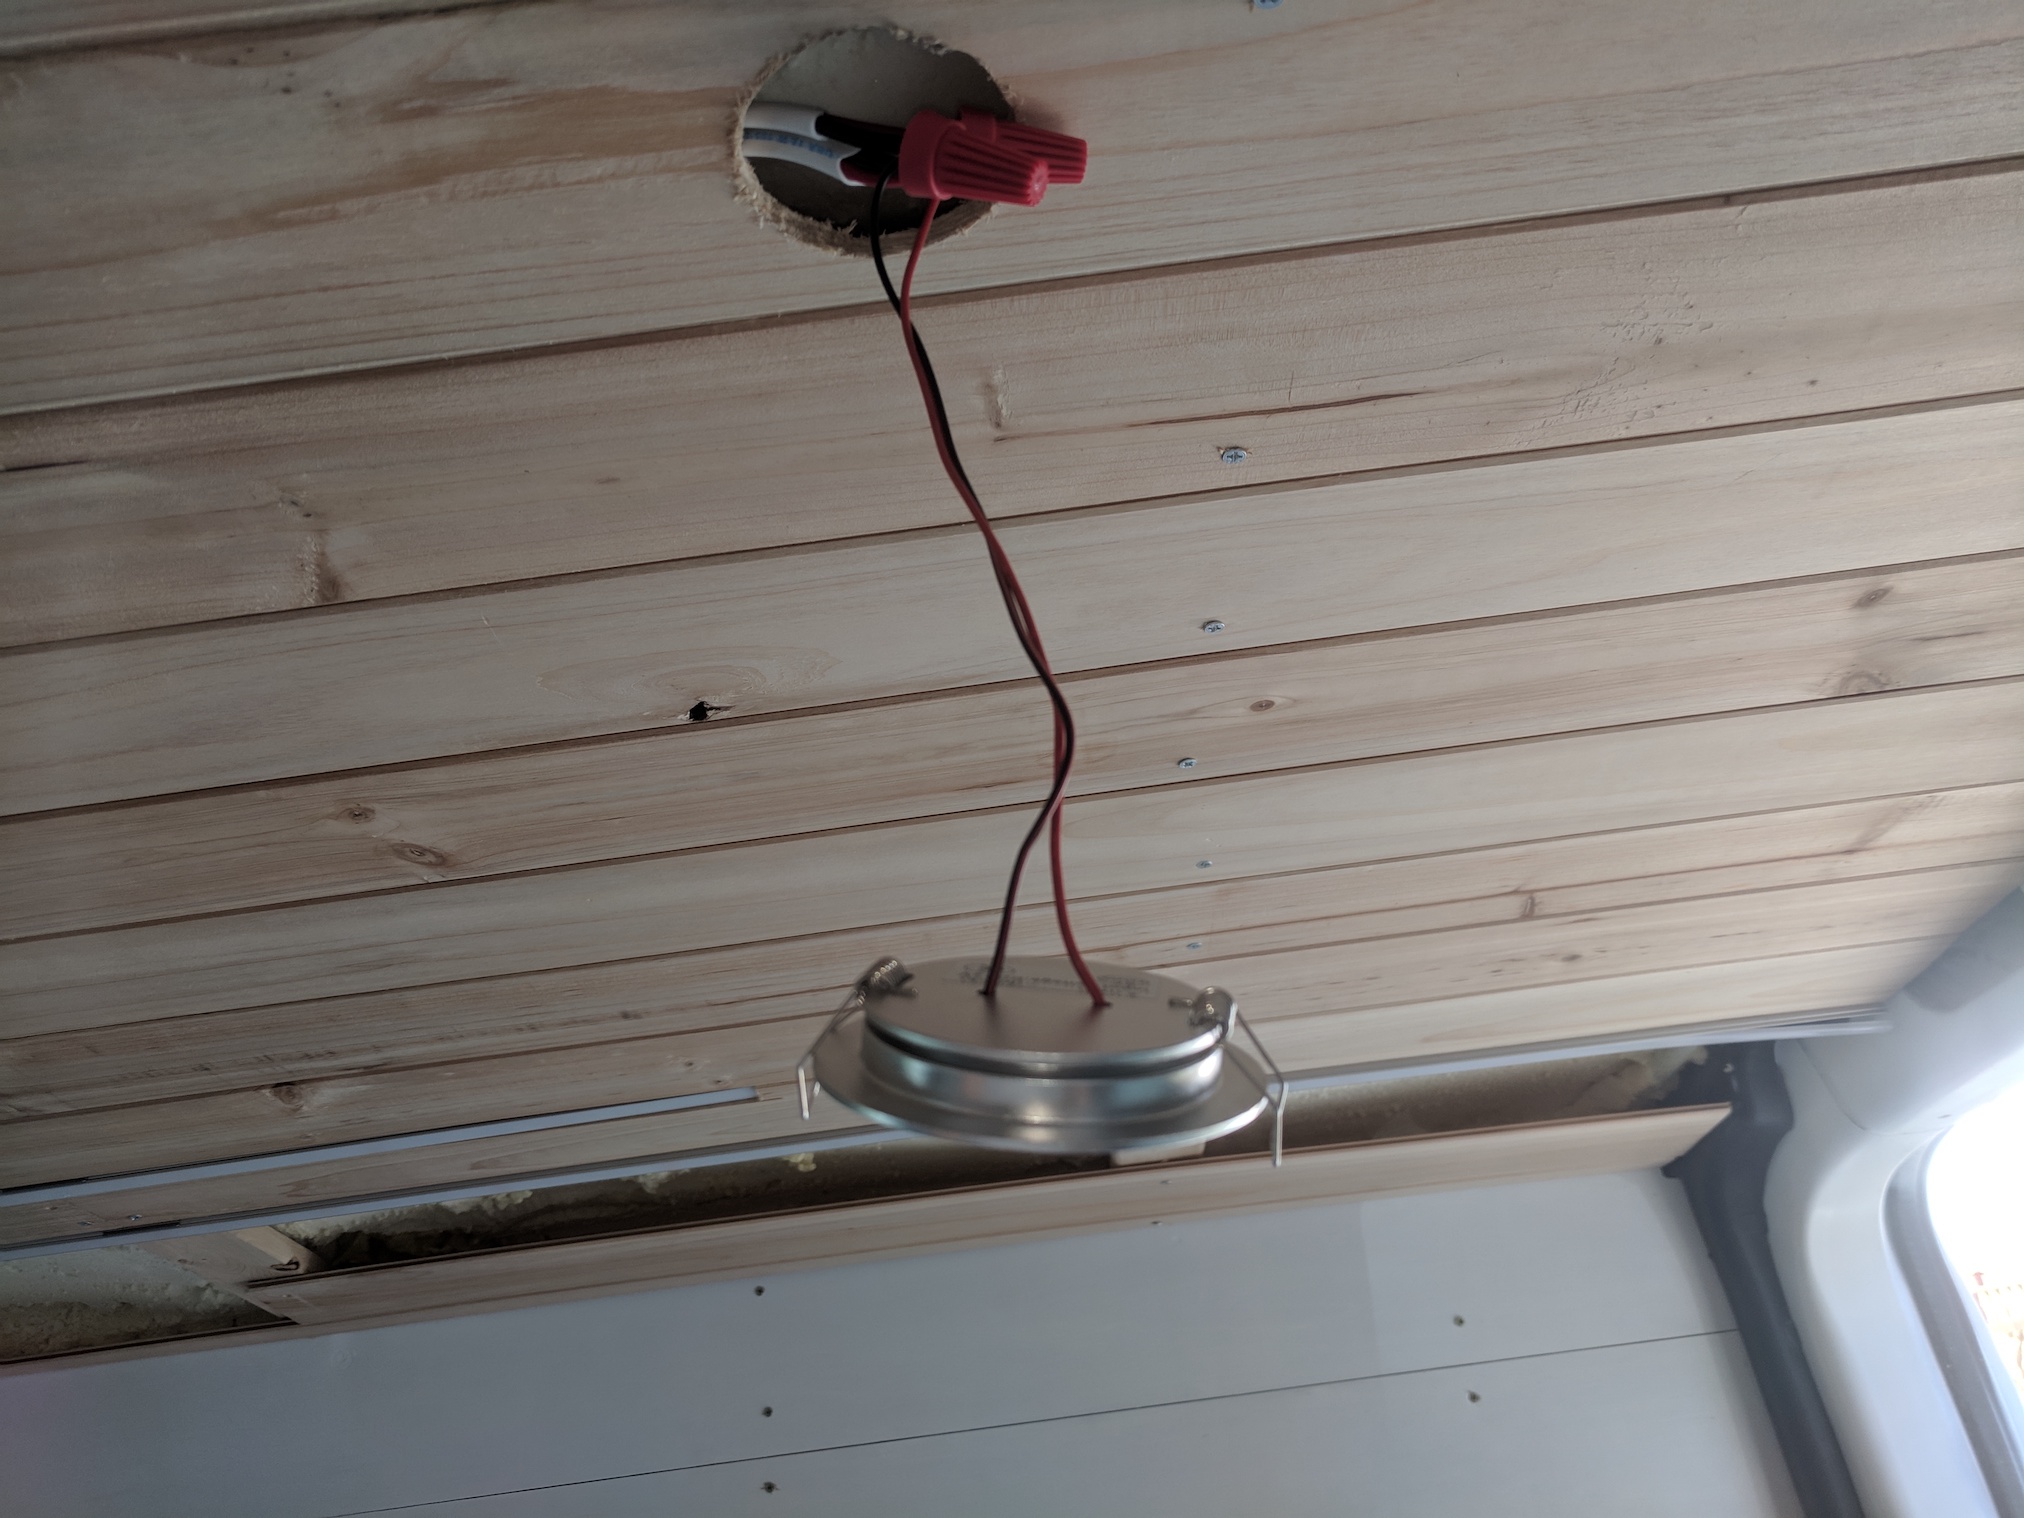 Attaching overhead LED using screw terminal connectors
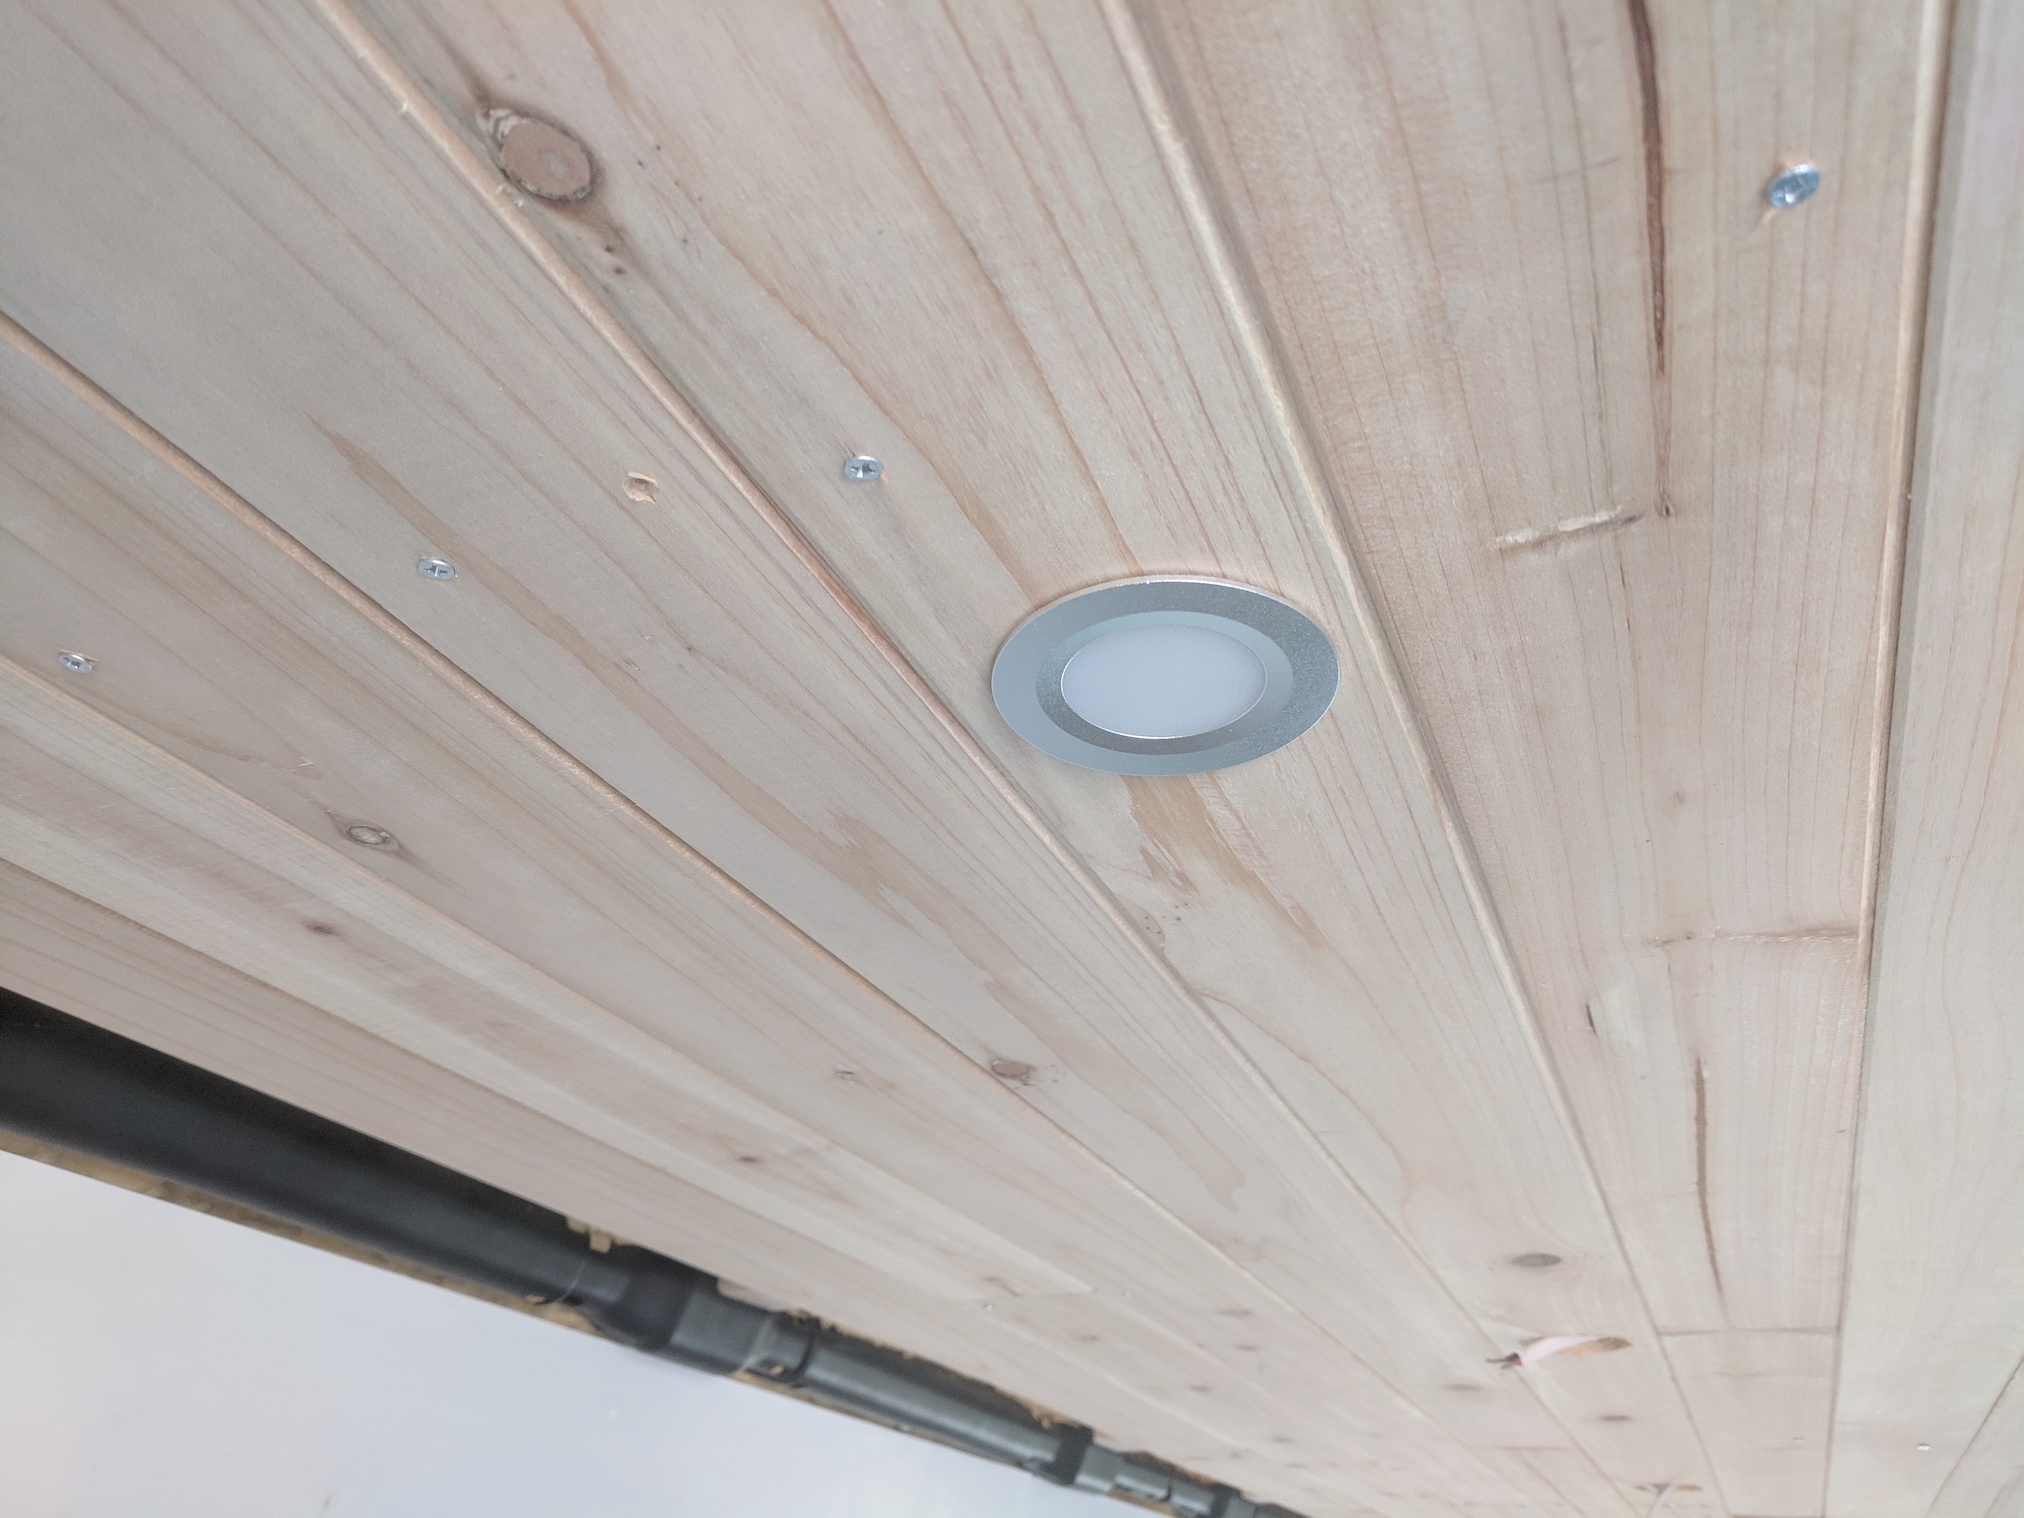 Overhead lighting mounted!
The final step was finishing the ceiling by treating it with linseed oil. This oil would provide protection to the wood and also deepened the color considerably.
 Mid-application of the linseed oil
Finished Ceiling